From Sign-Up to Deployment
This guide walks through a single end-to-end scenario: creating an account, setting up an organization, training a model with Express Tasks, and deploying it. Each section builds on the previous one, so following the steps in order is recommended.
Note: for model packaging with the Python SDK, experiment tracking, and programmatic uploads, see the Sklearn Tutorial.
Creating an Account
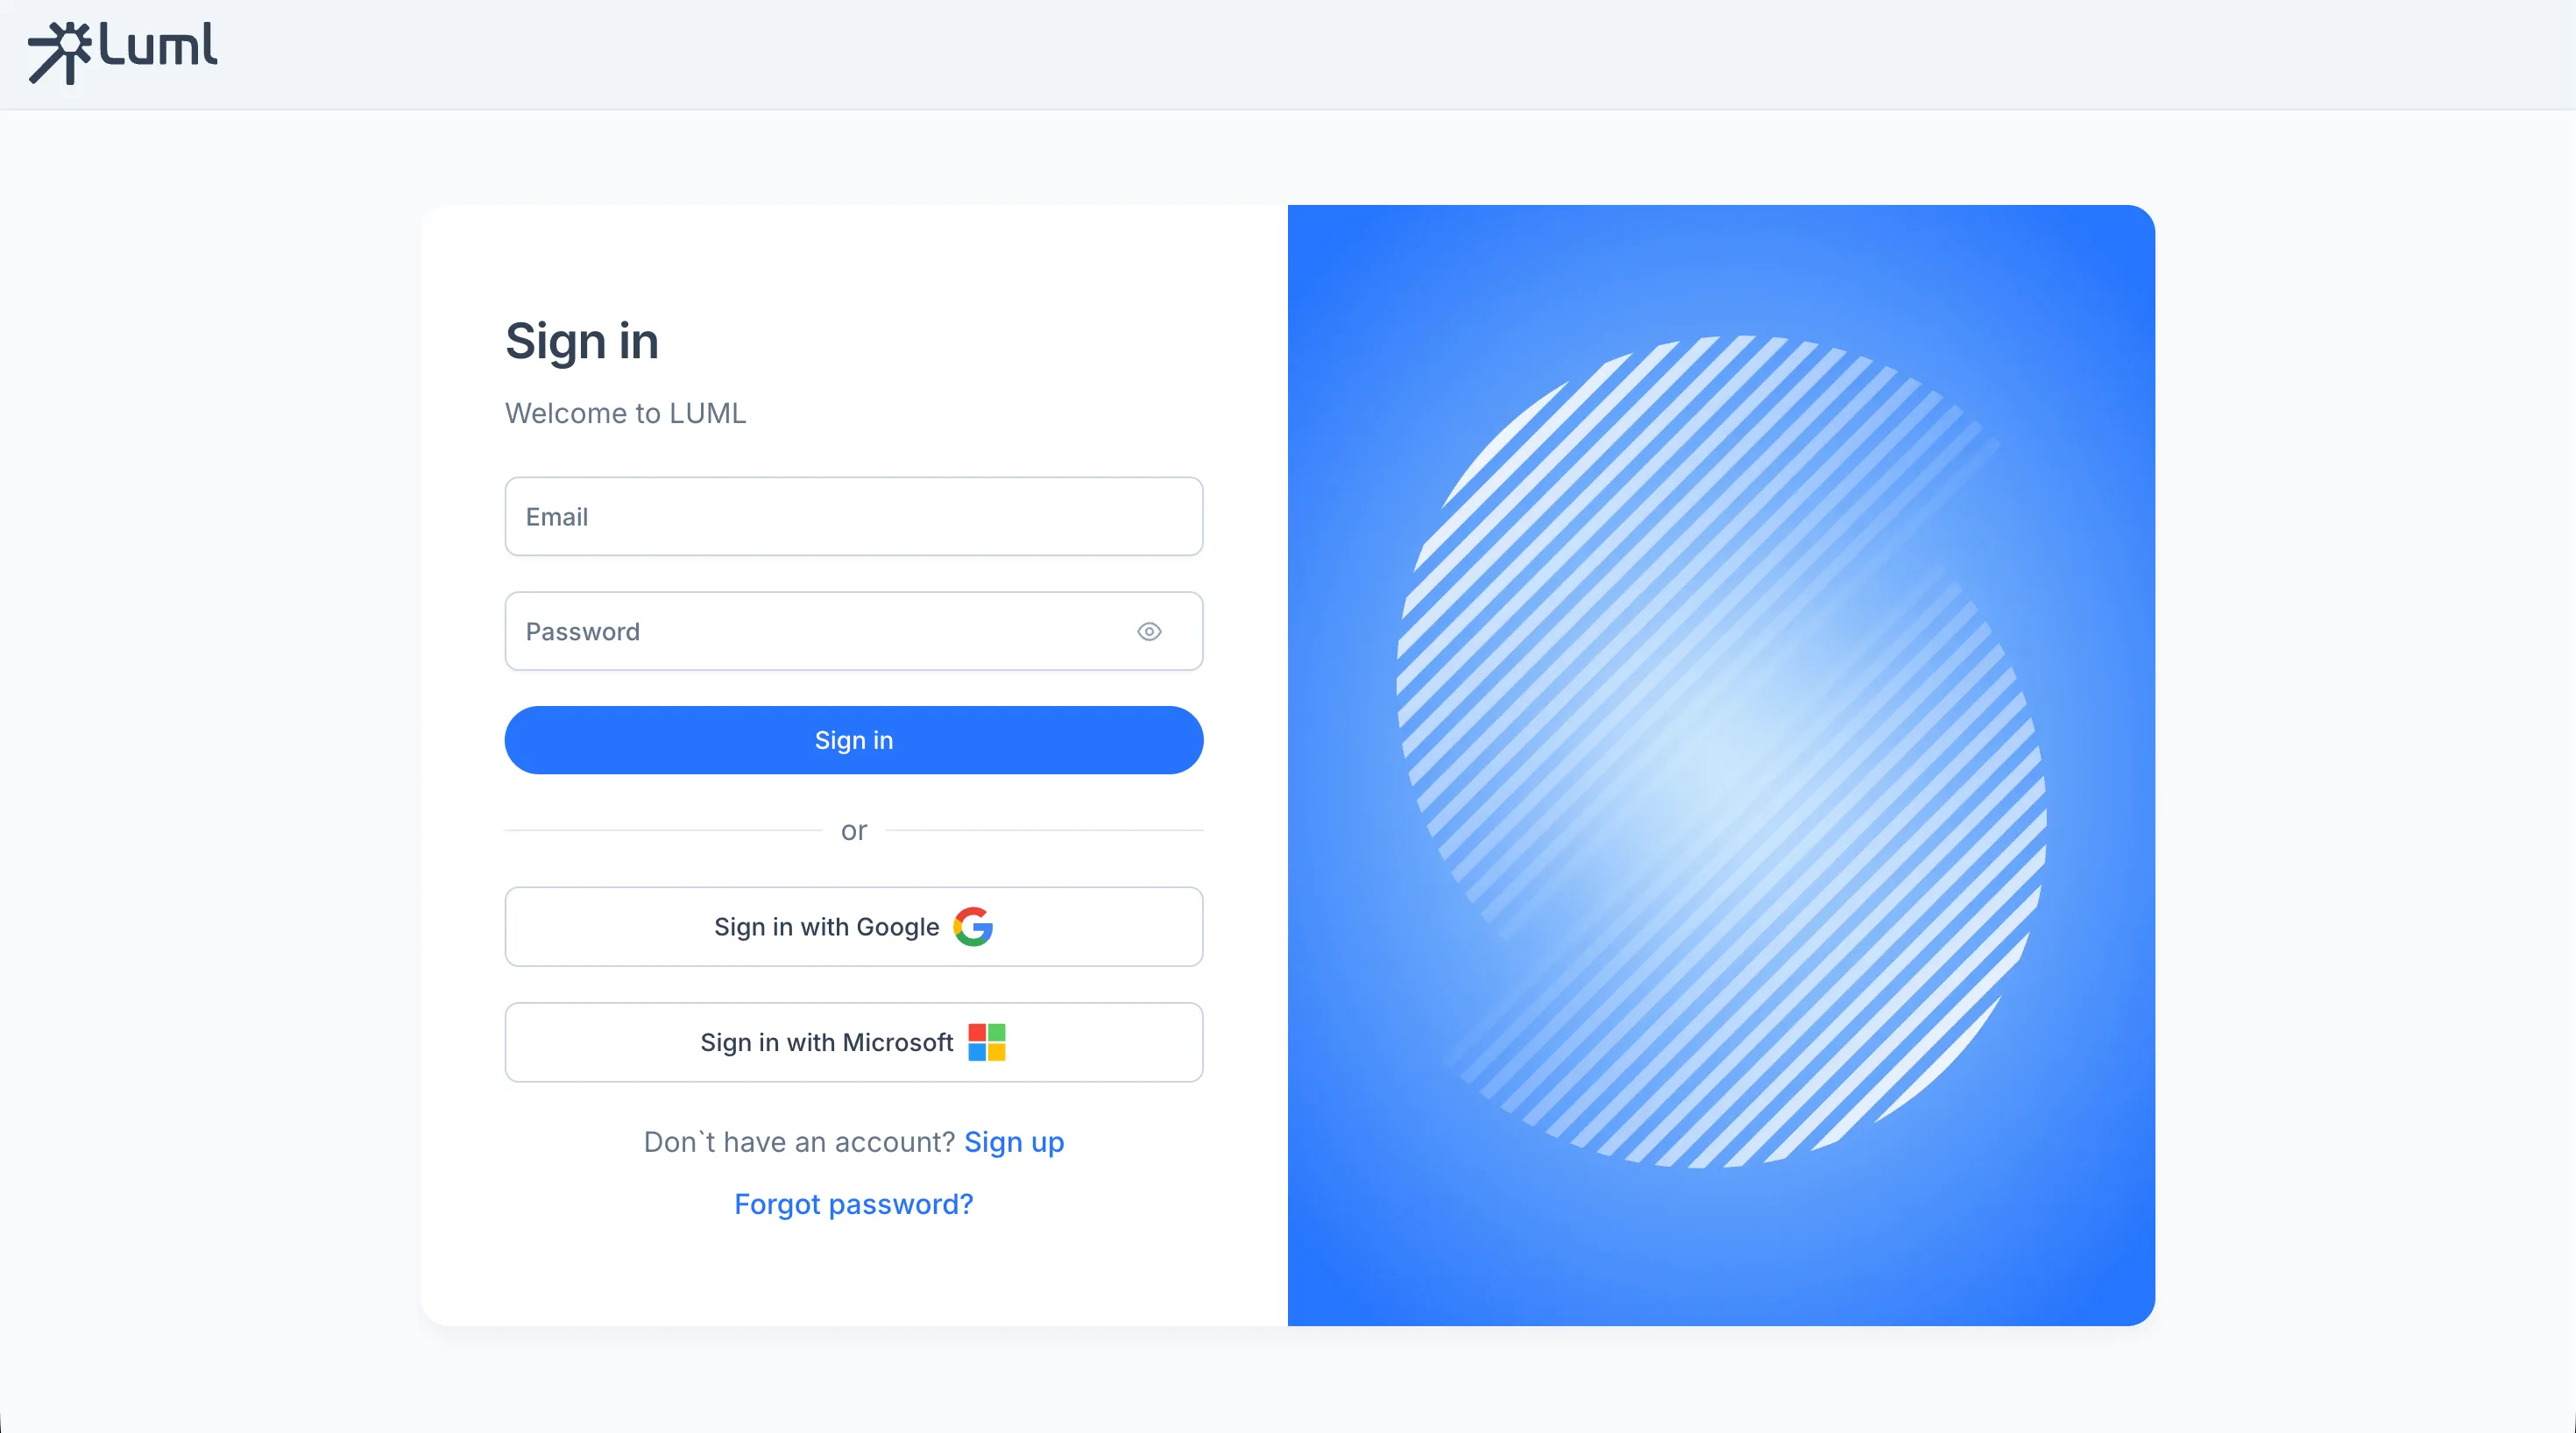
Luml supports email registration and third-party sign-in through Google and Microsoft.
To register with email, open the sign-up page, enter a username, email address, and password, then confirm the verification link sent to your inbox. After verification, sign in with the credentials you created.
Alternatively, select "Sign in with Google" on the login page and choose the account you want to use. The platform will create a profile automatically and log you in.
Setting Up an Organization
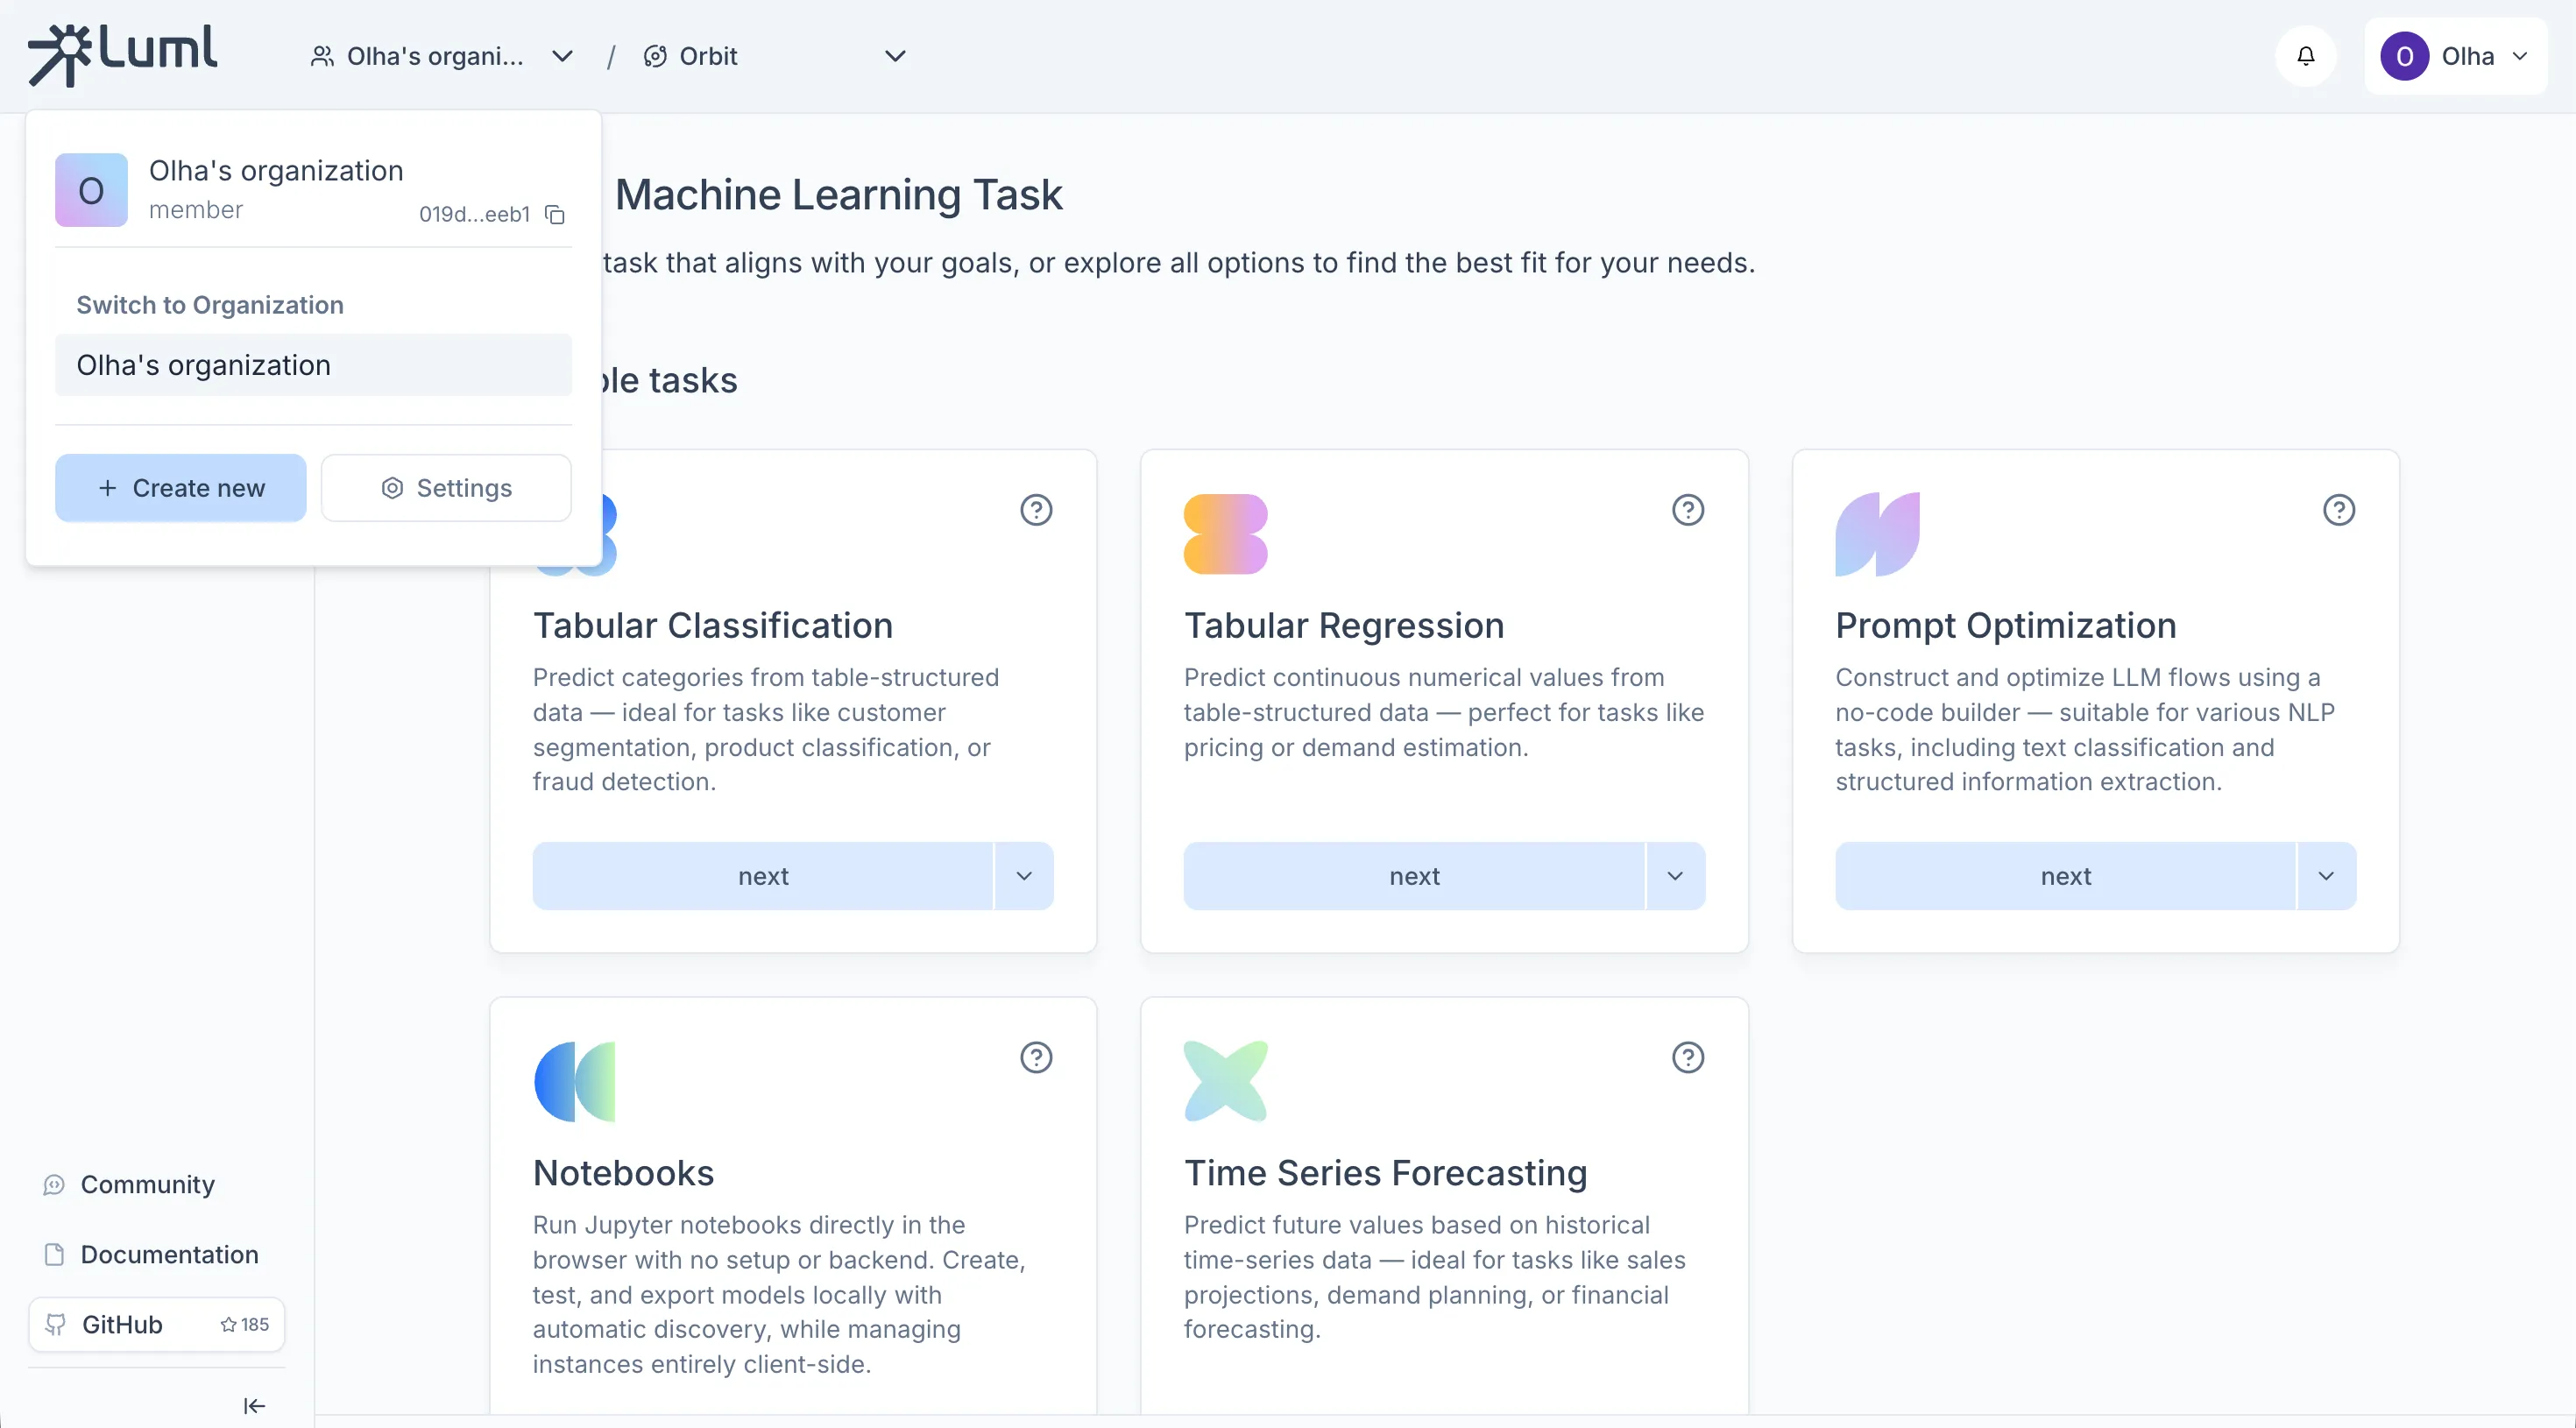
An Organization is the top-level container in Luml. One is created automatically when you register, but you can create additional ones at any time from the organization selector in the top header by clicking "+ Create new" and entering a name.
Connecting a Bucket
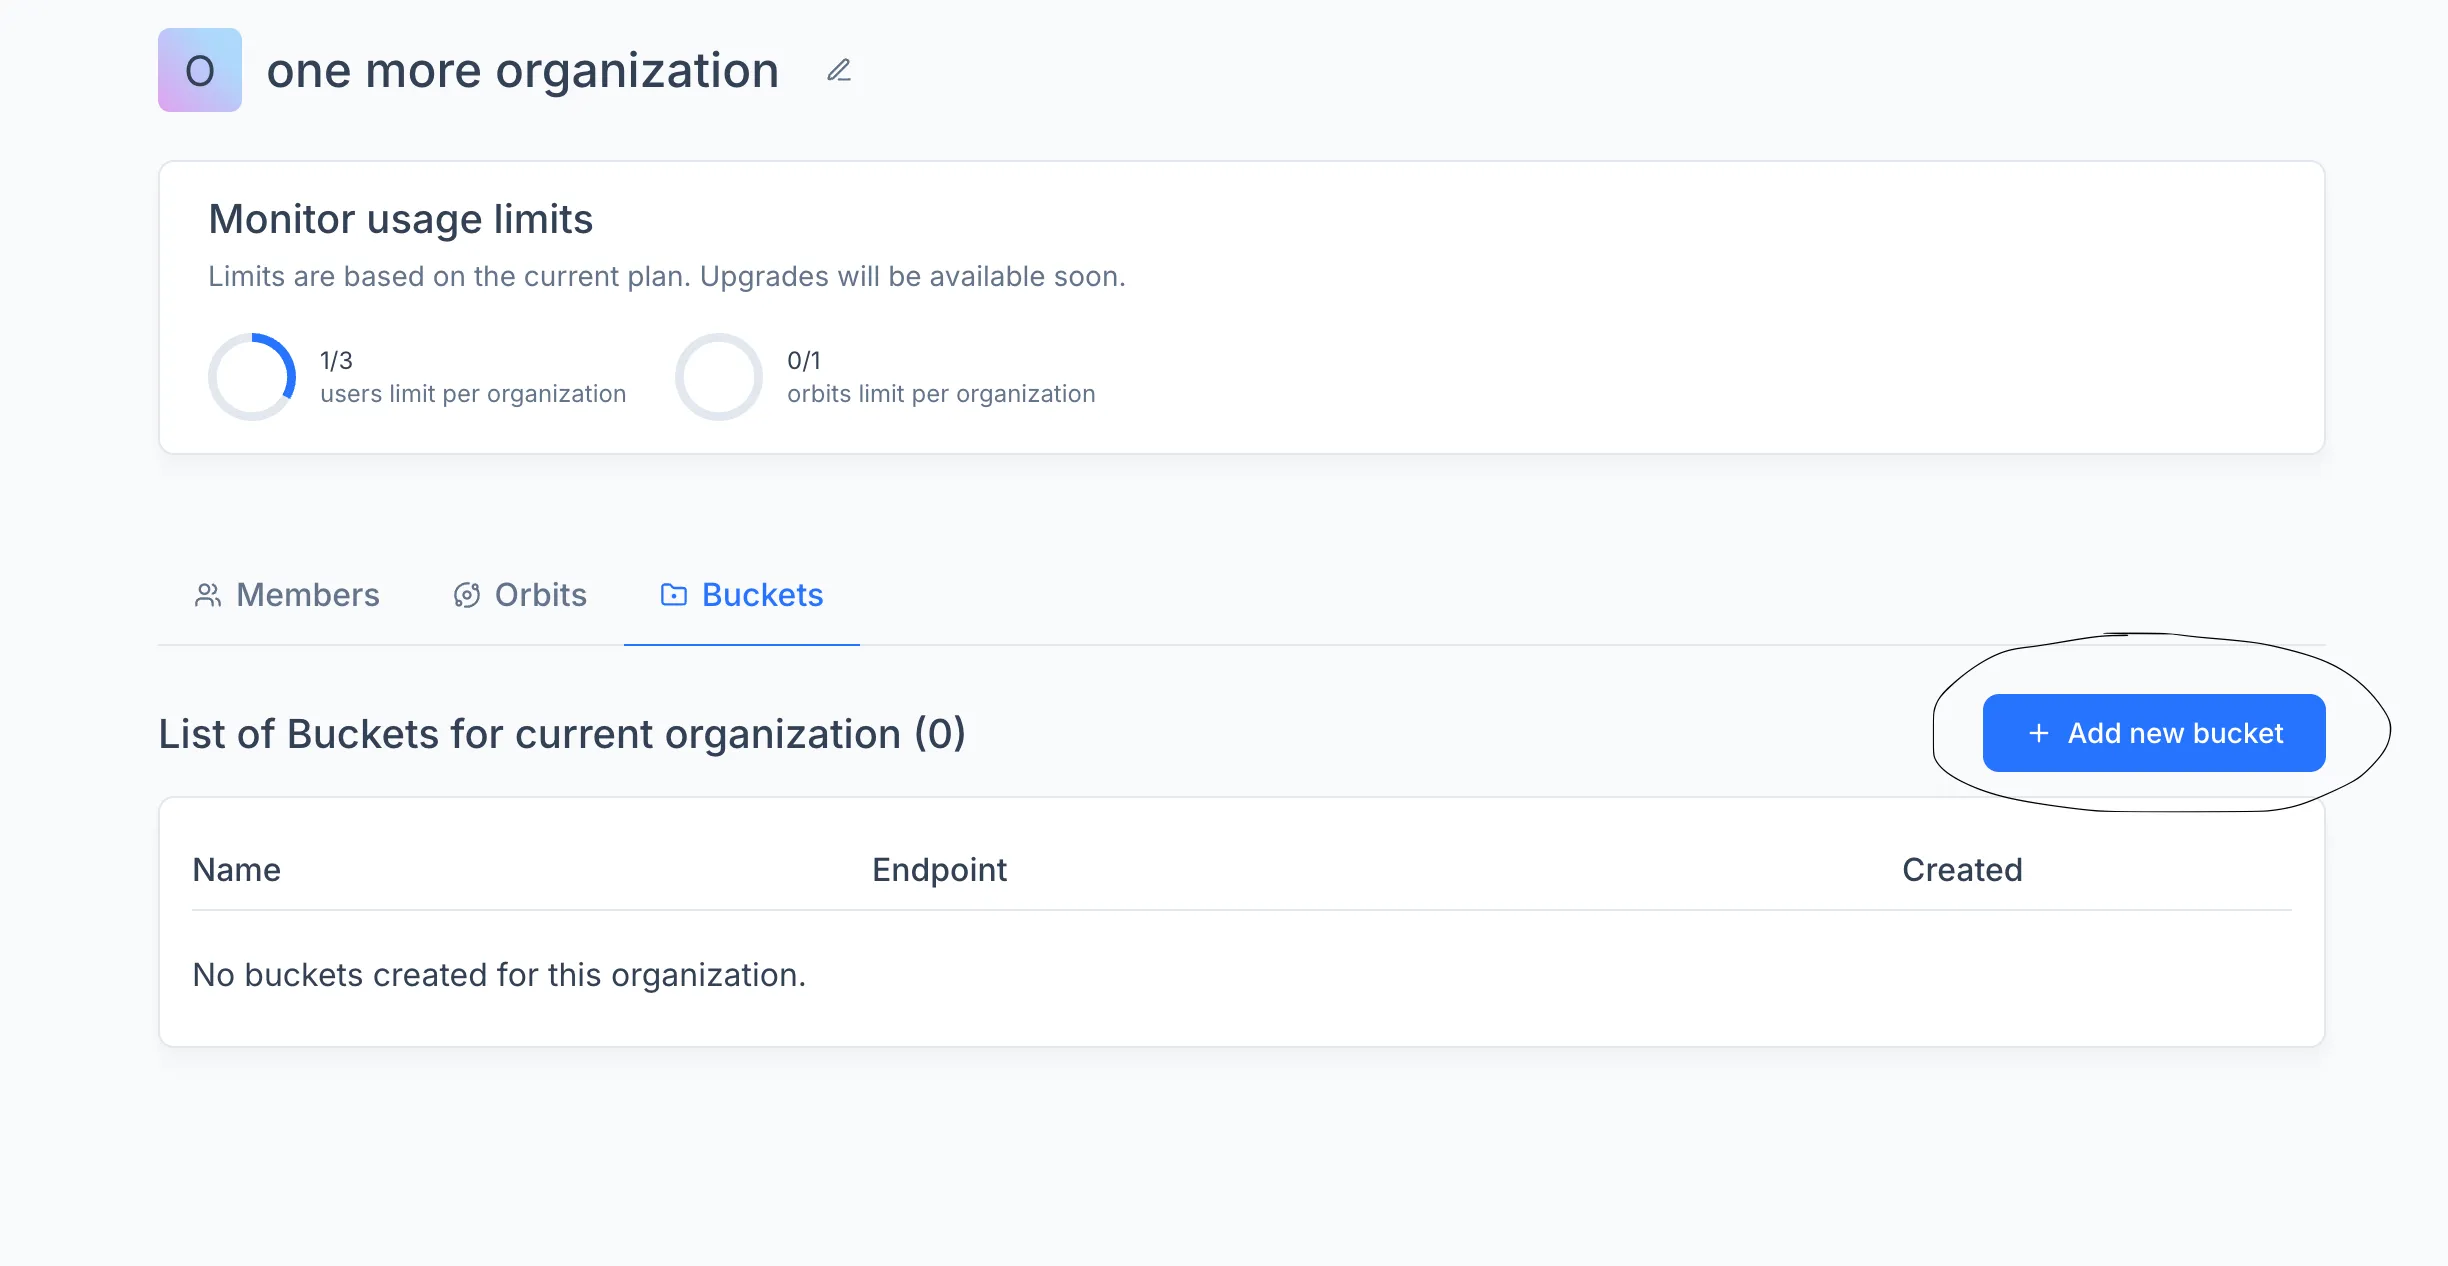
Before you can store datasets, experiments and model artifacts, the organization needs a connected cloud storage bucket. Go to the organization settings, open the Buckets tab, and click "+ Add new bucket". Fill in the provider-specific parameters: bucket name, region, access key, and any additional fields your provider requires.
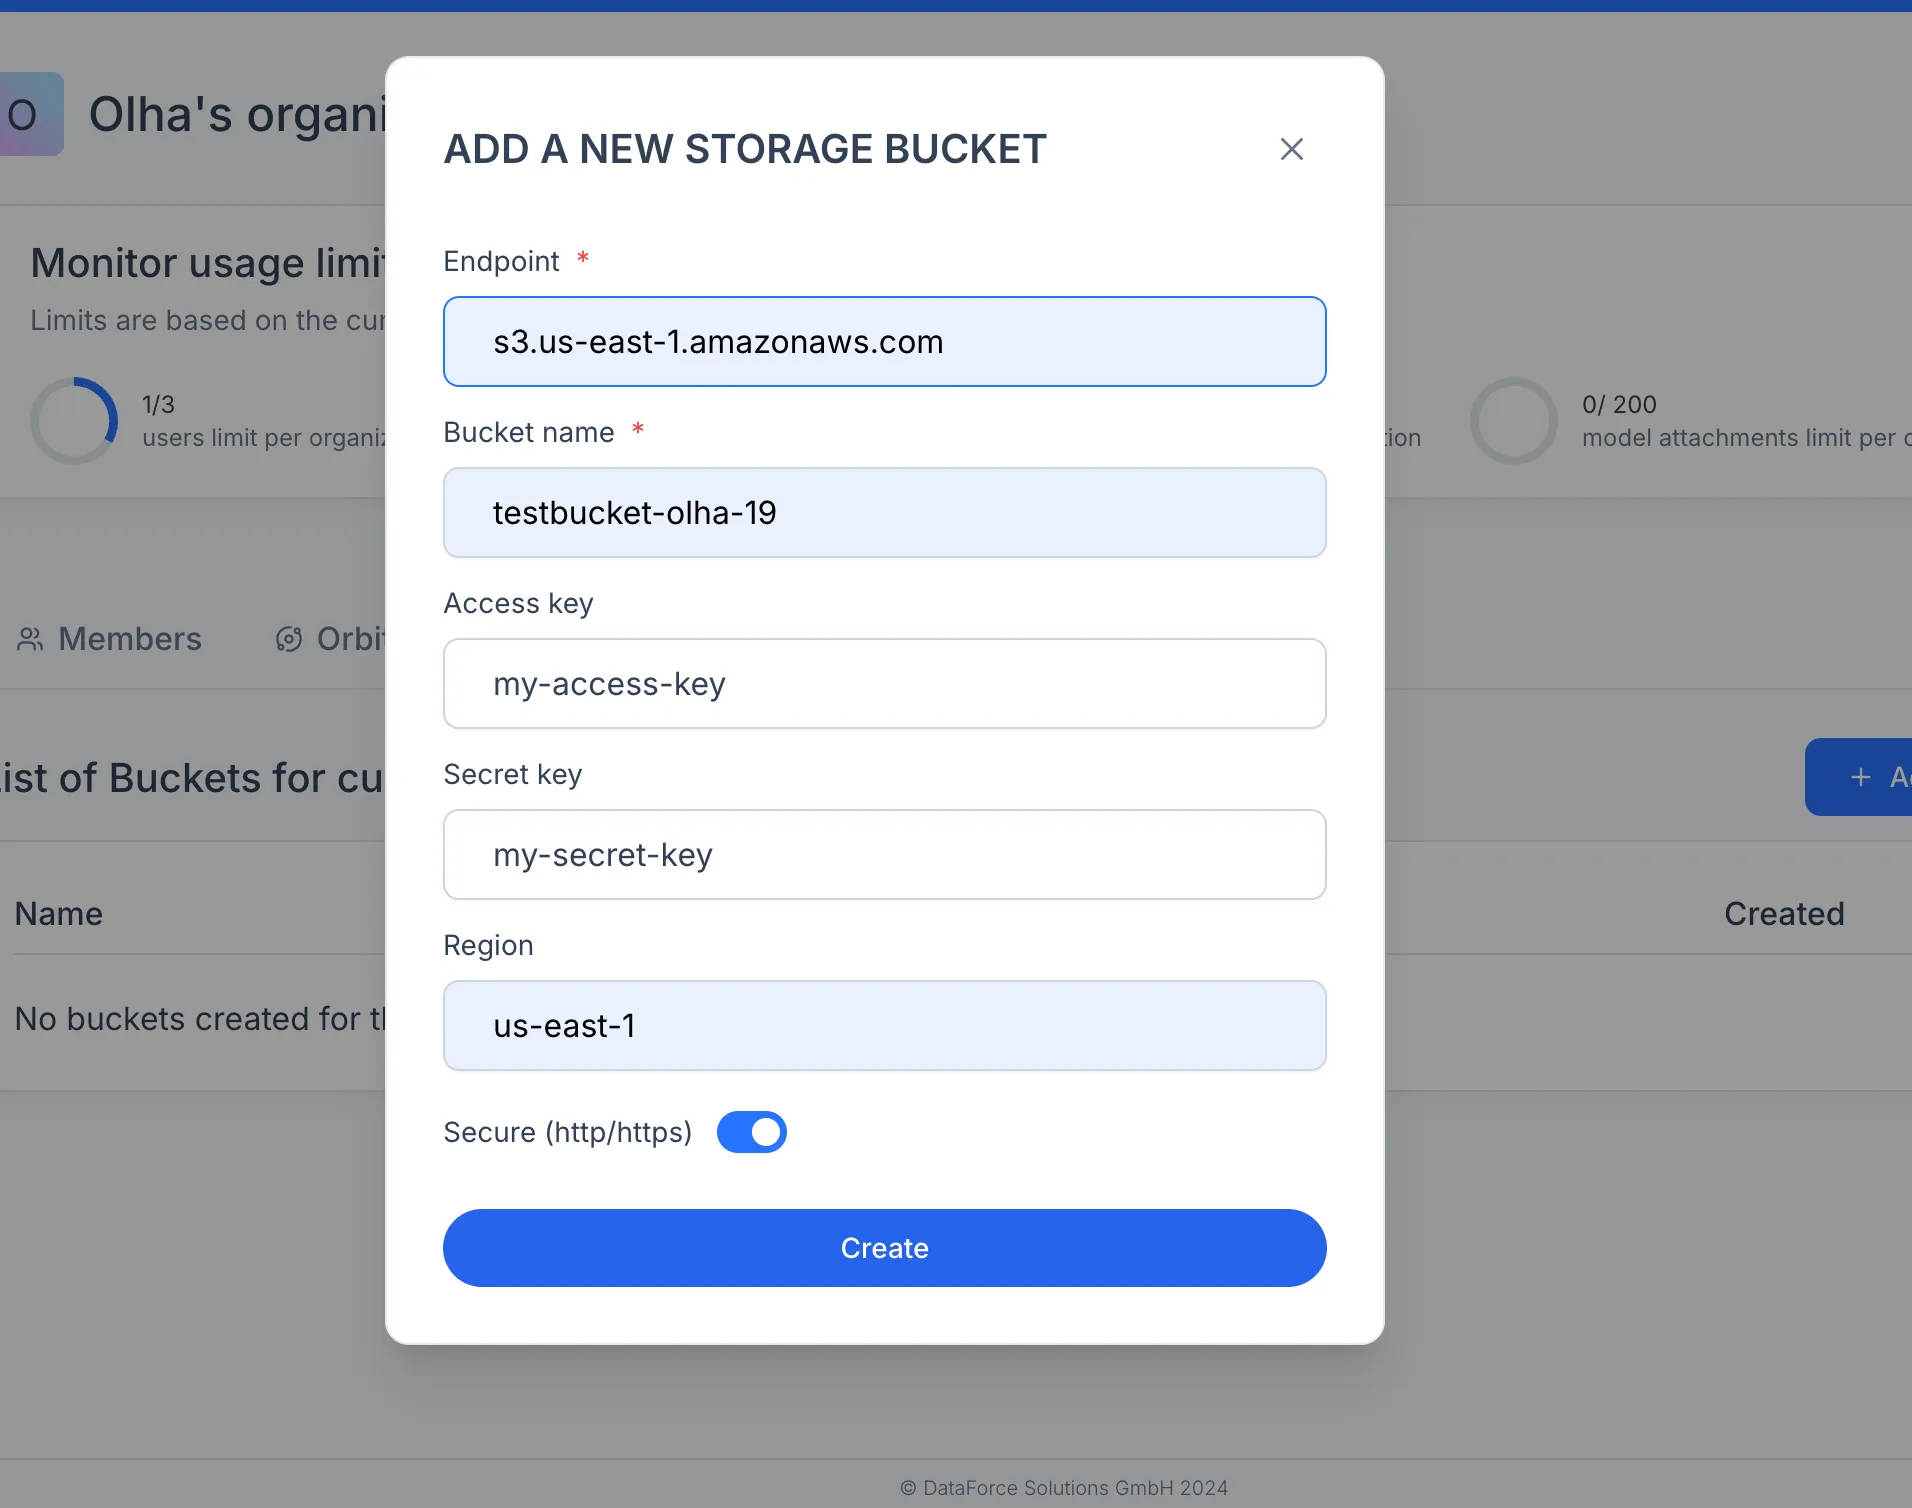
Note: Luml does not store your data on its servers. All transfers happen directly between your browser and the cloud provider. For step-by-step instructions on creating a bucket in AWS S3, Google Cloud Storage, or another S3-compatible provider, see the Bucket Creation Guide.
Creating an Orbit and a Collection
Work in Luml follows a hierarchy: Organization → Orbit → Collection.
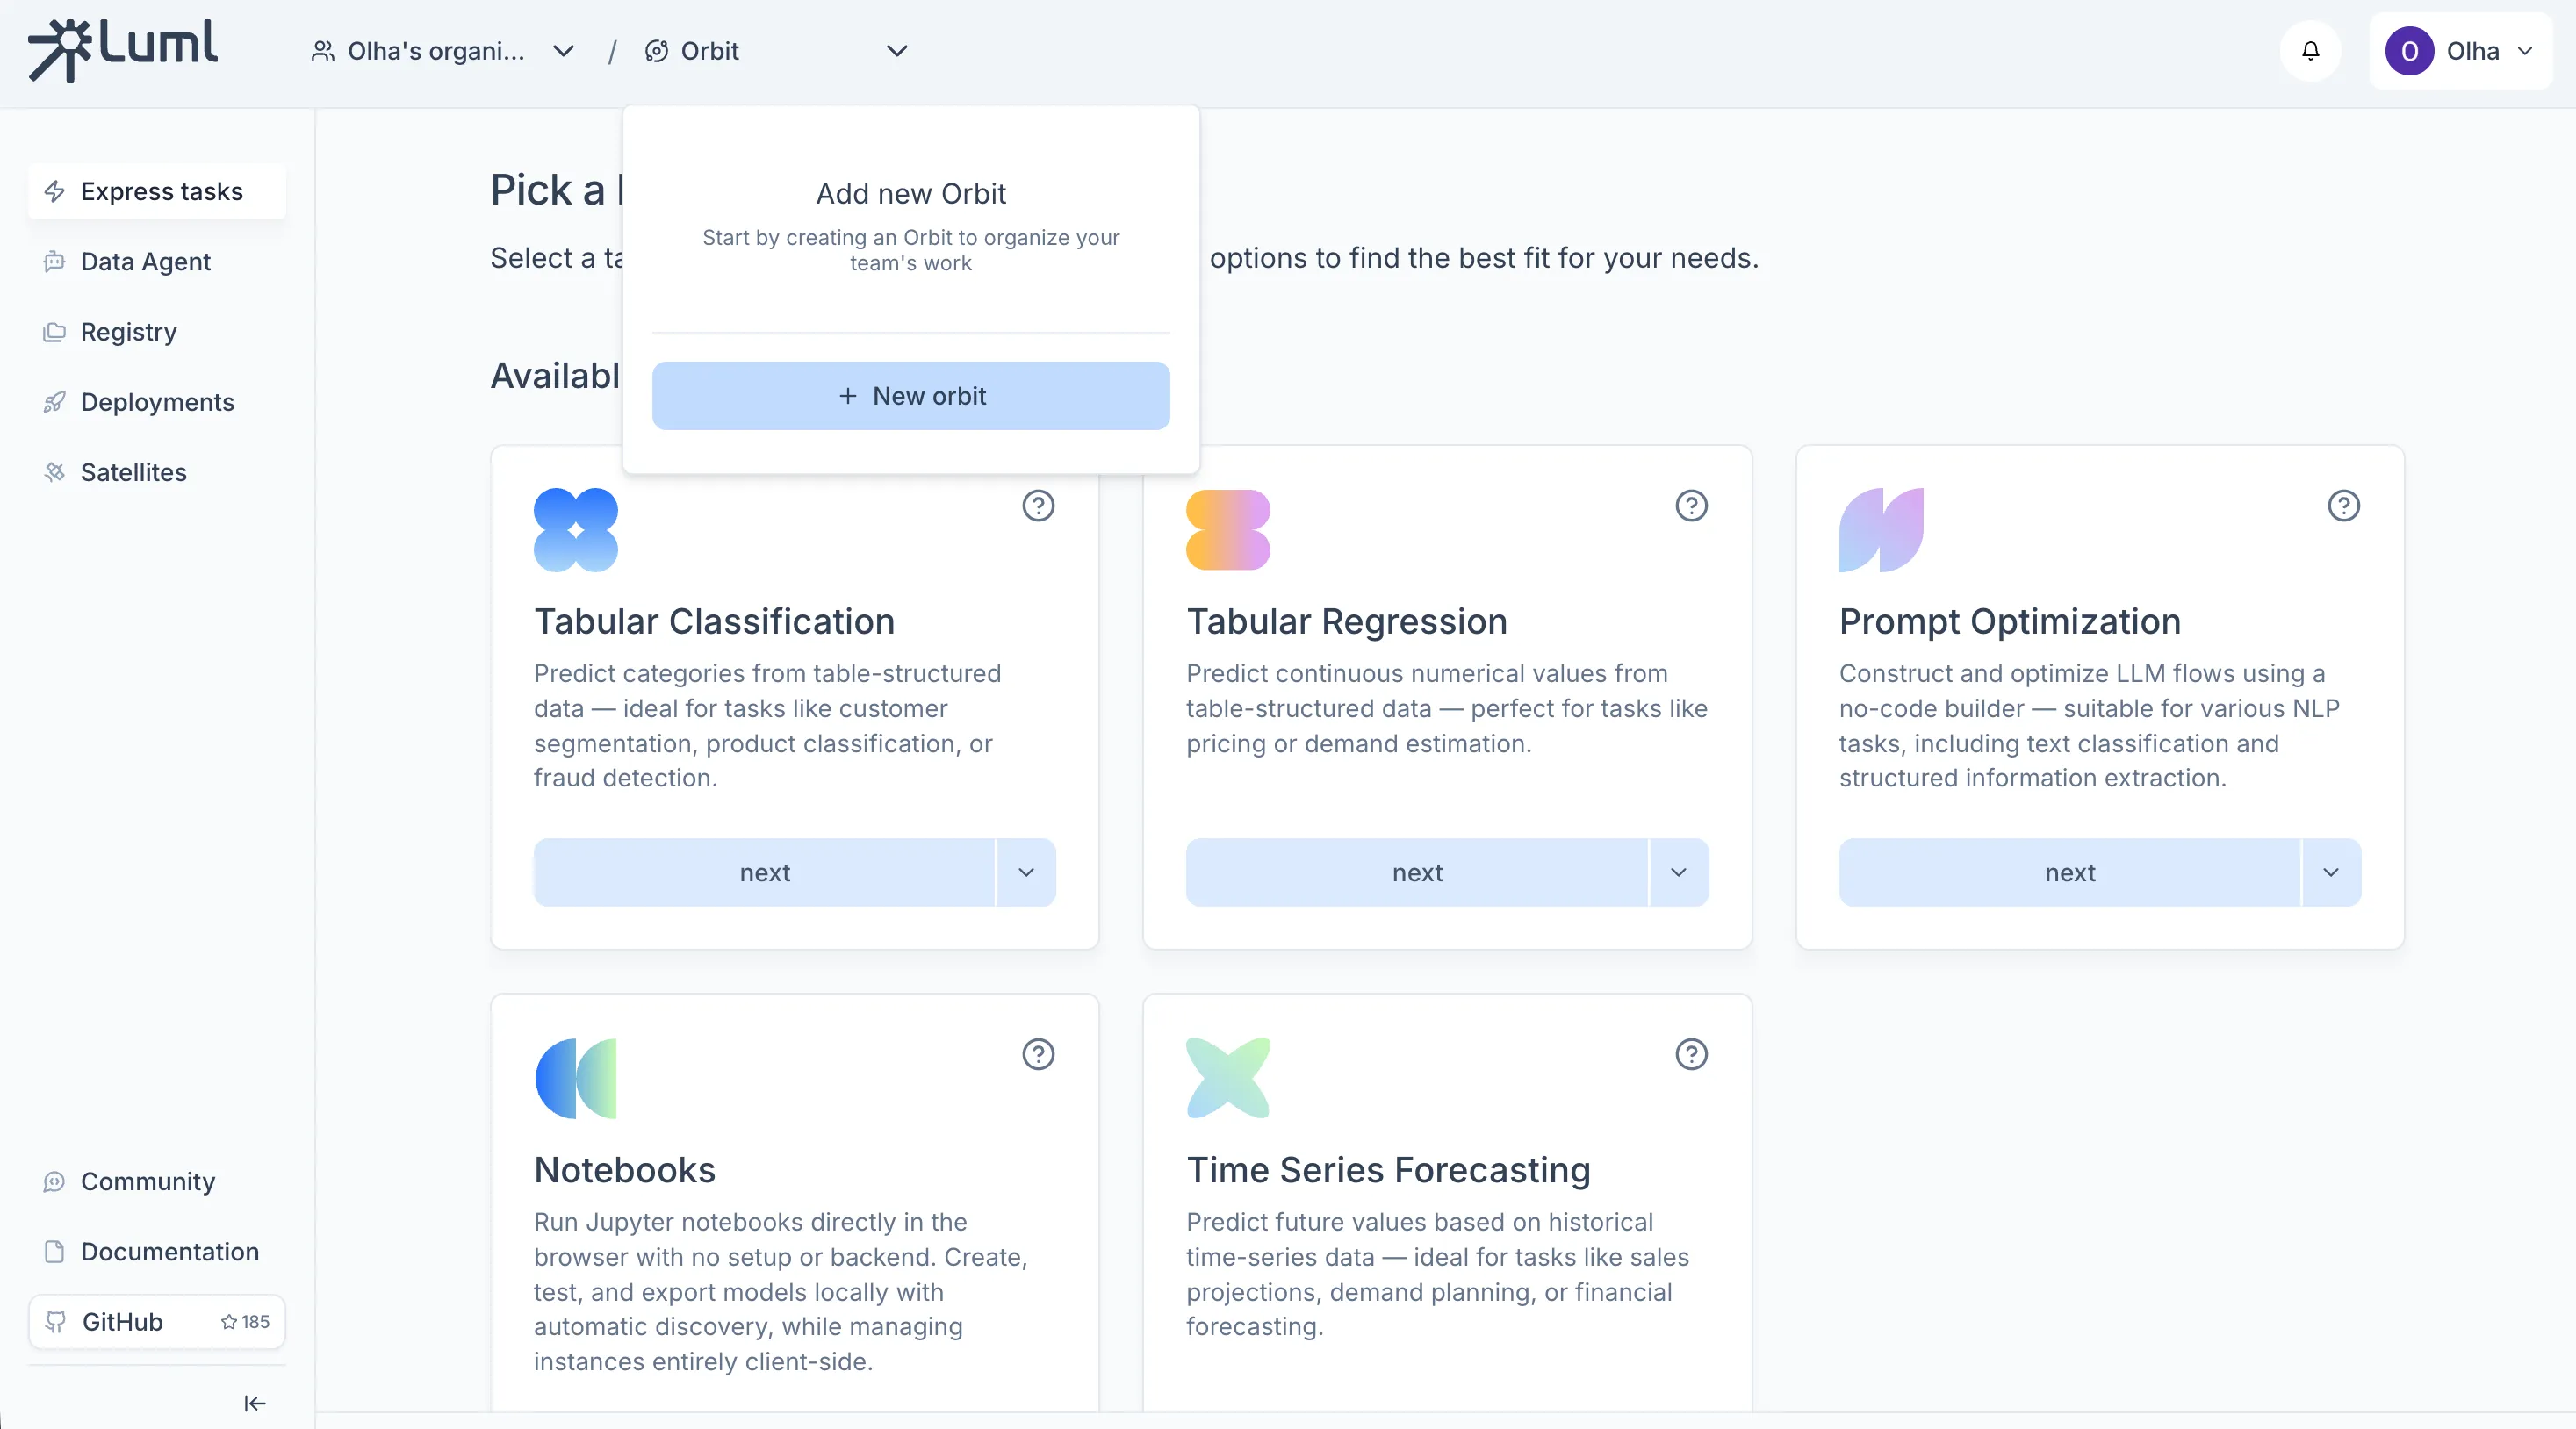
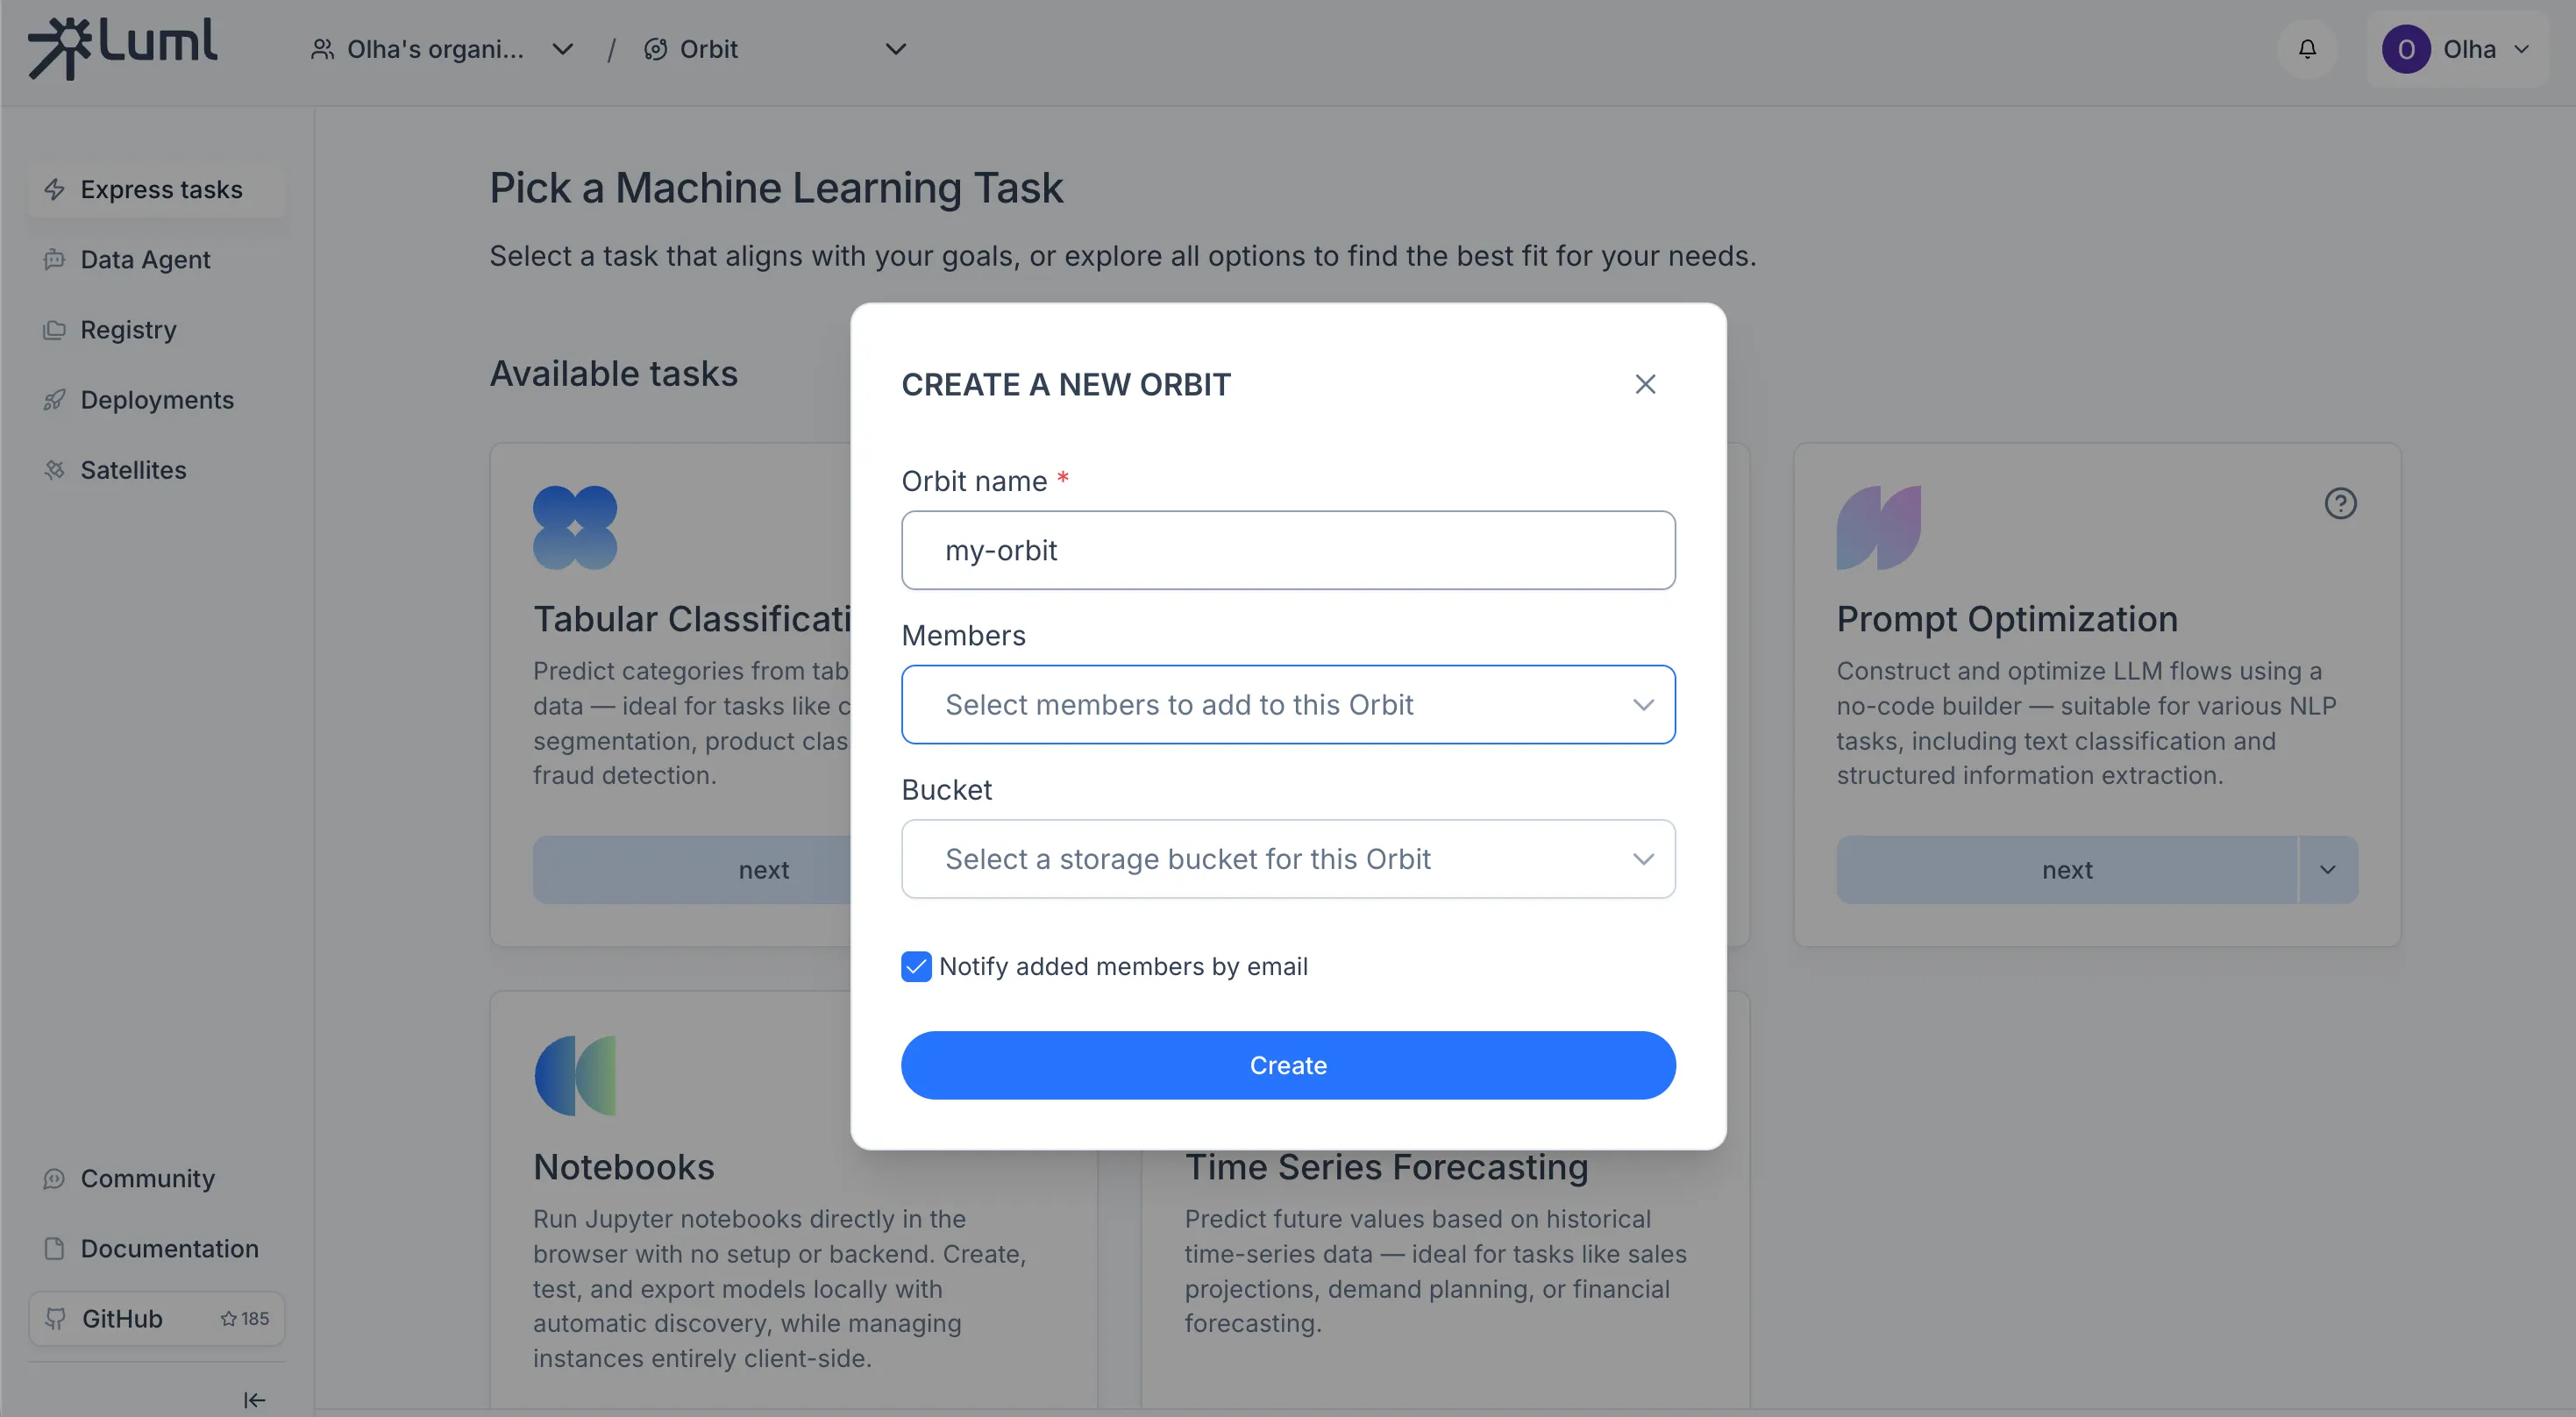
An Orbit is a project workspace within an organization. Orbits are managed from the same panel in the top header as organizations. To create one, open the orbit selector, click the create button, give it a name, select which members should have access, and attach the bucket you connected in the previous step.
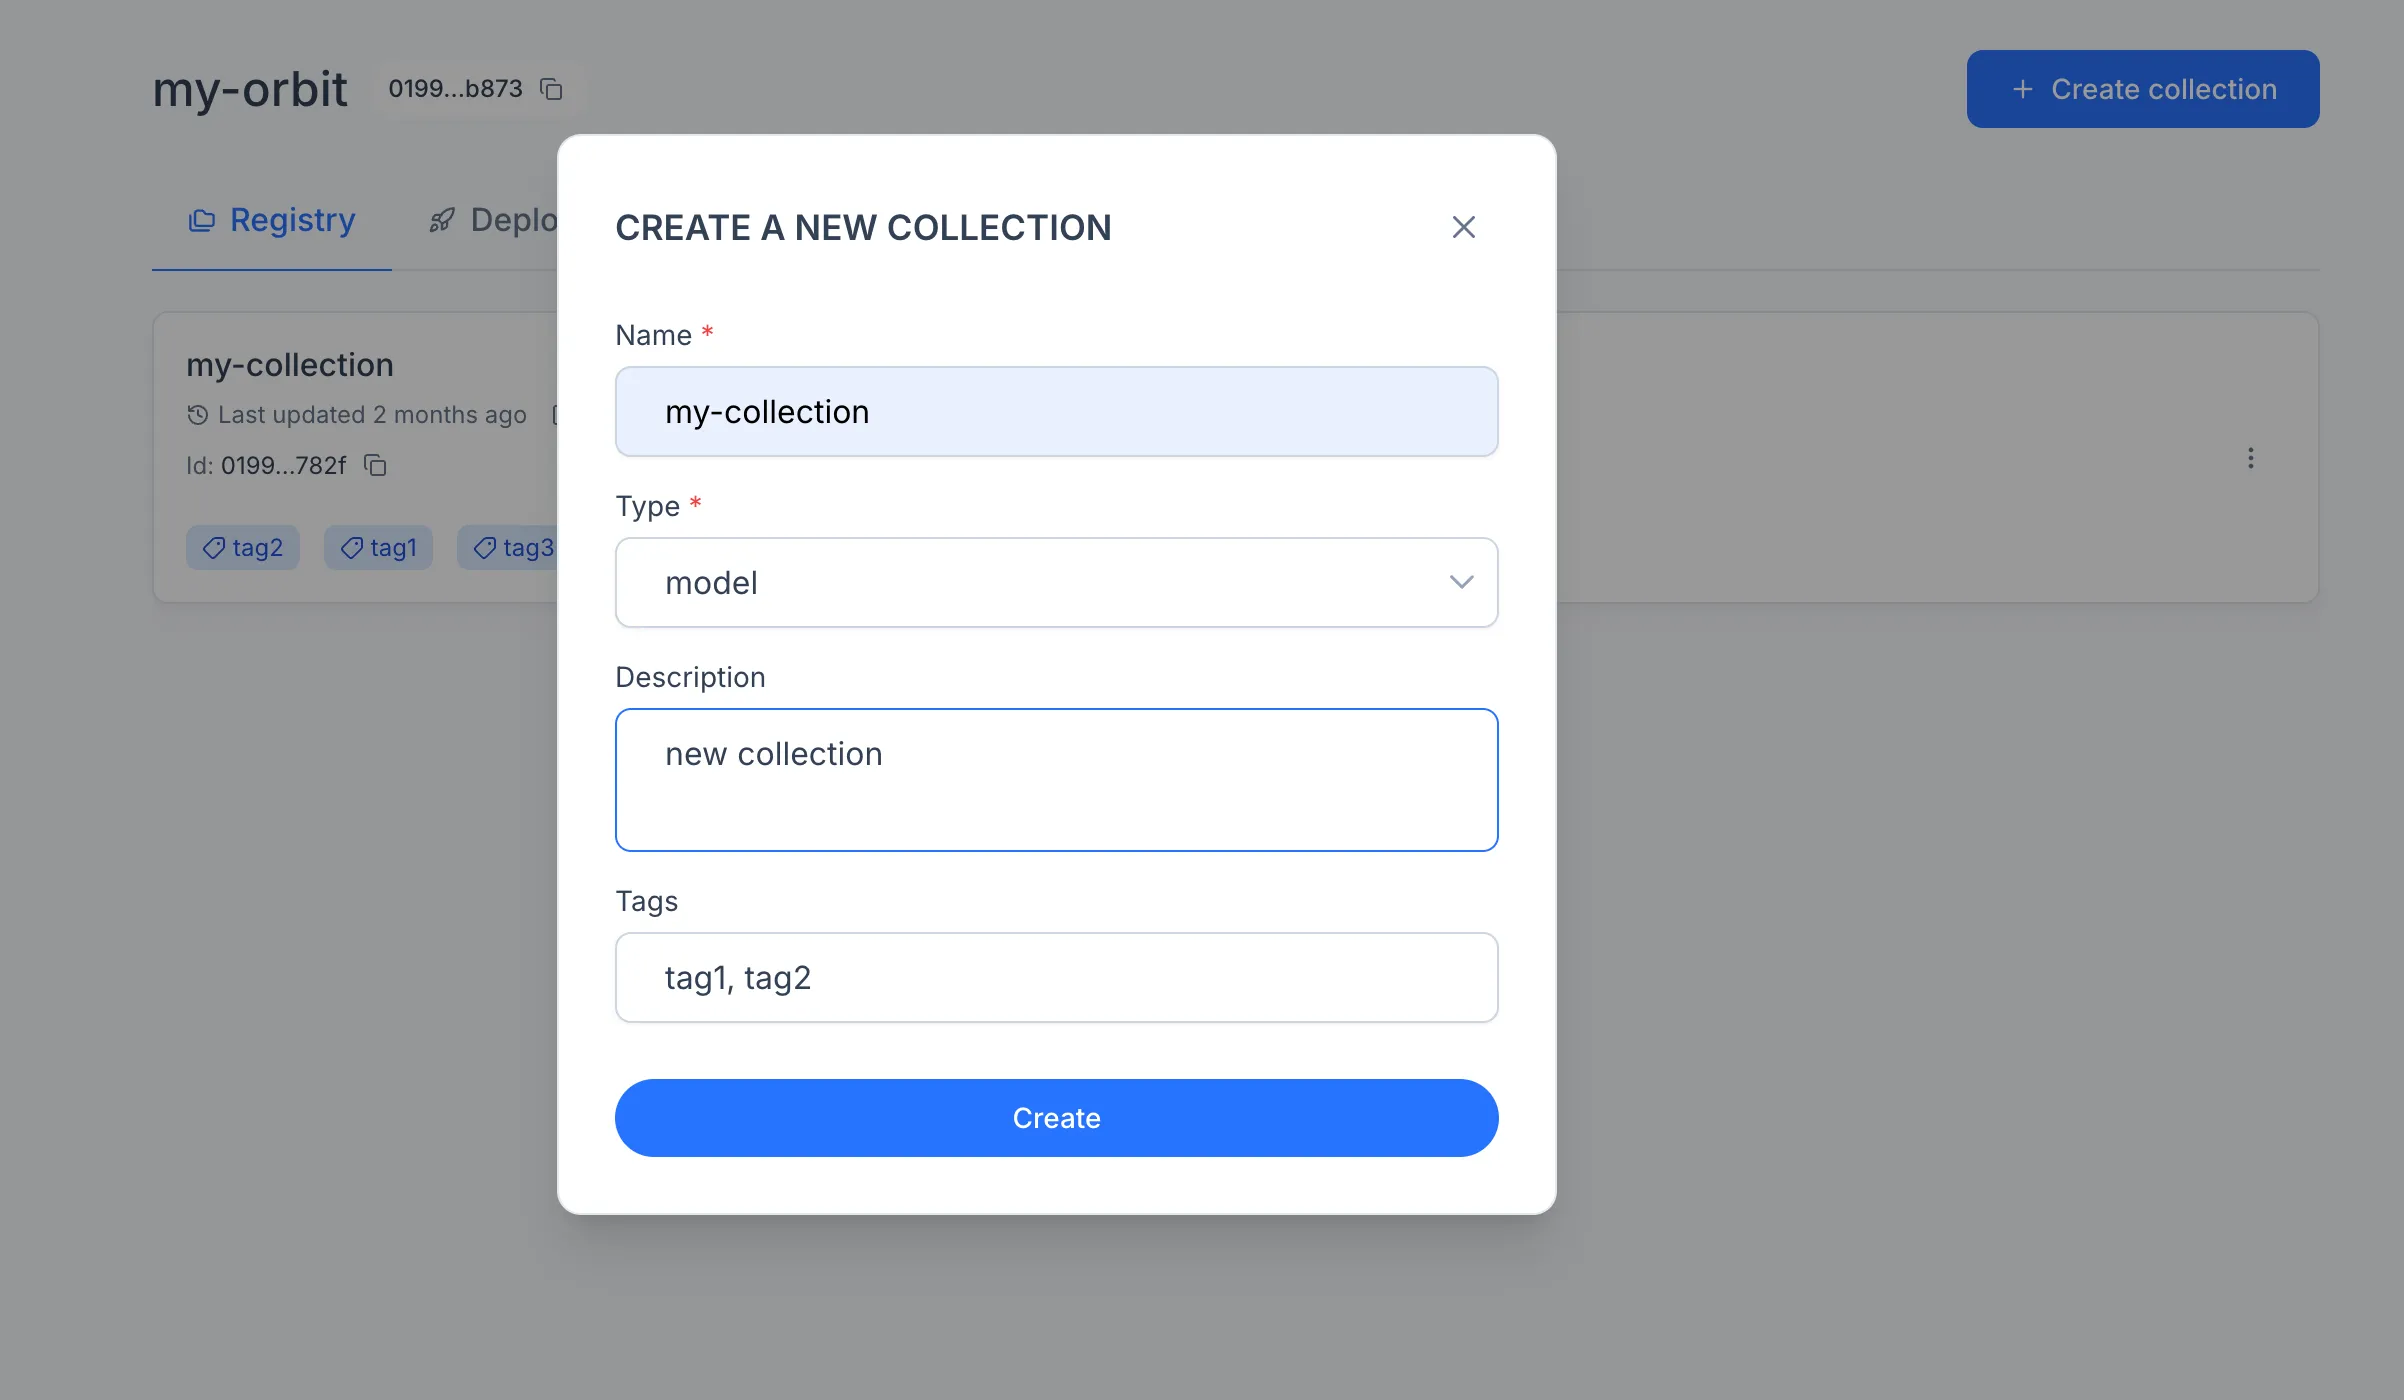
A Collection groups related assets inside an Orbit. To create one, open Registry in the sidebar and click "Create". The assets you train or upload will live here.
Collections come in four types, depending on what they contain:
Model Collections. Hold trained models.
Experiment Collections. Hold experiments produced during model training and evaluation.
Dataset Collections. Hold datasets used as inputs for training, fine-tuning, or evaluation.
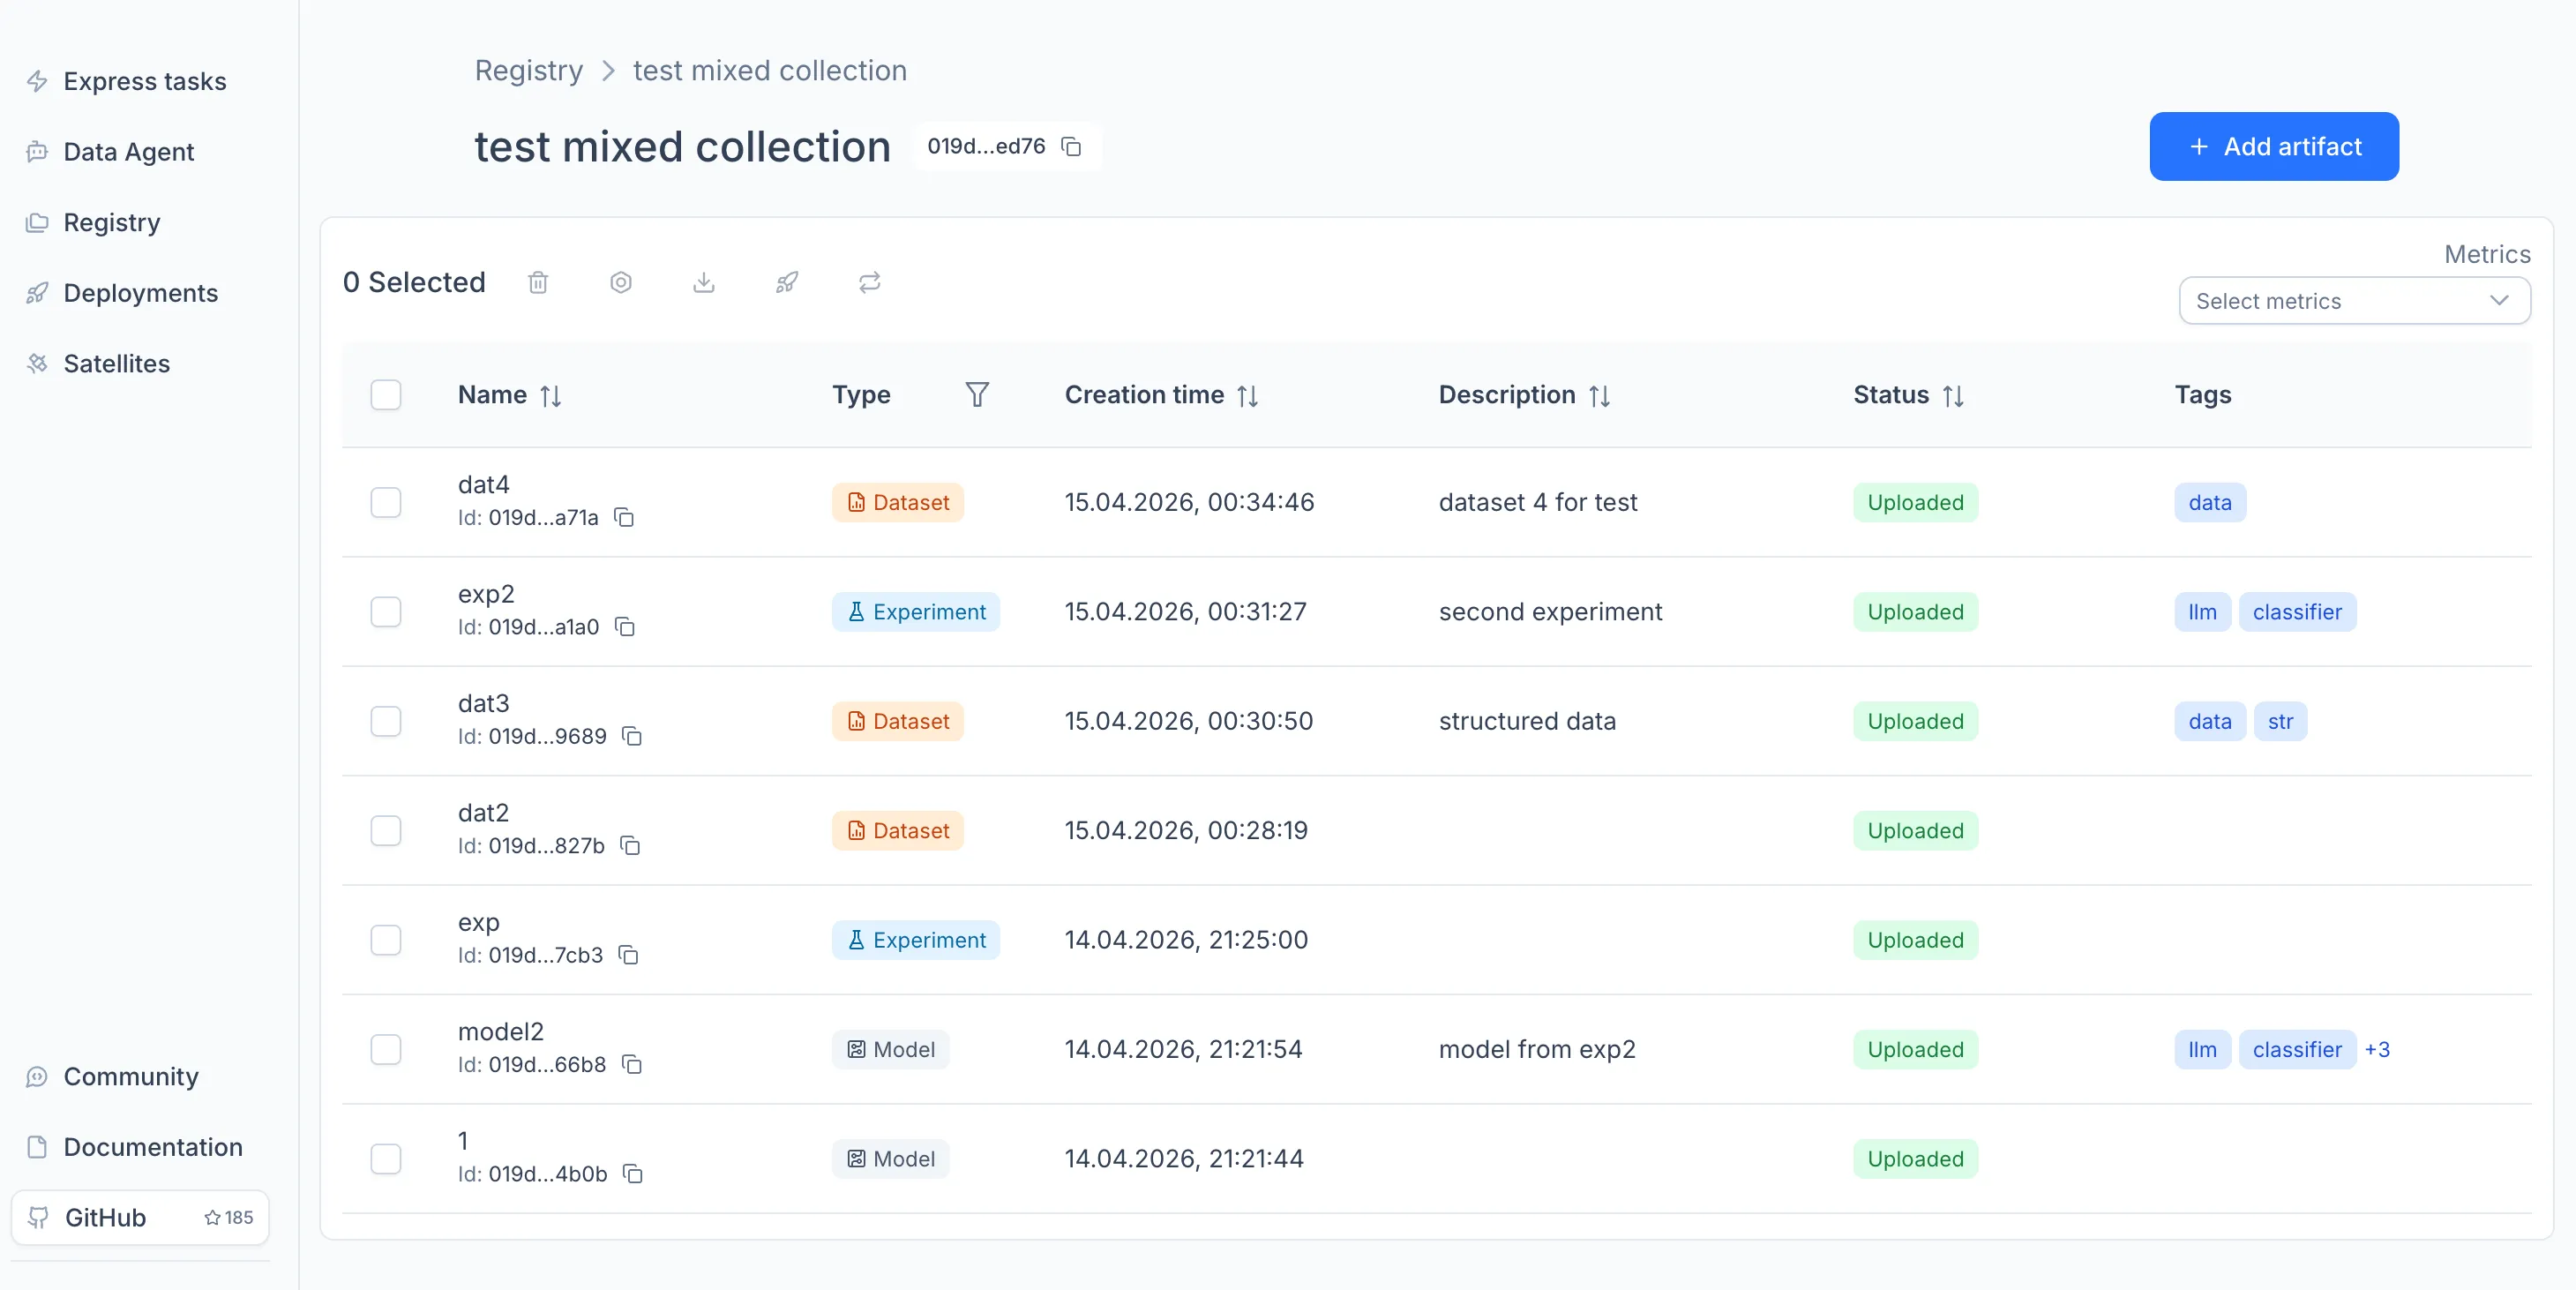
Mixed Collections. Hold any combination of models, experiments, and datasets in the same container.
For details on each type, see the Registry documentation.
Training a Model with Express Tasks
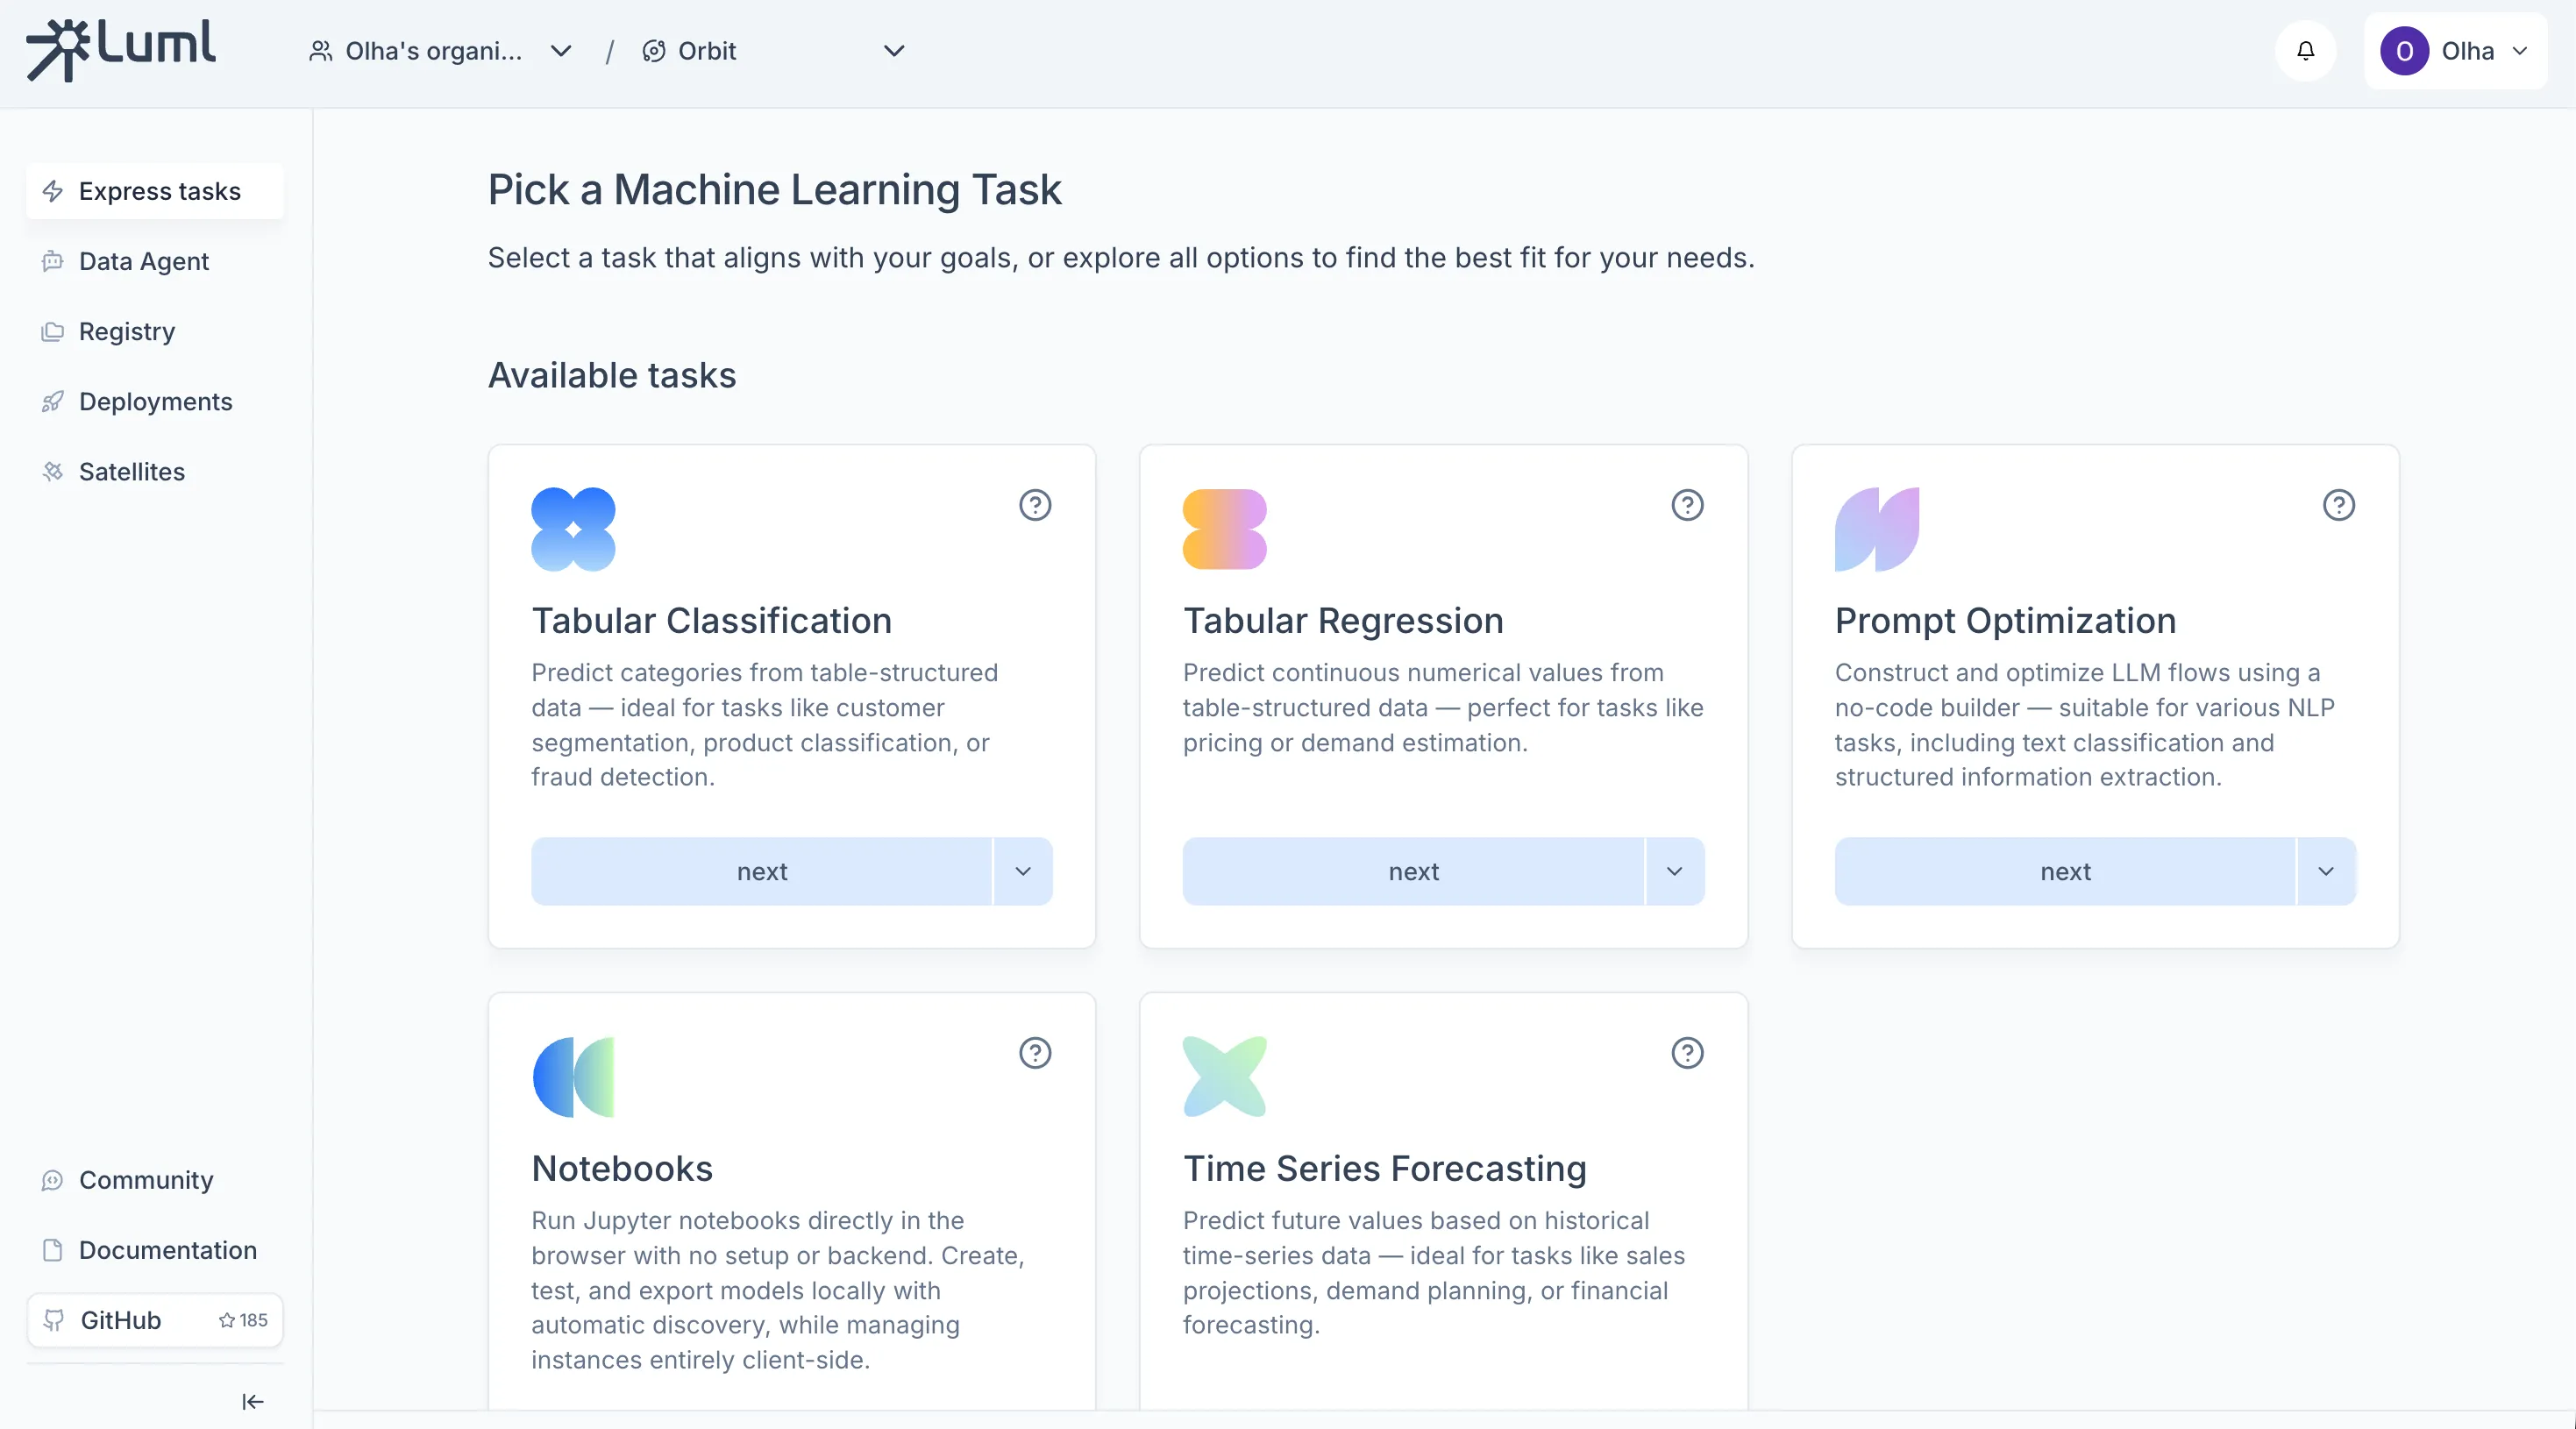
Express Tasks let you train a model directly in the browser without writing code.
On the Orbit's main screen, choose a task type (for example, Tabular Classification or Tabular Regression).
Each Express Task type comes with a sample dataset — a classic, well-known dataset for that problem (e.g., Iris for classification, Boston Housing for regression). If you just want to see how the workflow works, select the sample dataset and proceed — no data preparation needed. If you want to train a model for a real use case, upload your own .csv file with data relevant to the problem you are solving.

On the data settings screen, select the Target column — the column the model should learn to predict. You can also filter rows, sort the dataset, or remove columns that are not relevant.
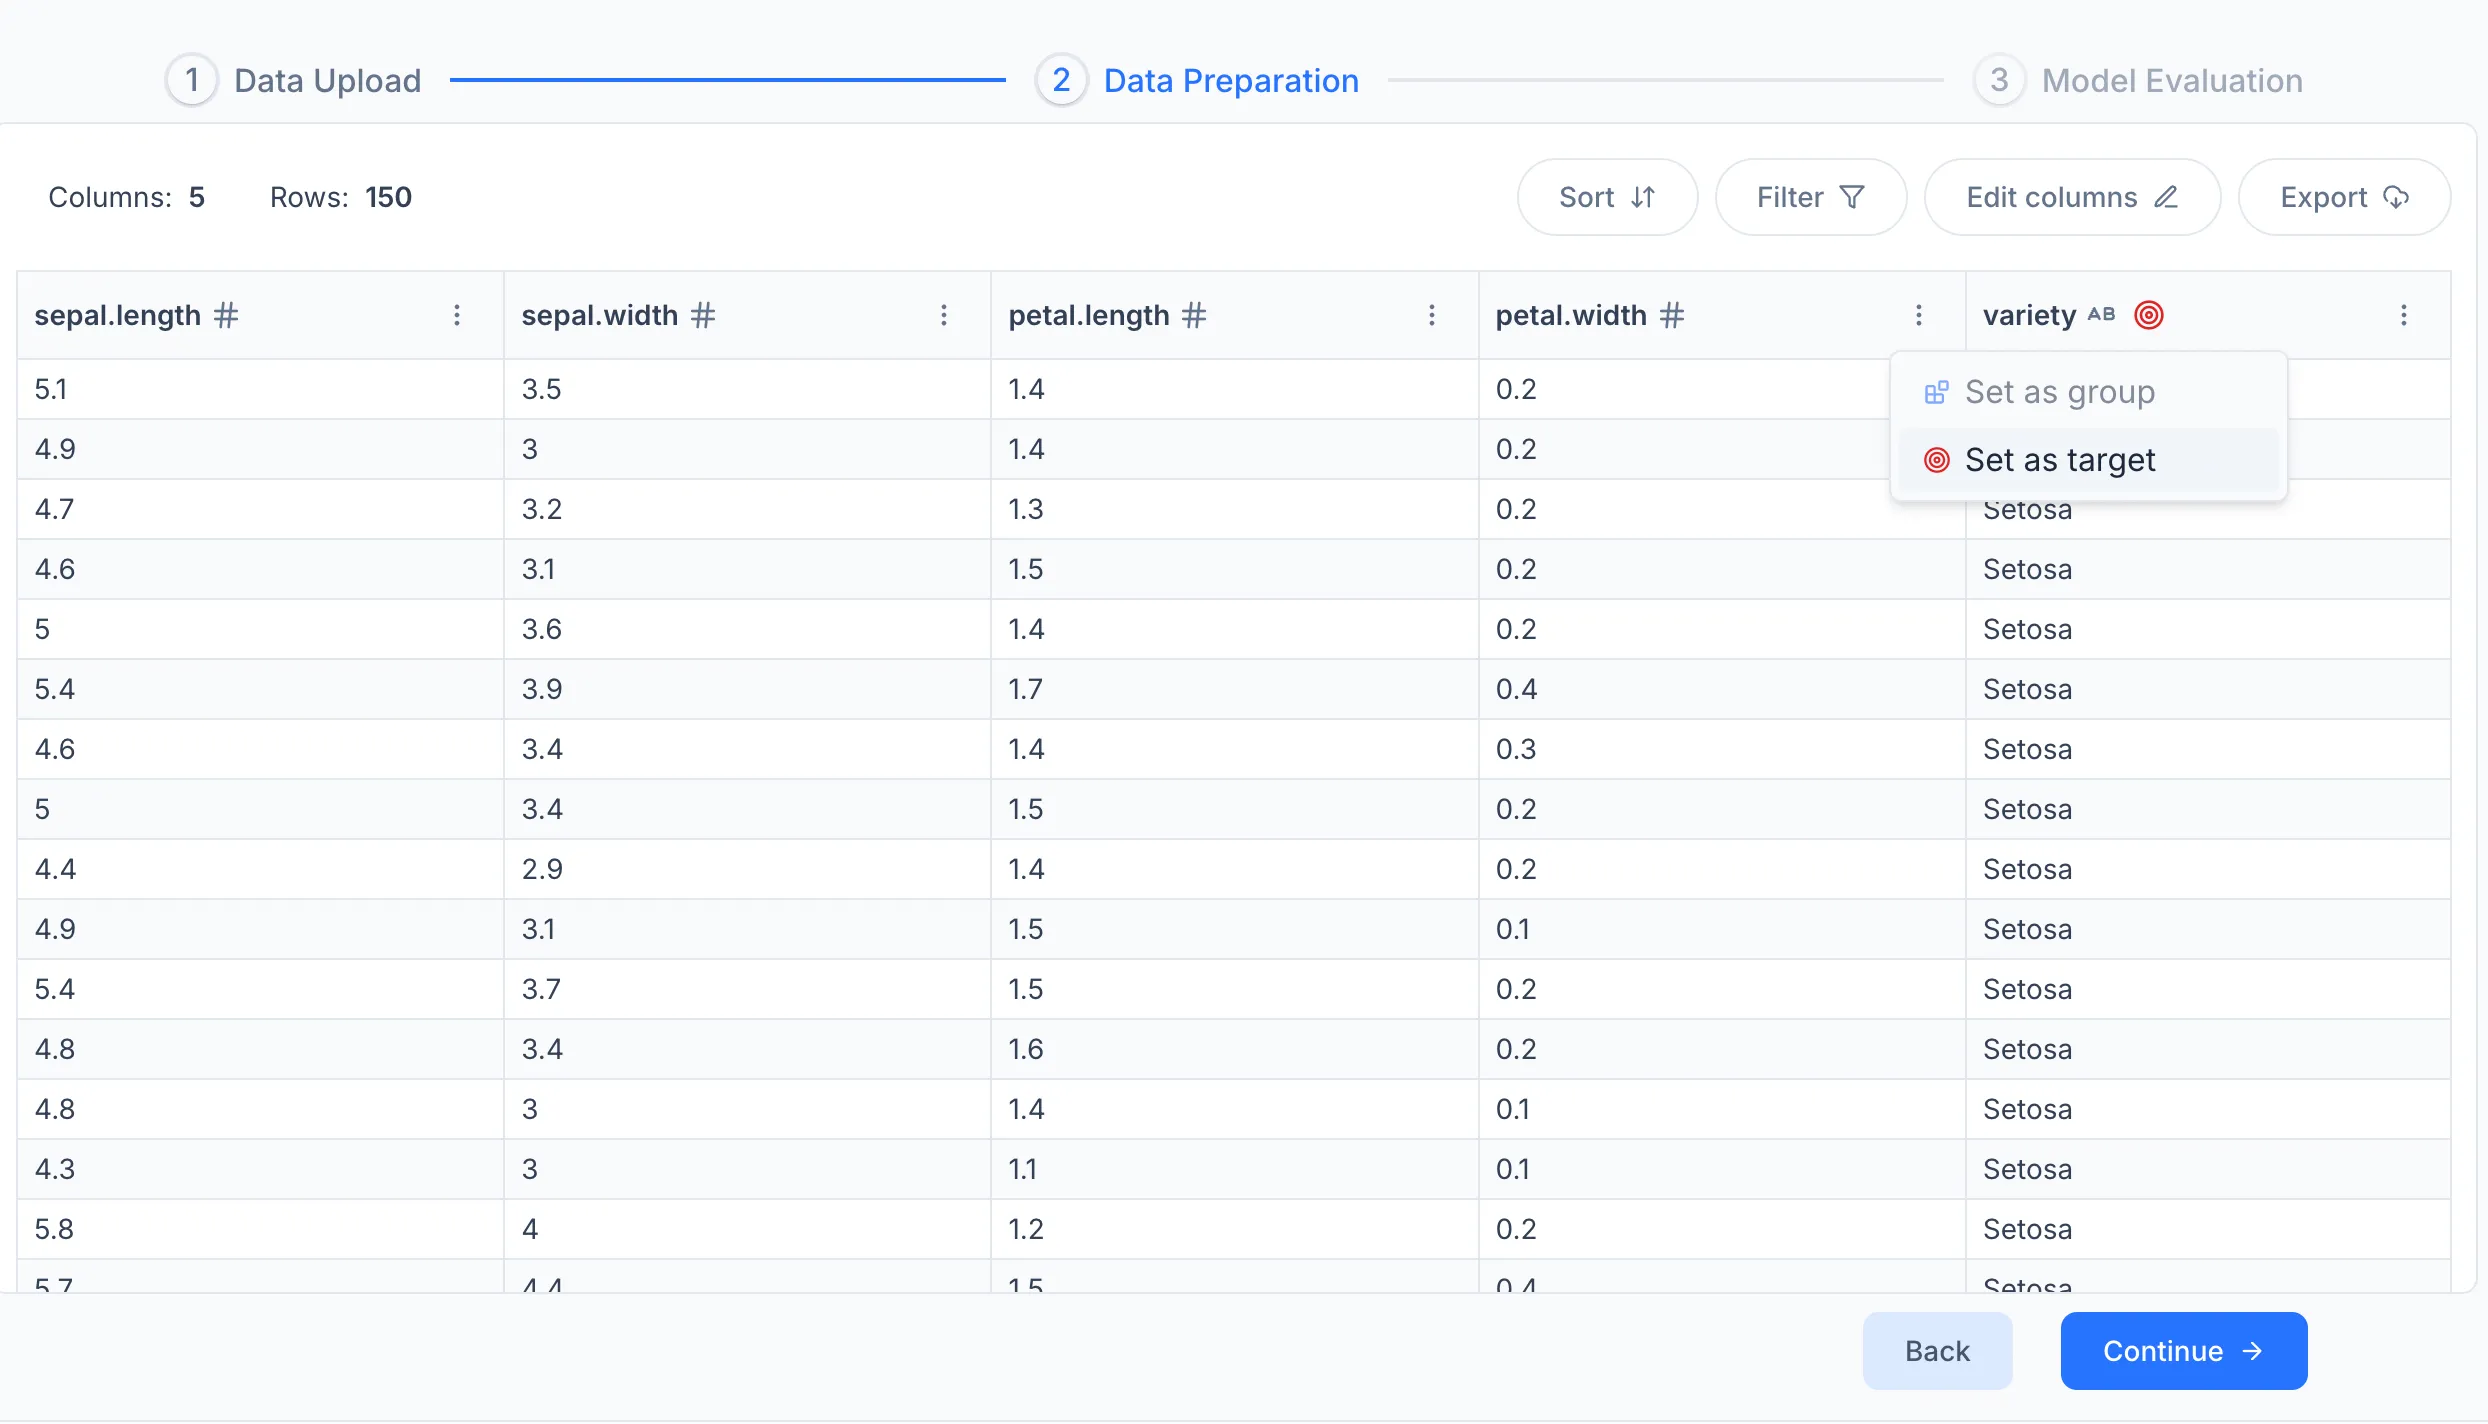
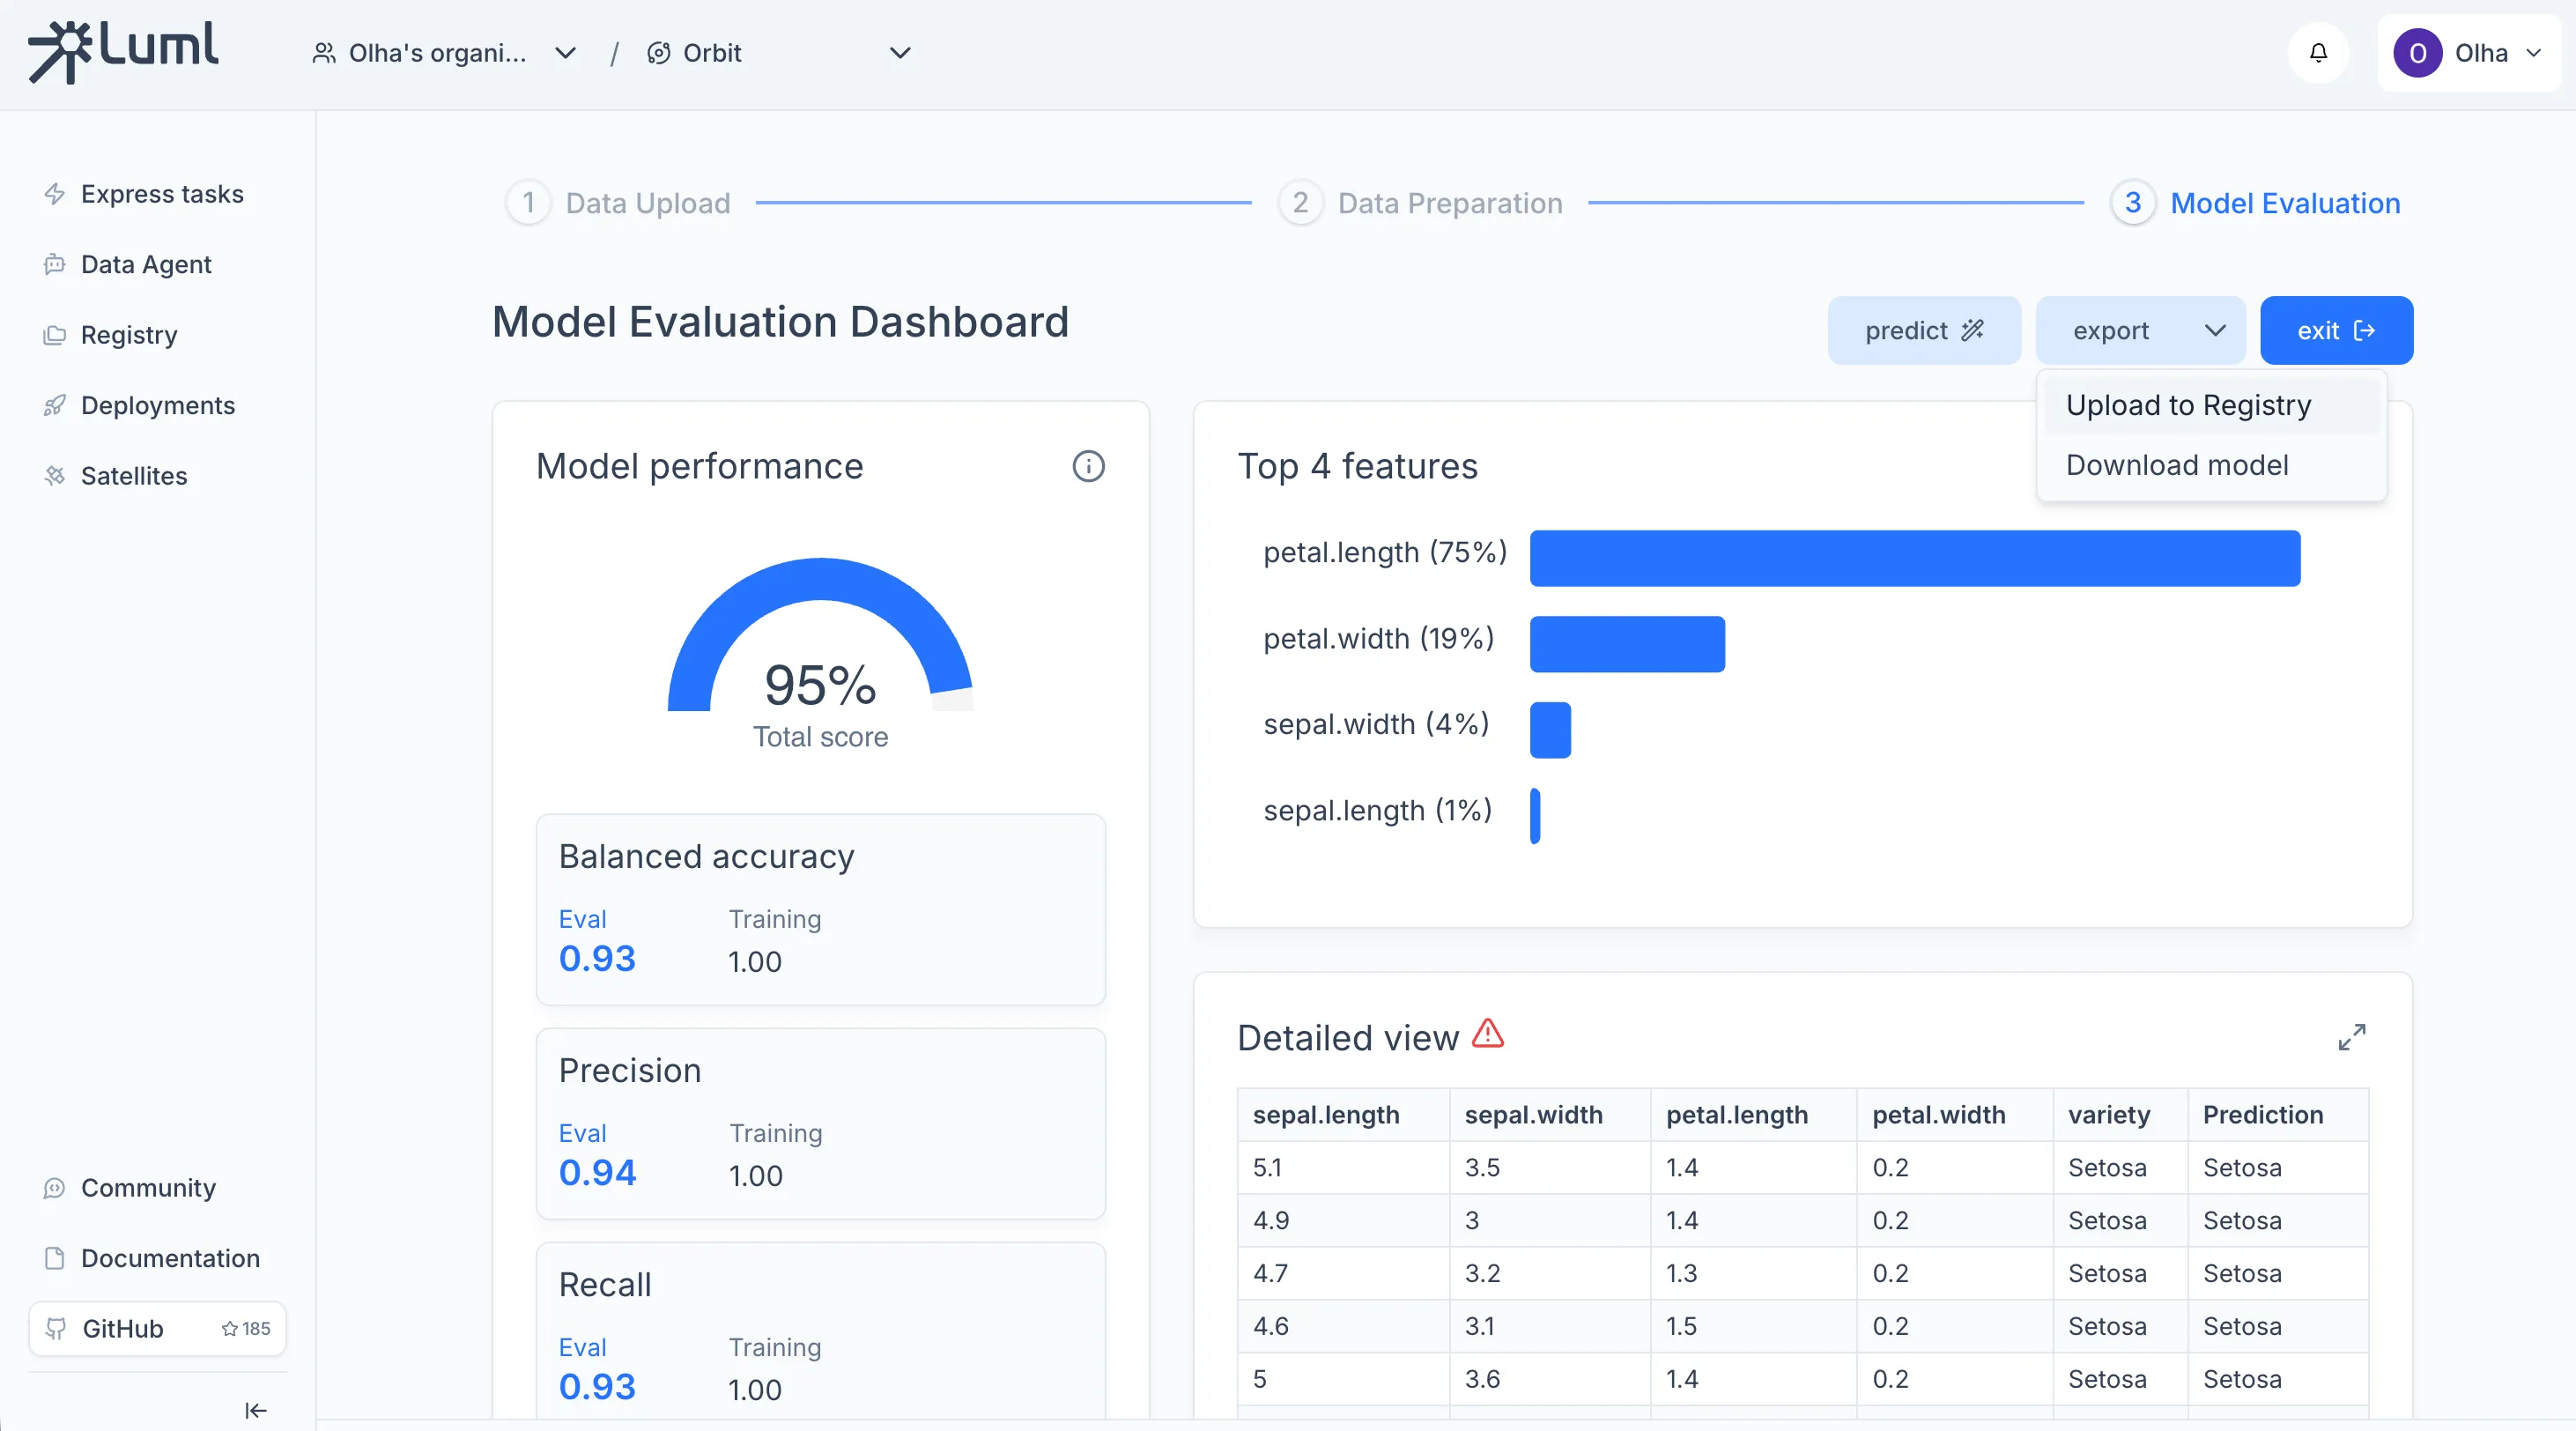
Click Train. When training finishes, a results dashboard appears with the model's metrics. From here you can test the model on a single sample or a .csv file using the Predict tab, or export it to the Registry.

Uploading the Model to the Registry
The Registry is the central store for all model artifacts in an Orbit. From the Express Tasks results dashboard, click Export to save the model as a .luml file, then use the upload action to push it to the Registry.
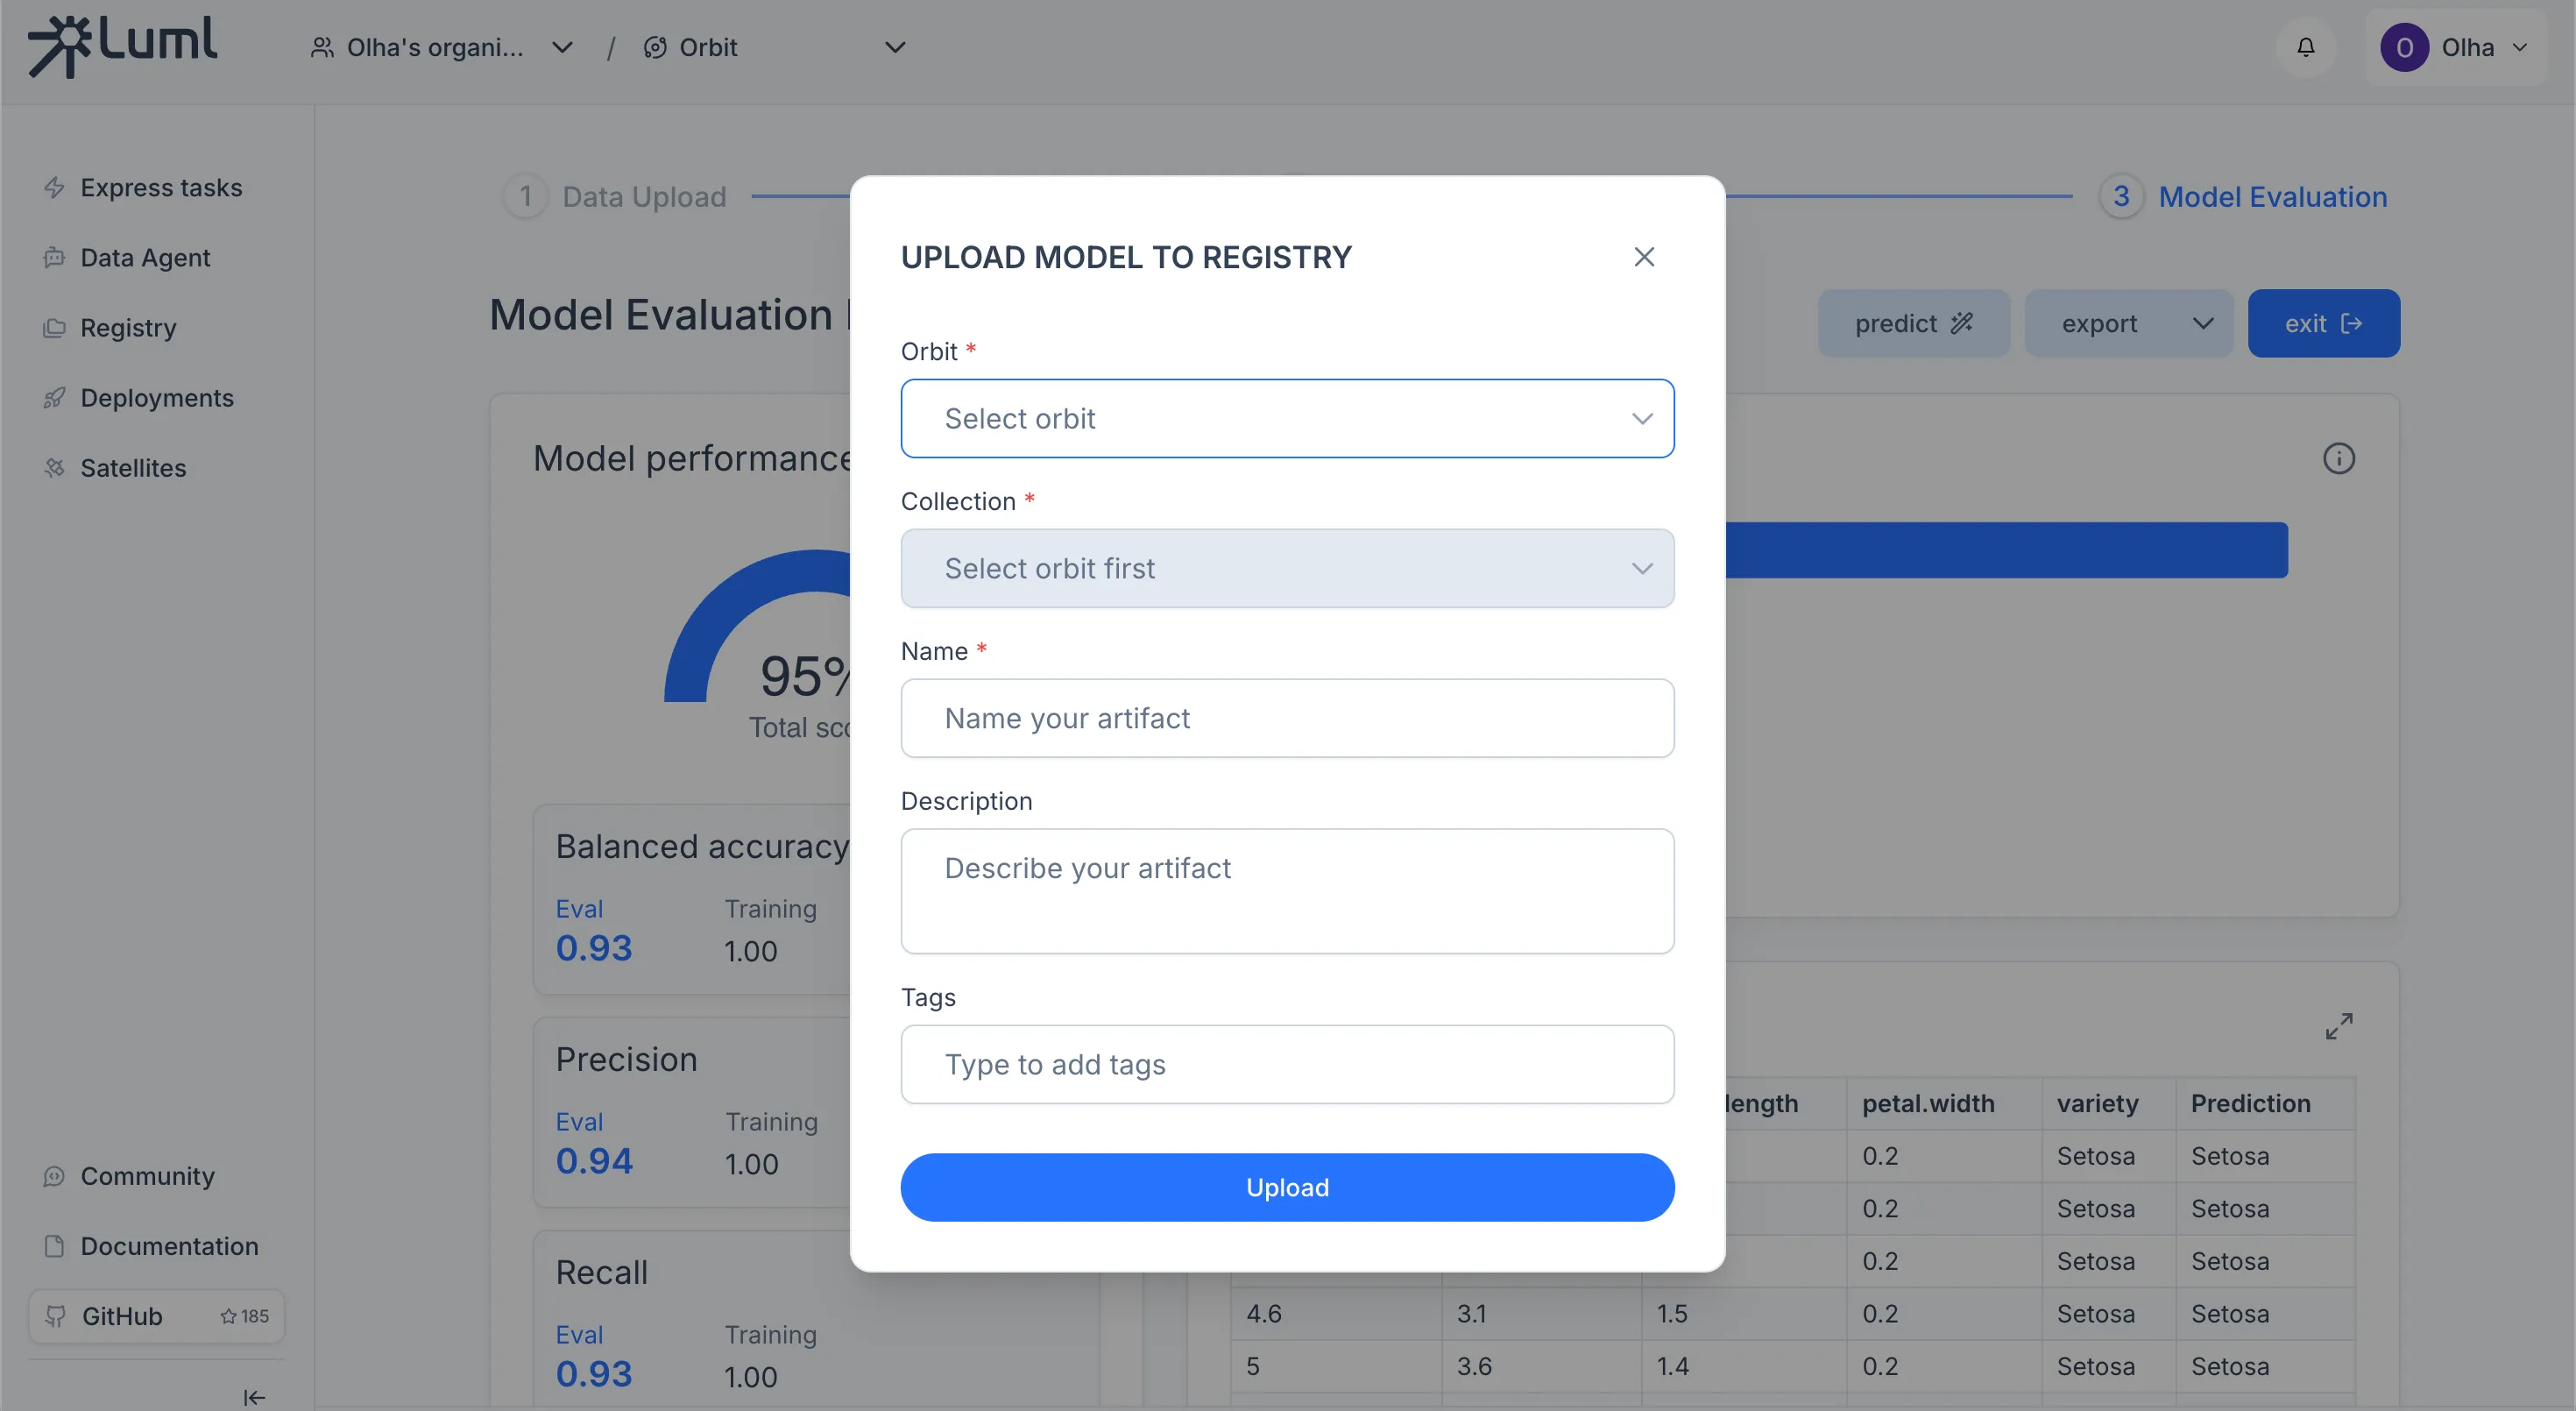
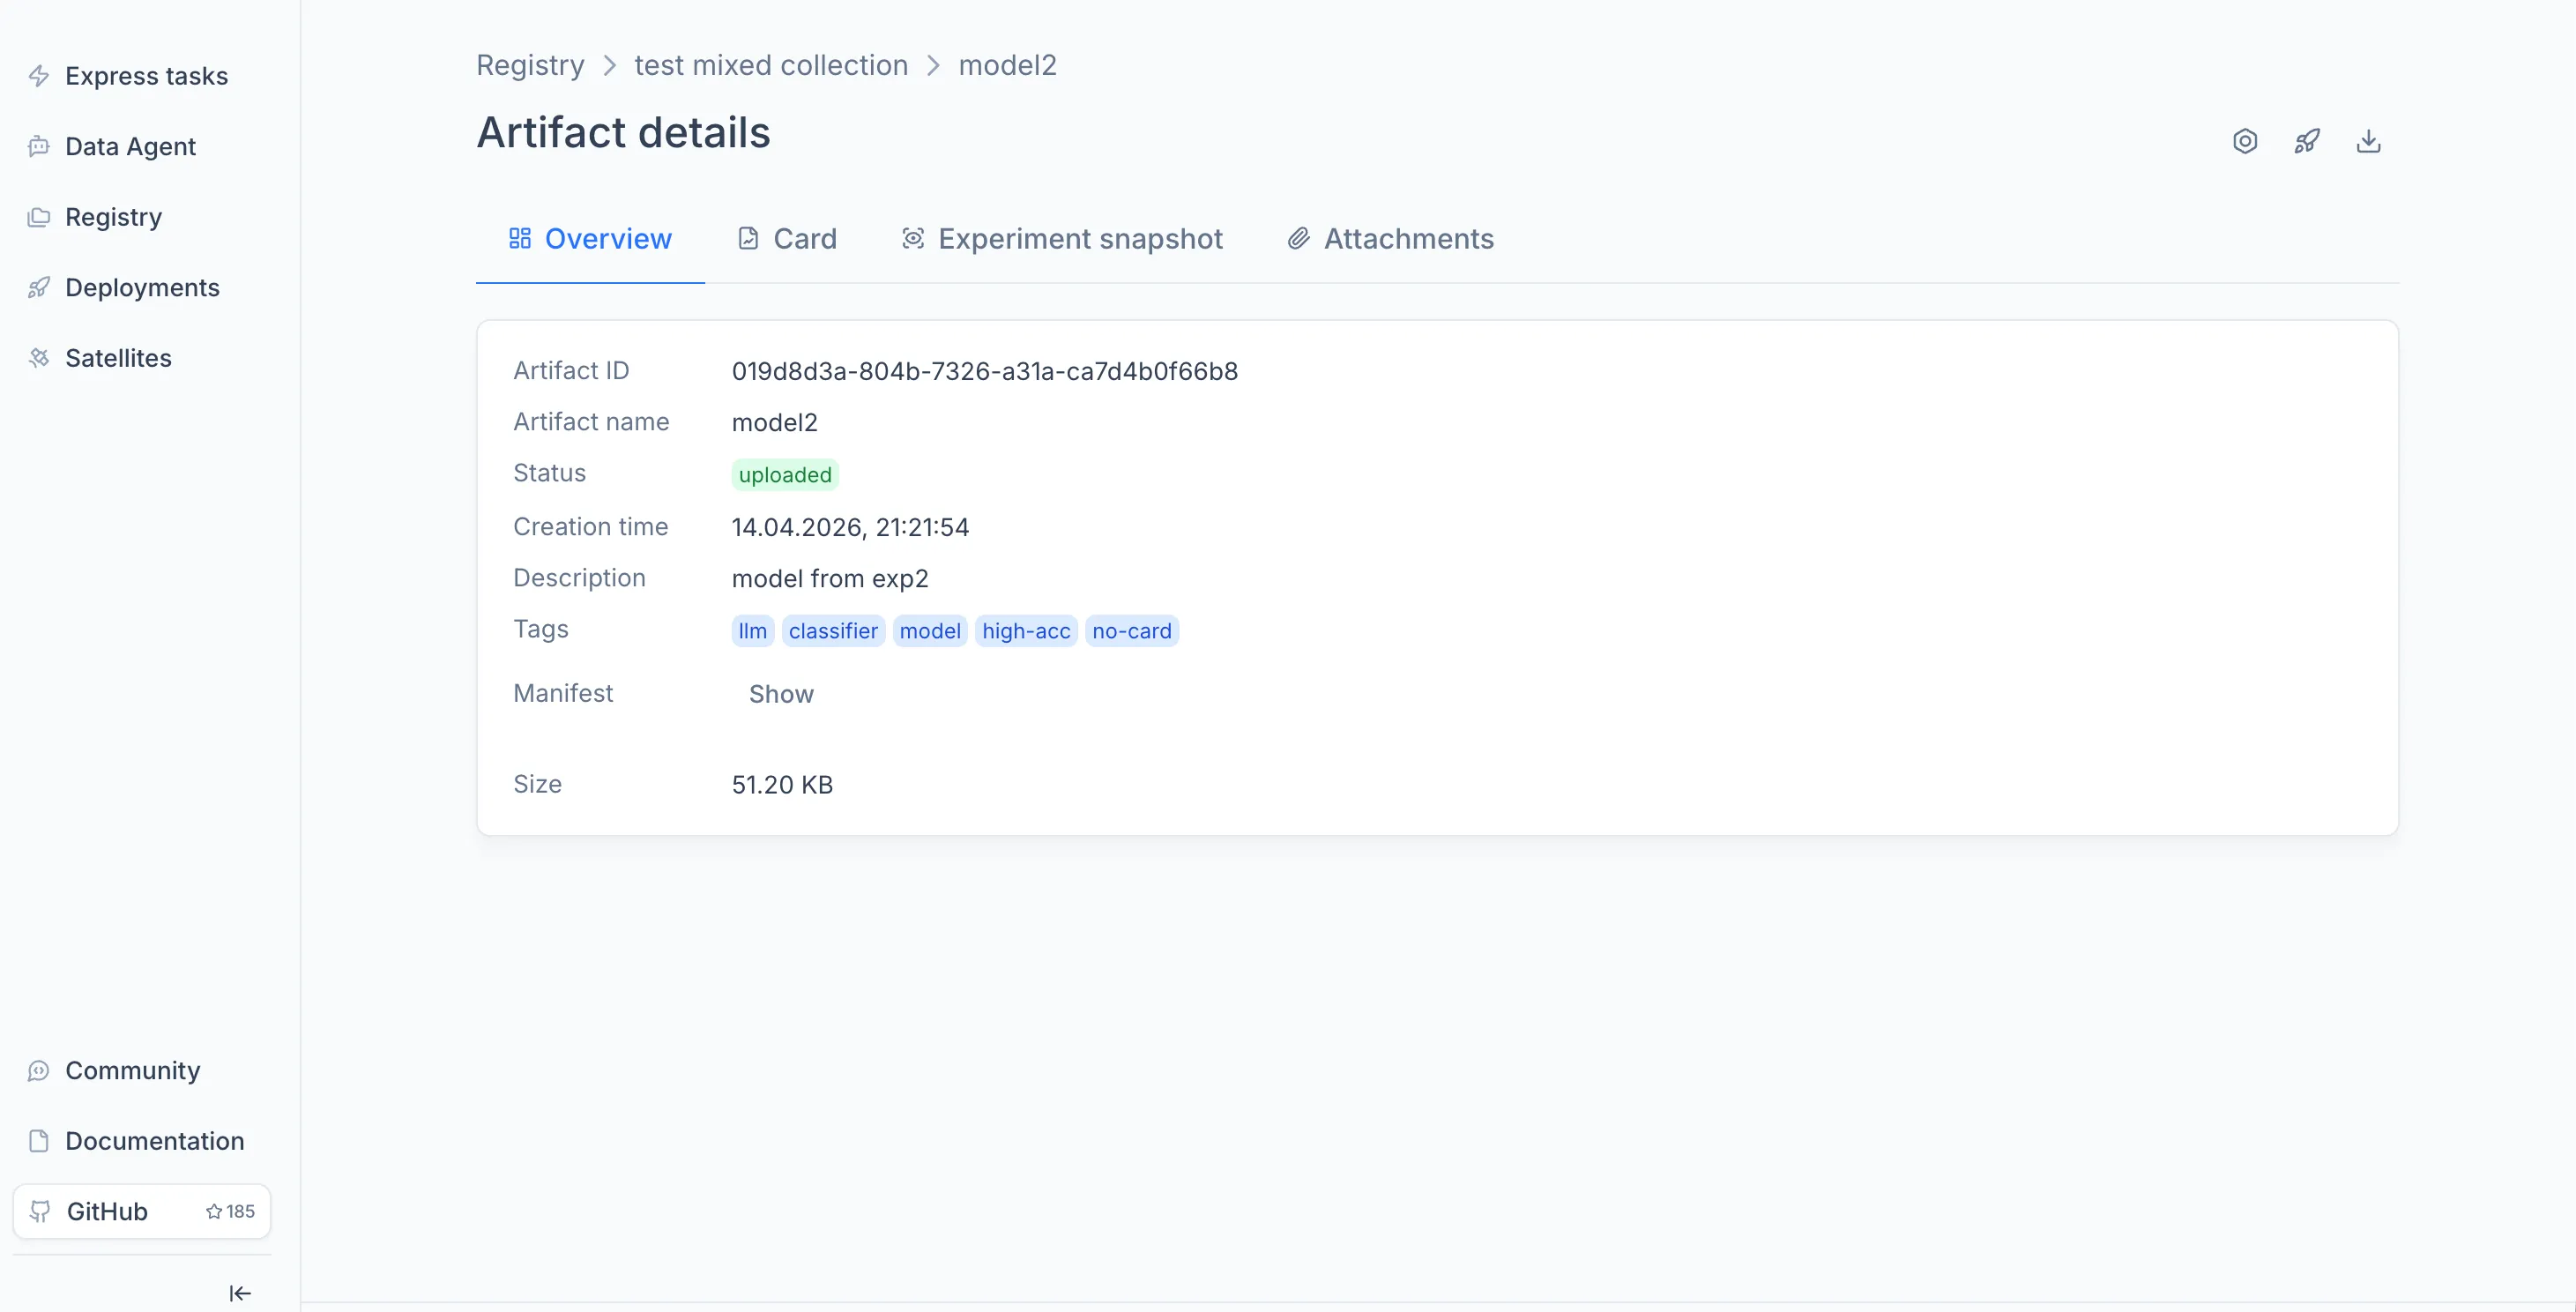
Once the model appears in the Registry, you can open it to view its overview, model card, and experiment snapshots. For details on what the Registry stores and how versioning works, see the Registry documentation.
Connecting a Satellite
A Satellite is a compute node you host yourself that executes models and serves inference requests. Before you can deploy, at least one Satellite must be connected to the Orbit.
For the full setup — registering the Satellite in Luml, launching the agent on a host machine with Docker Compose, and verifying the connection — see the Satellite Connection Guide.
Deploying the Model
Deployment binds a model from the Registry to a running Satellite, turning it into a live API endpoint.
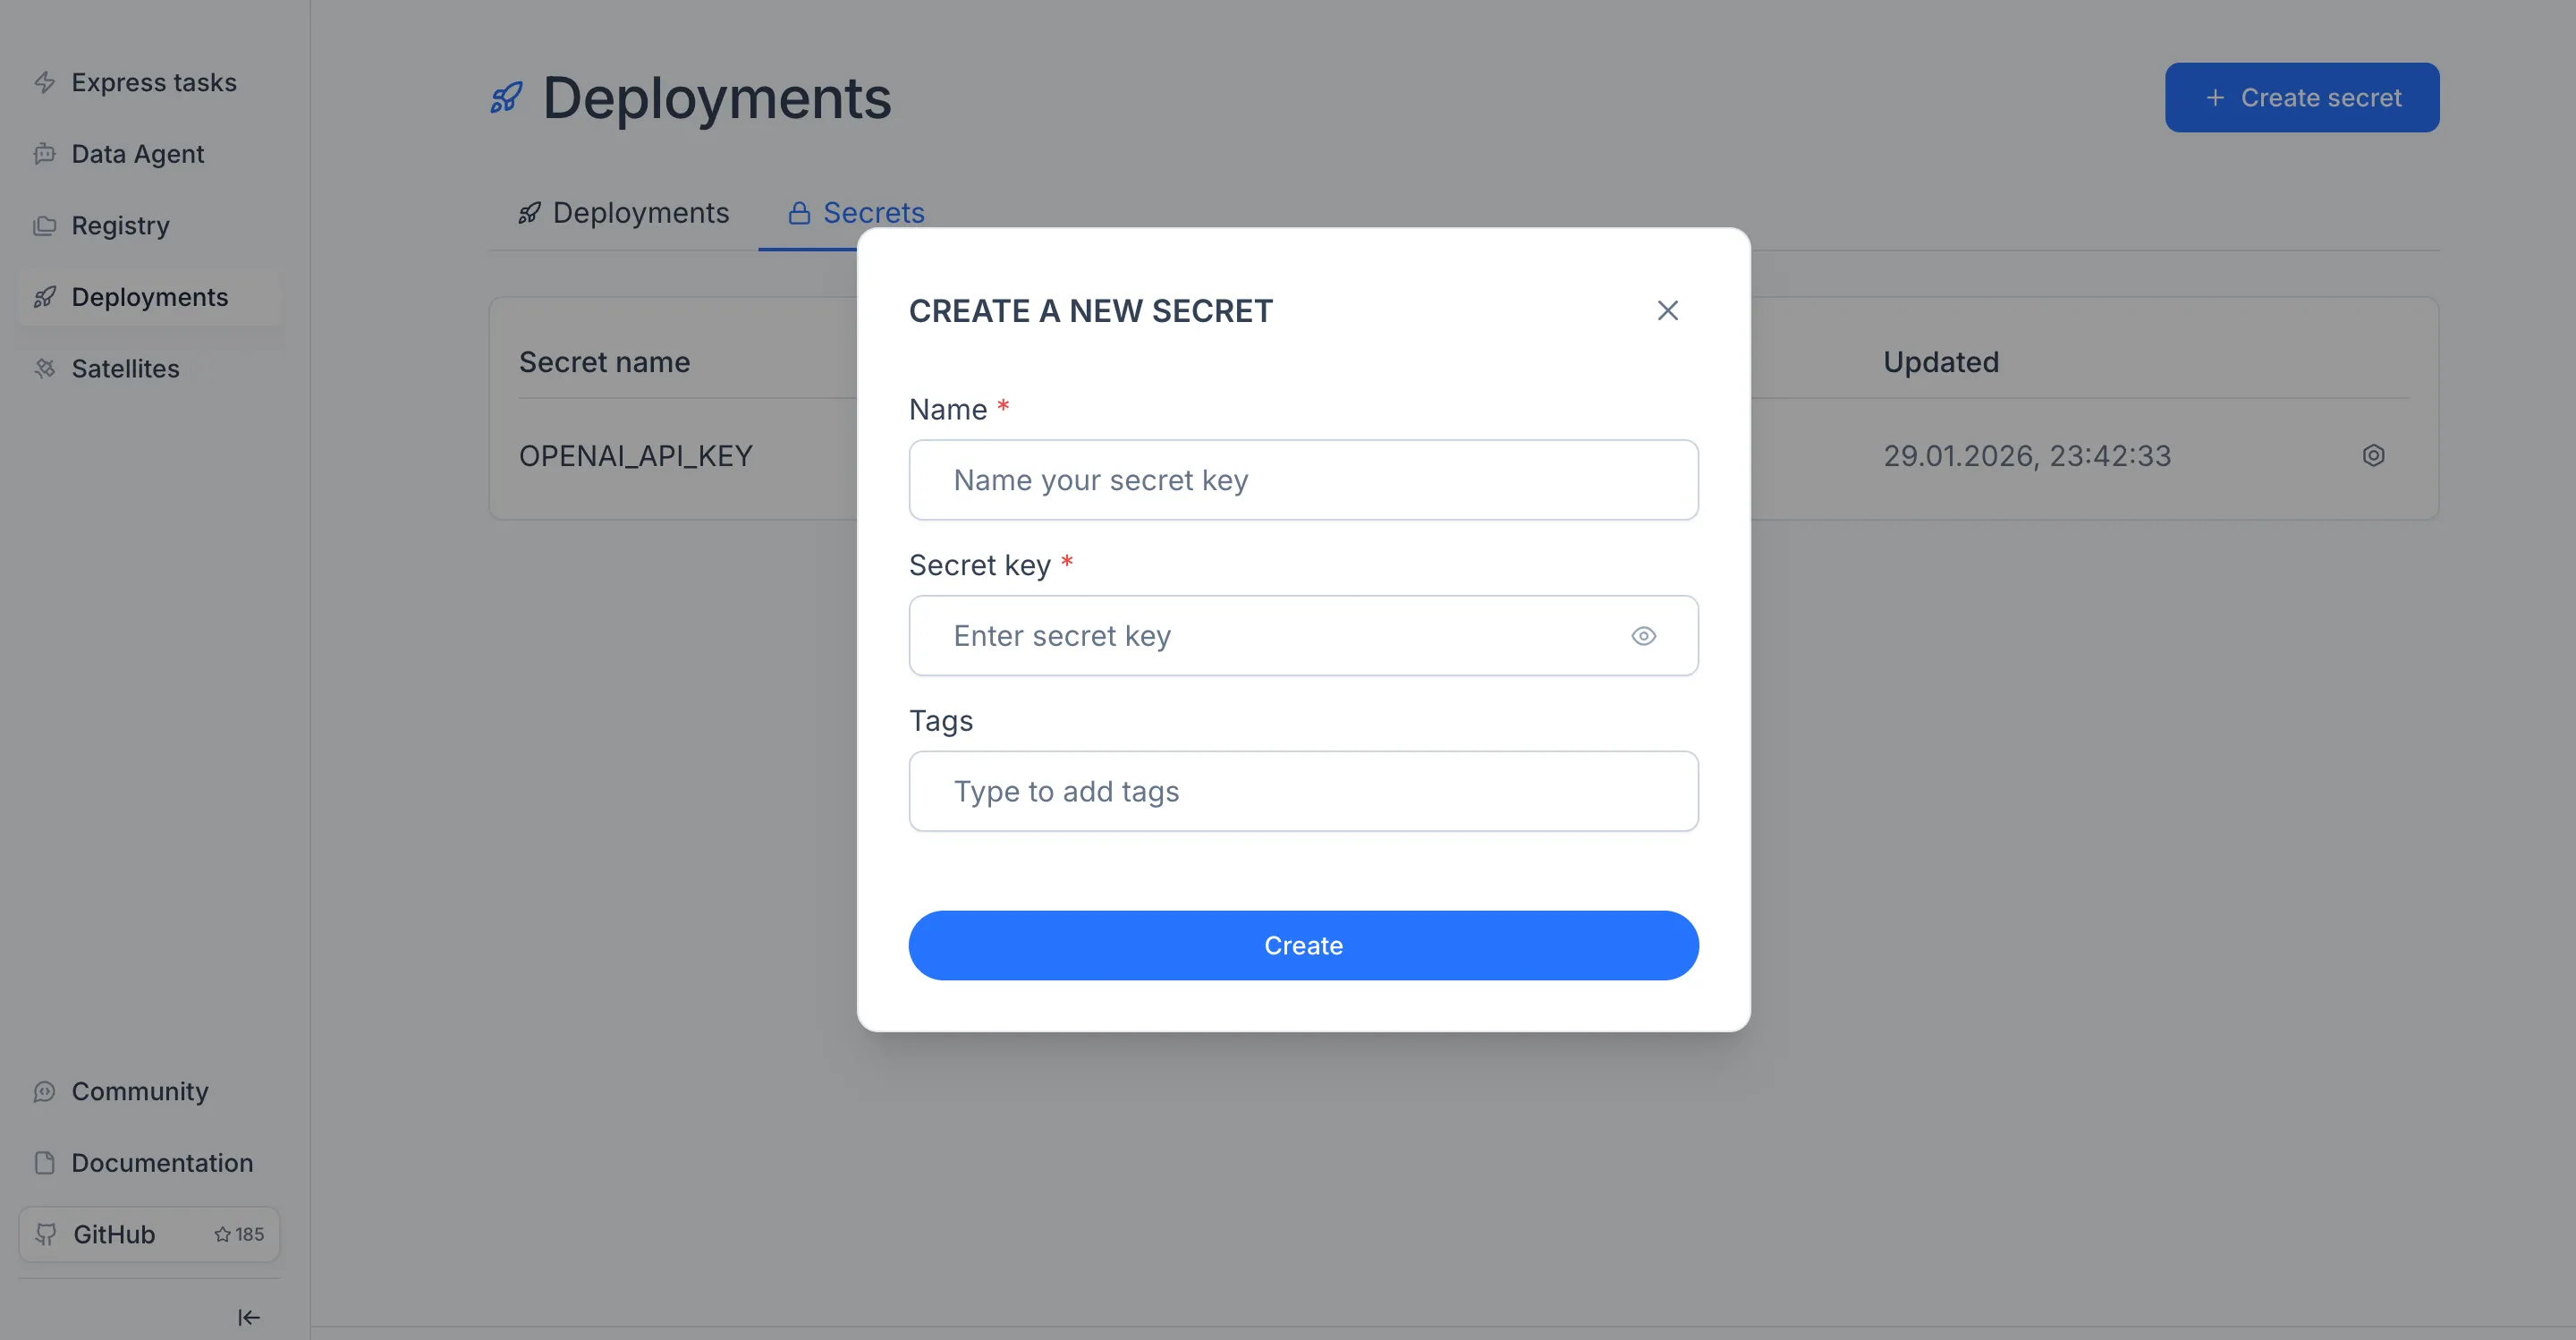
If the model relies on external API keys (for example, an OpenAI key for an LLM-based model), add them first. Open the Deployments module in the sidebar, switch to the Secrets tab, click "Create secret", and enter a name and value.
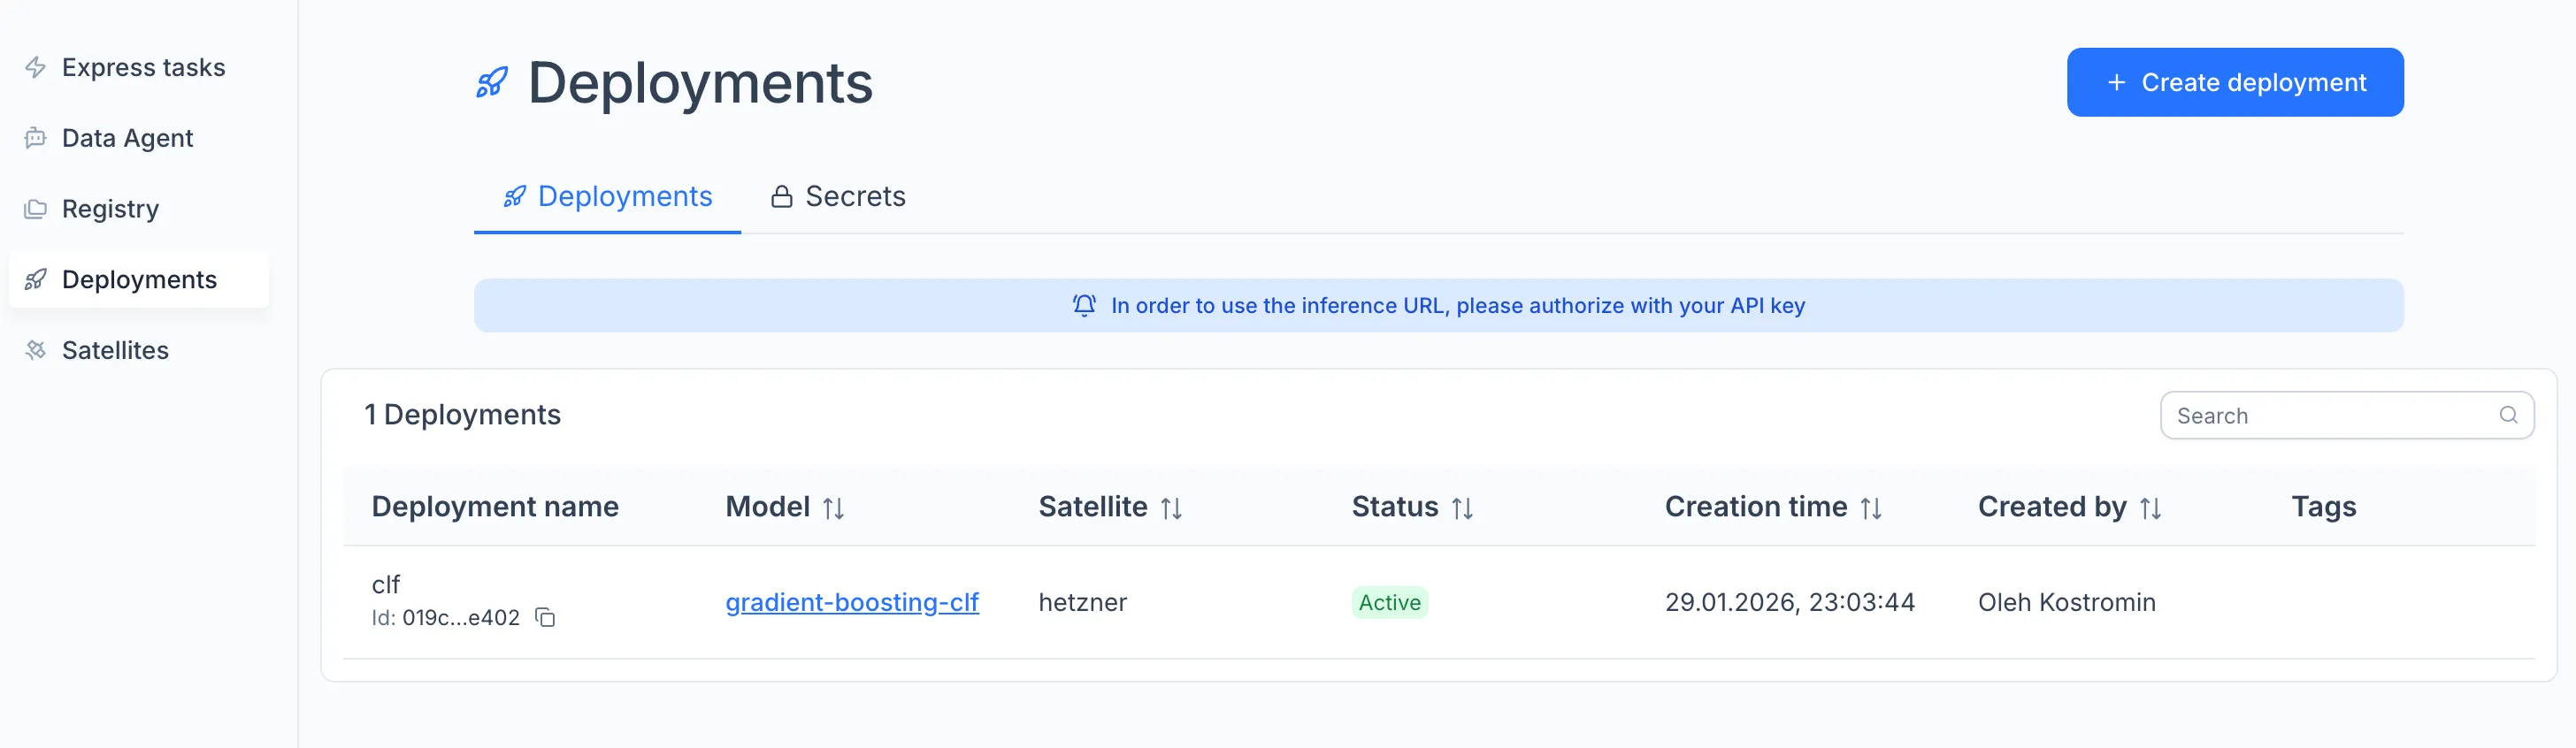
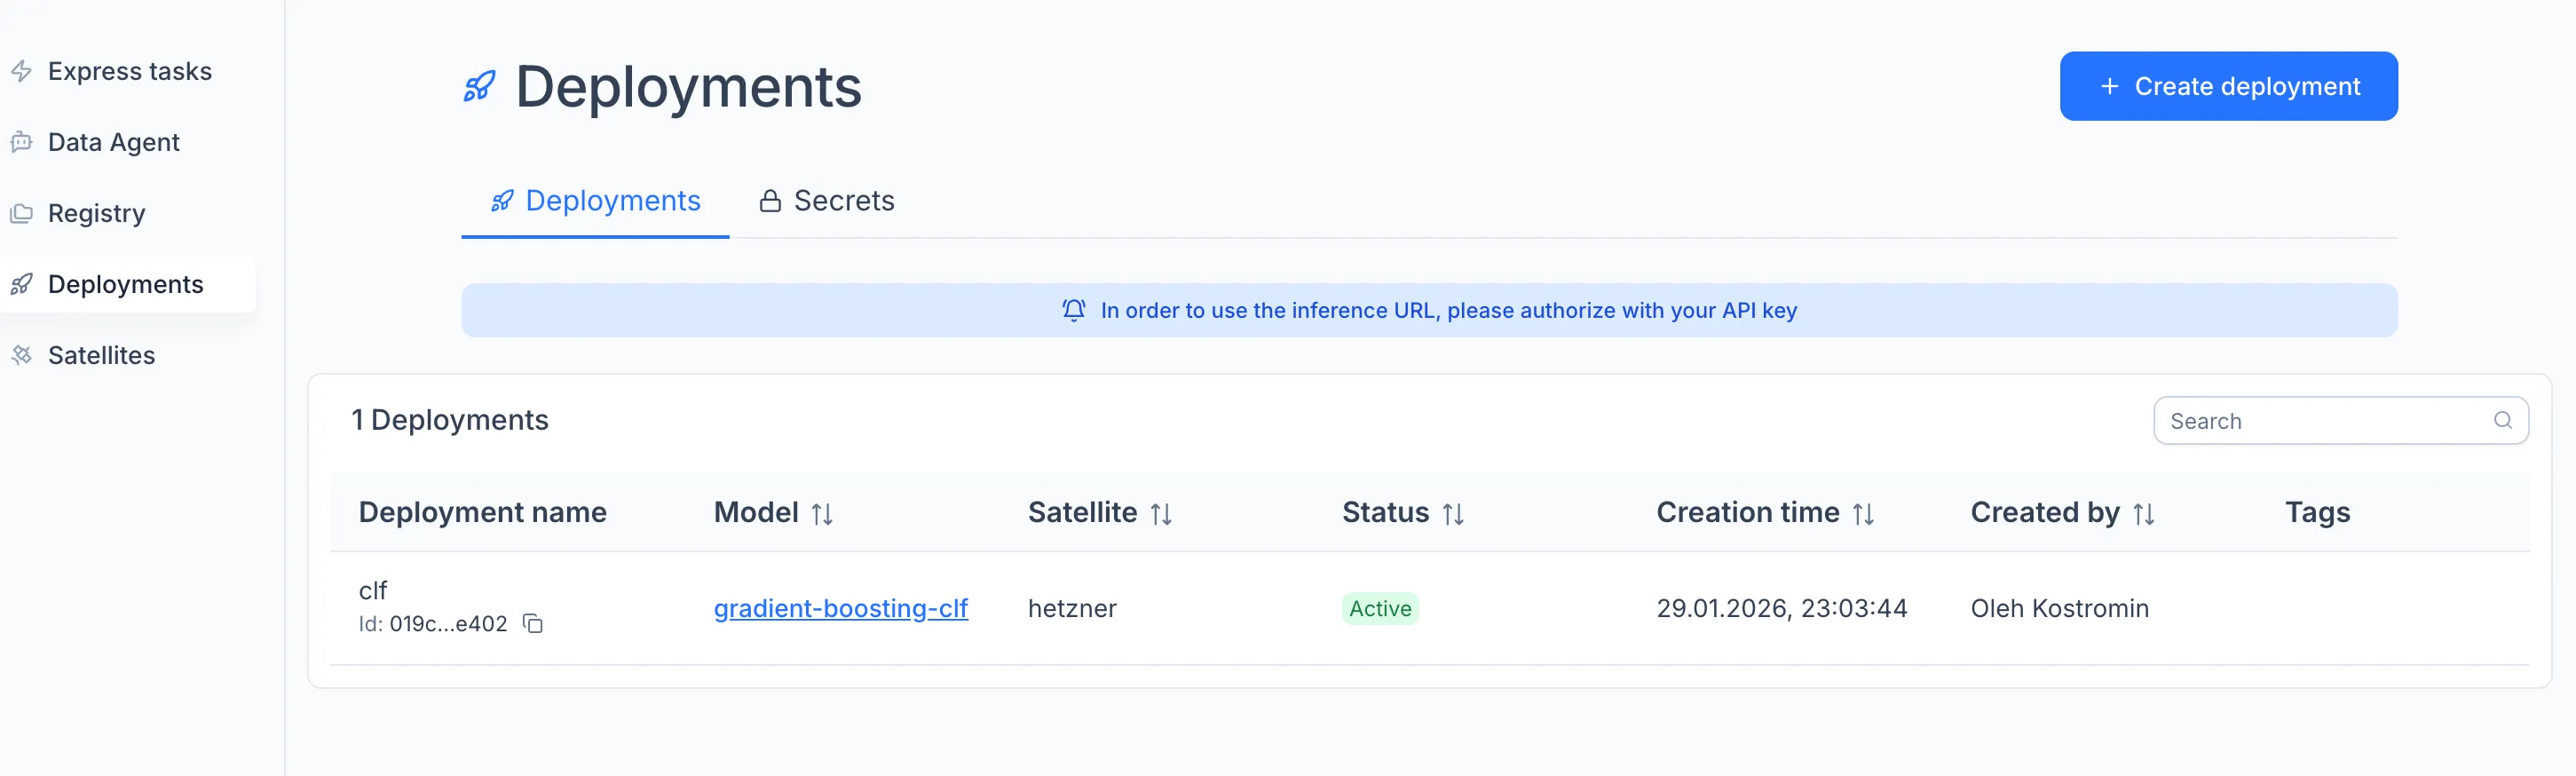
To create the deployment, open the Deployments module in the sidebar and click "Create" on the Deployments tab, or open the model in a Collection and click the rocket icon.
In the configuration window, enter a deployment name, select the Satellite as the execution node, and attach any secrets the model needs.
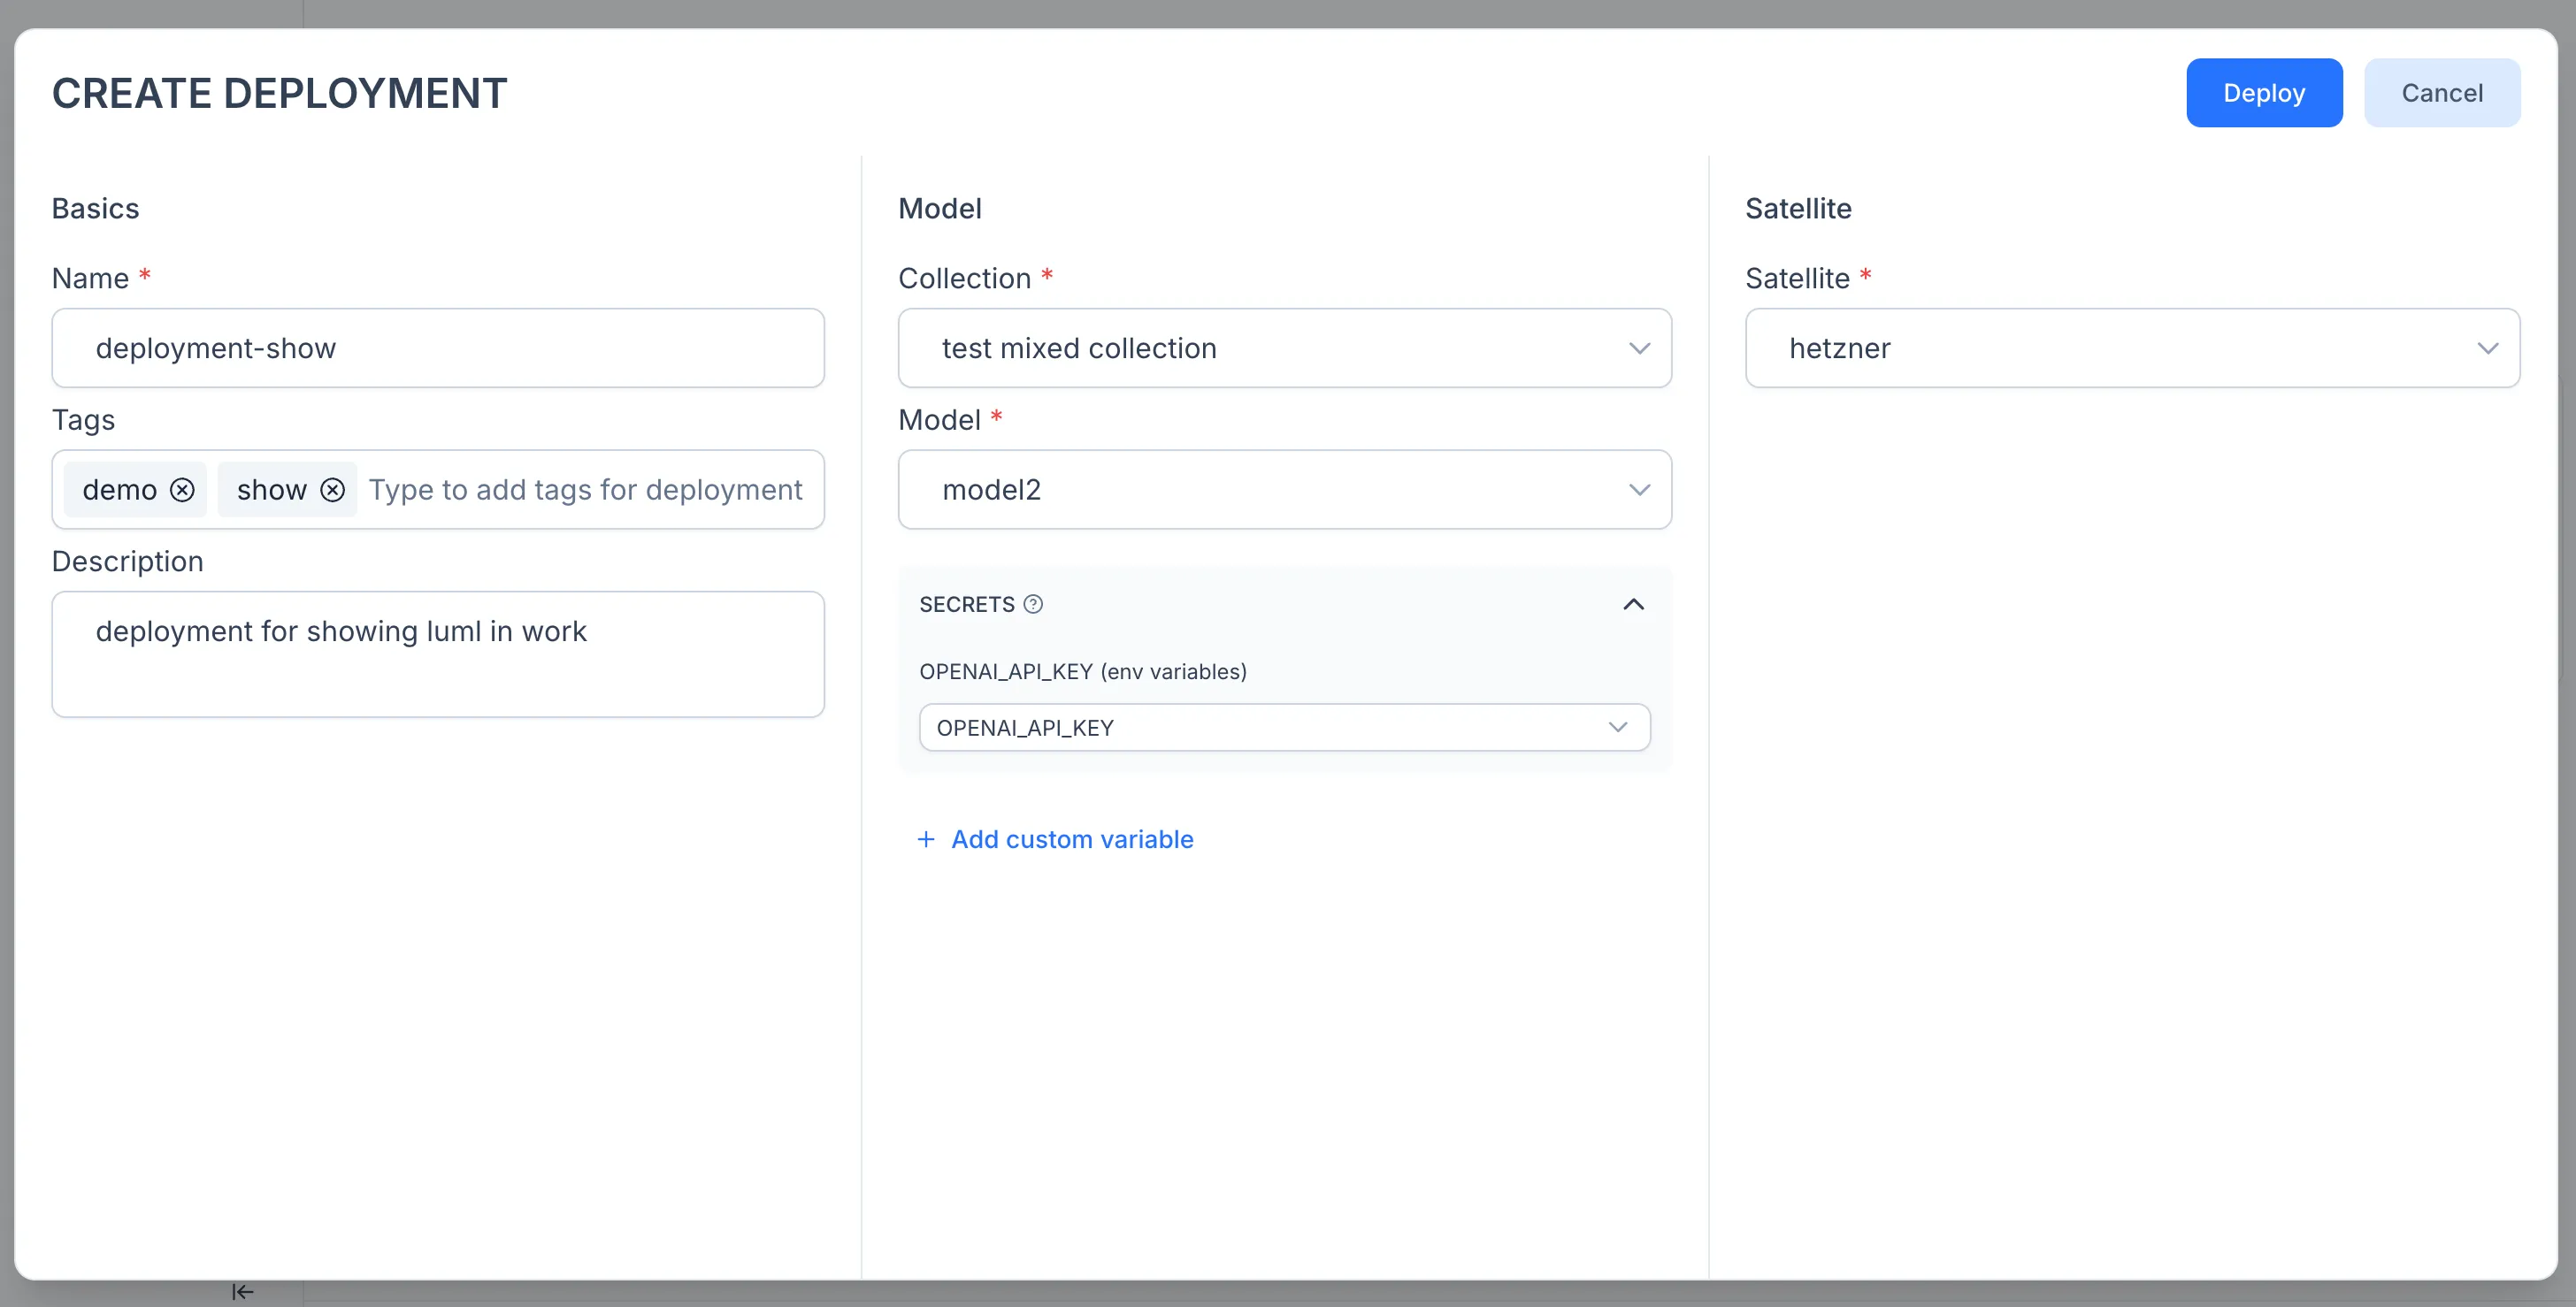
Click Deploy. The model is now running as an API service on your Satellite.
Note: inference requests go directly to the Satellite, not through the Luml platform. For details on the execution model, secret injection, and authorization flow, see the Deployments reference.
Verifying the Deployment
Once a deployment is running, you can verify it by sending a test request from Postman directly to the Satellite endpoint.
Open the Deployments module in the sidebar and select the deployment you just created from the Deployments tab. Each deployment displays a model schema — a JSON object describing the exact structure the model expects as input. Copy this schema. It will serve as the body of your test request.
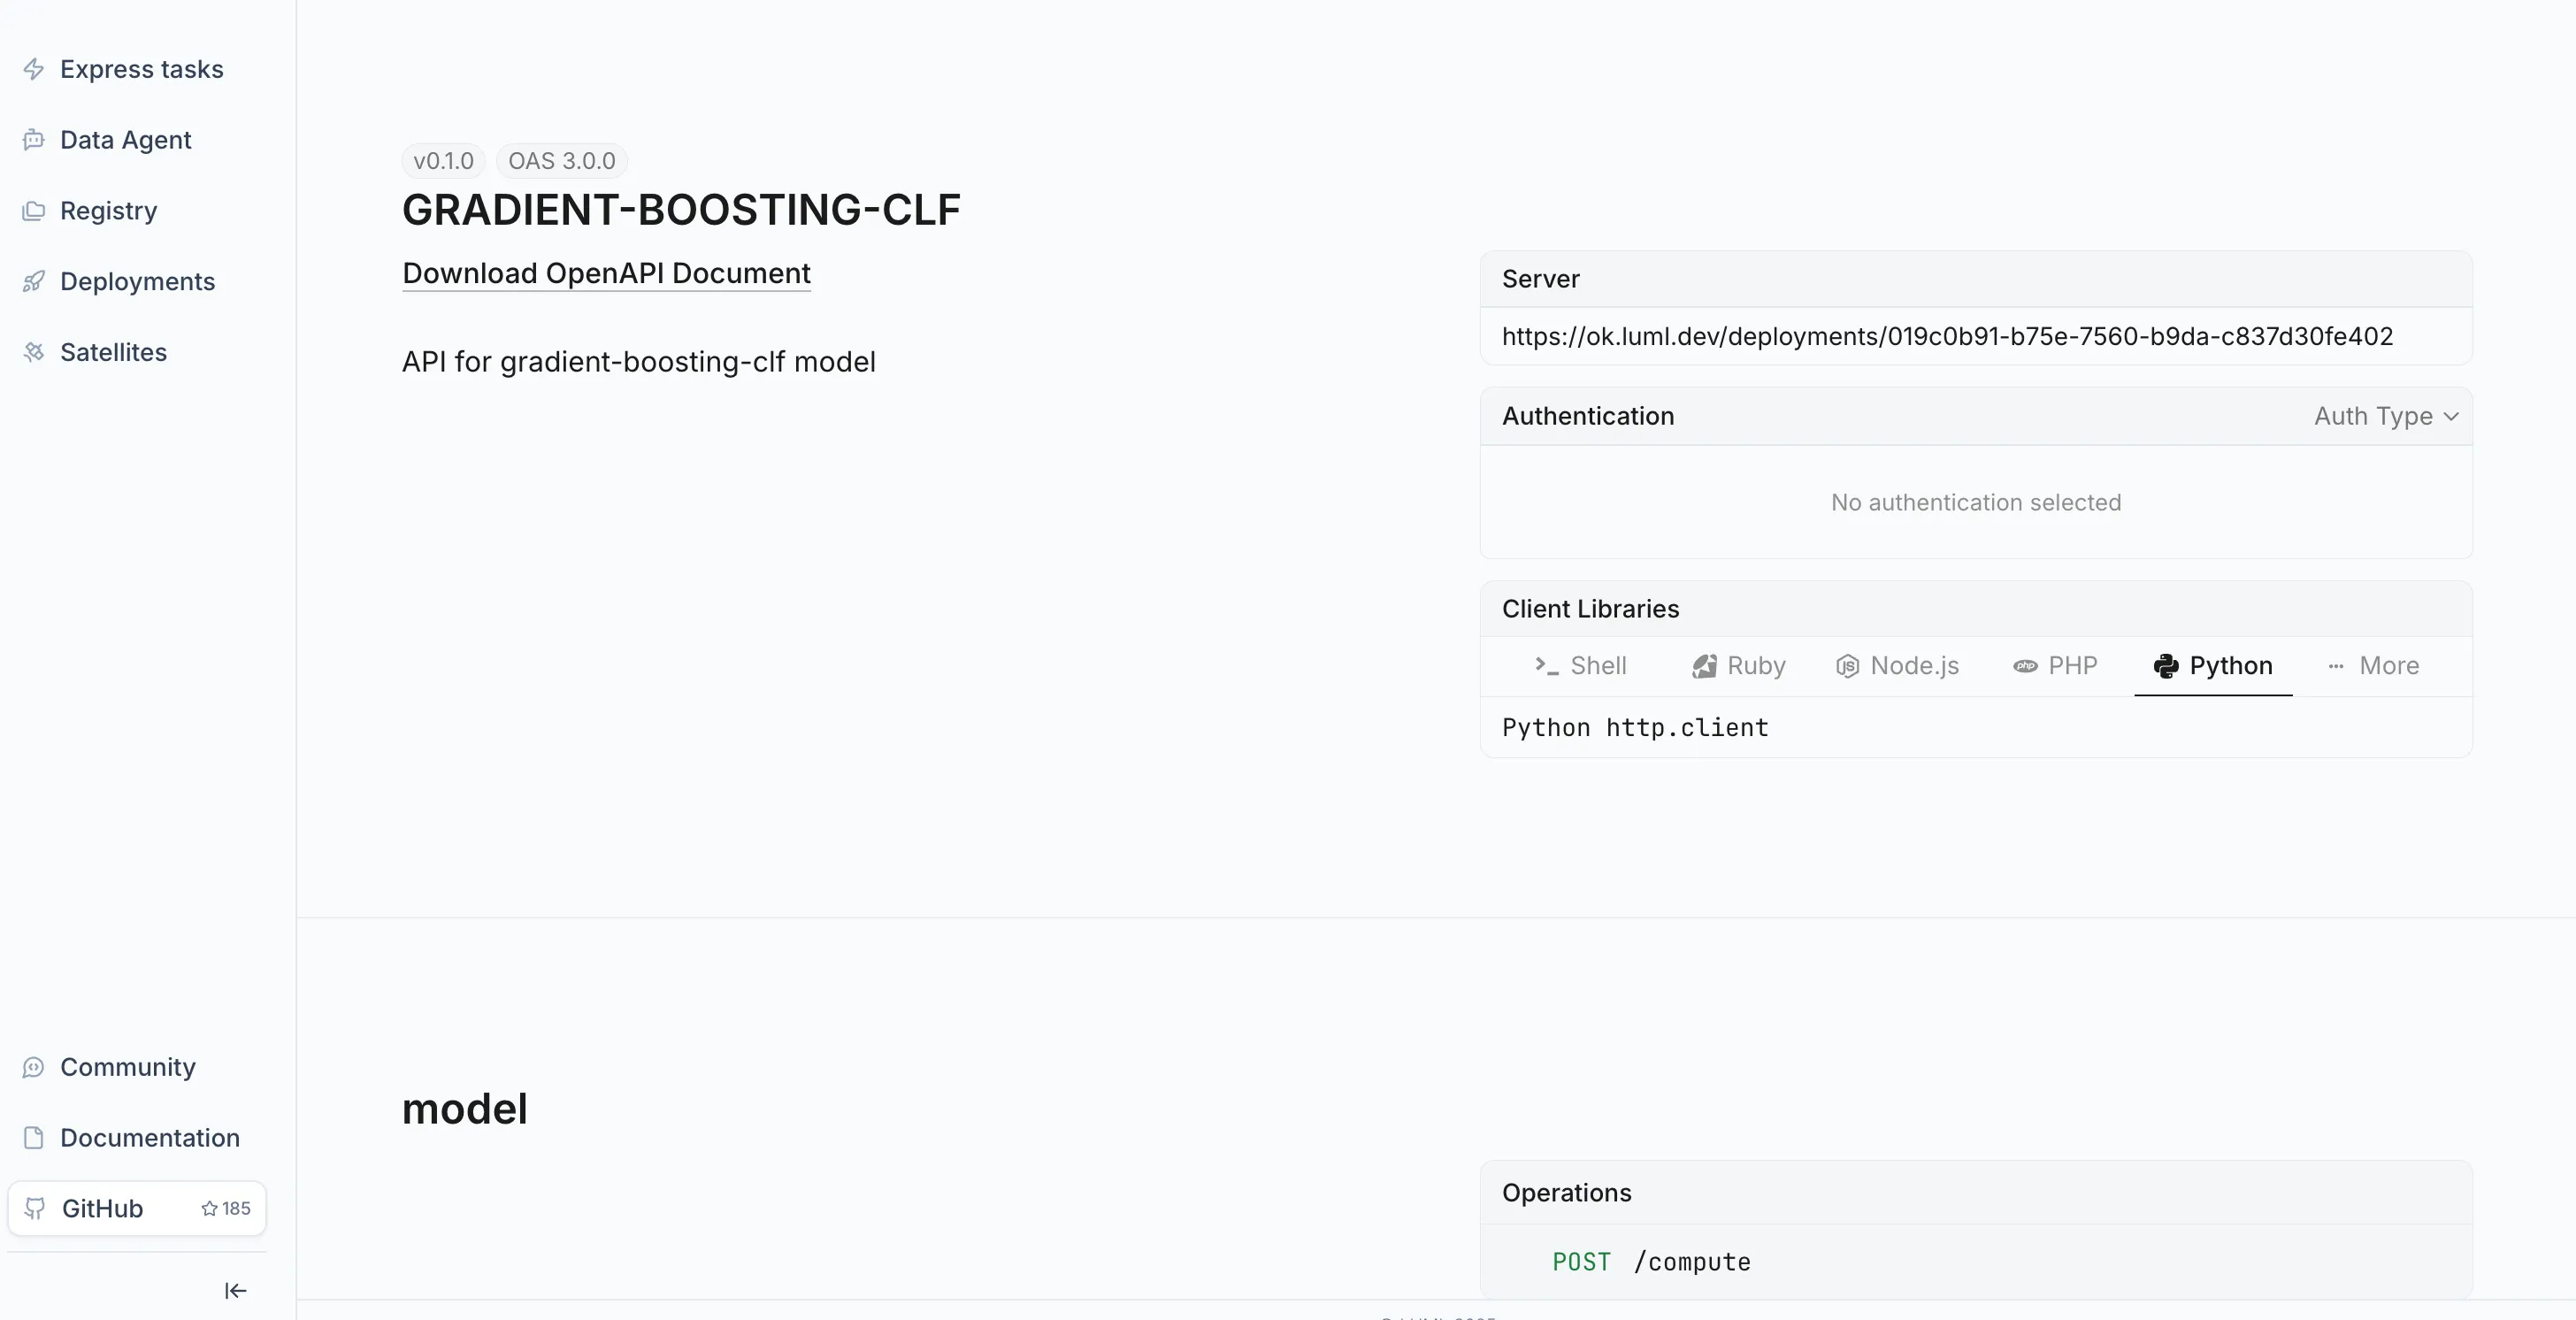
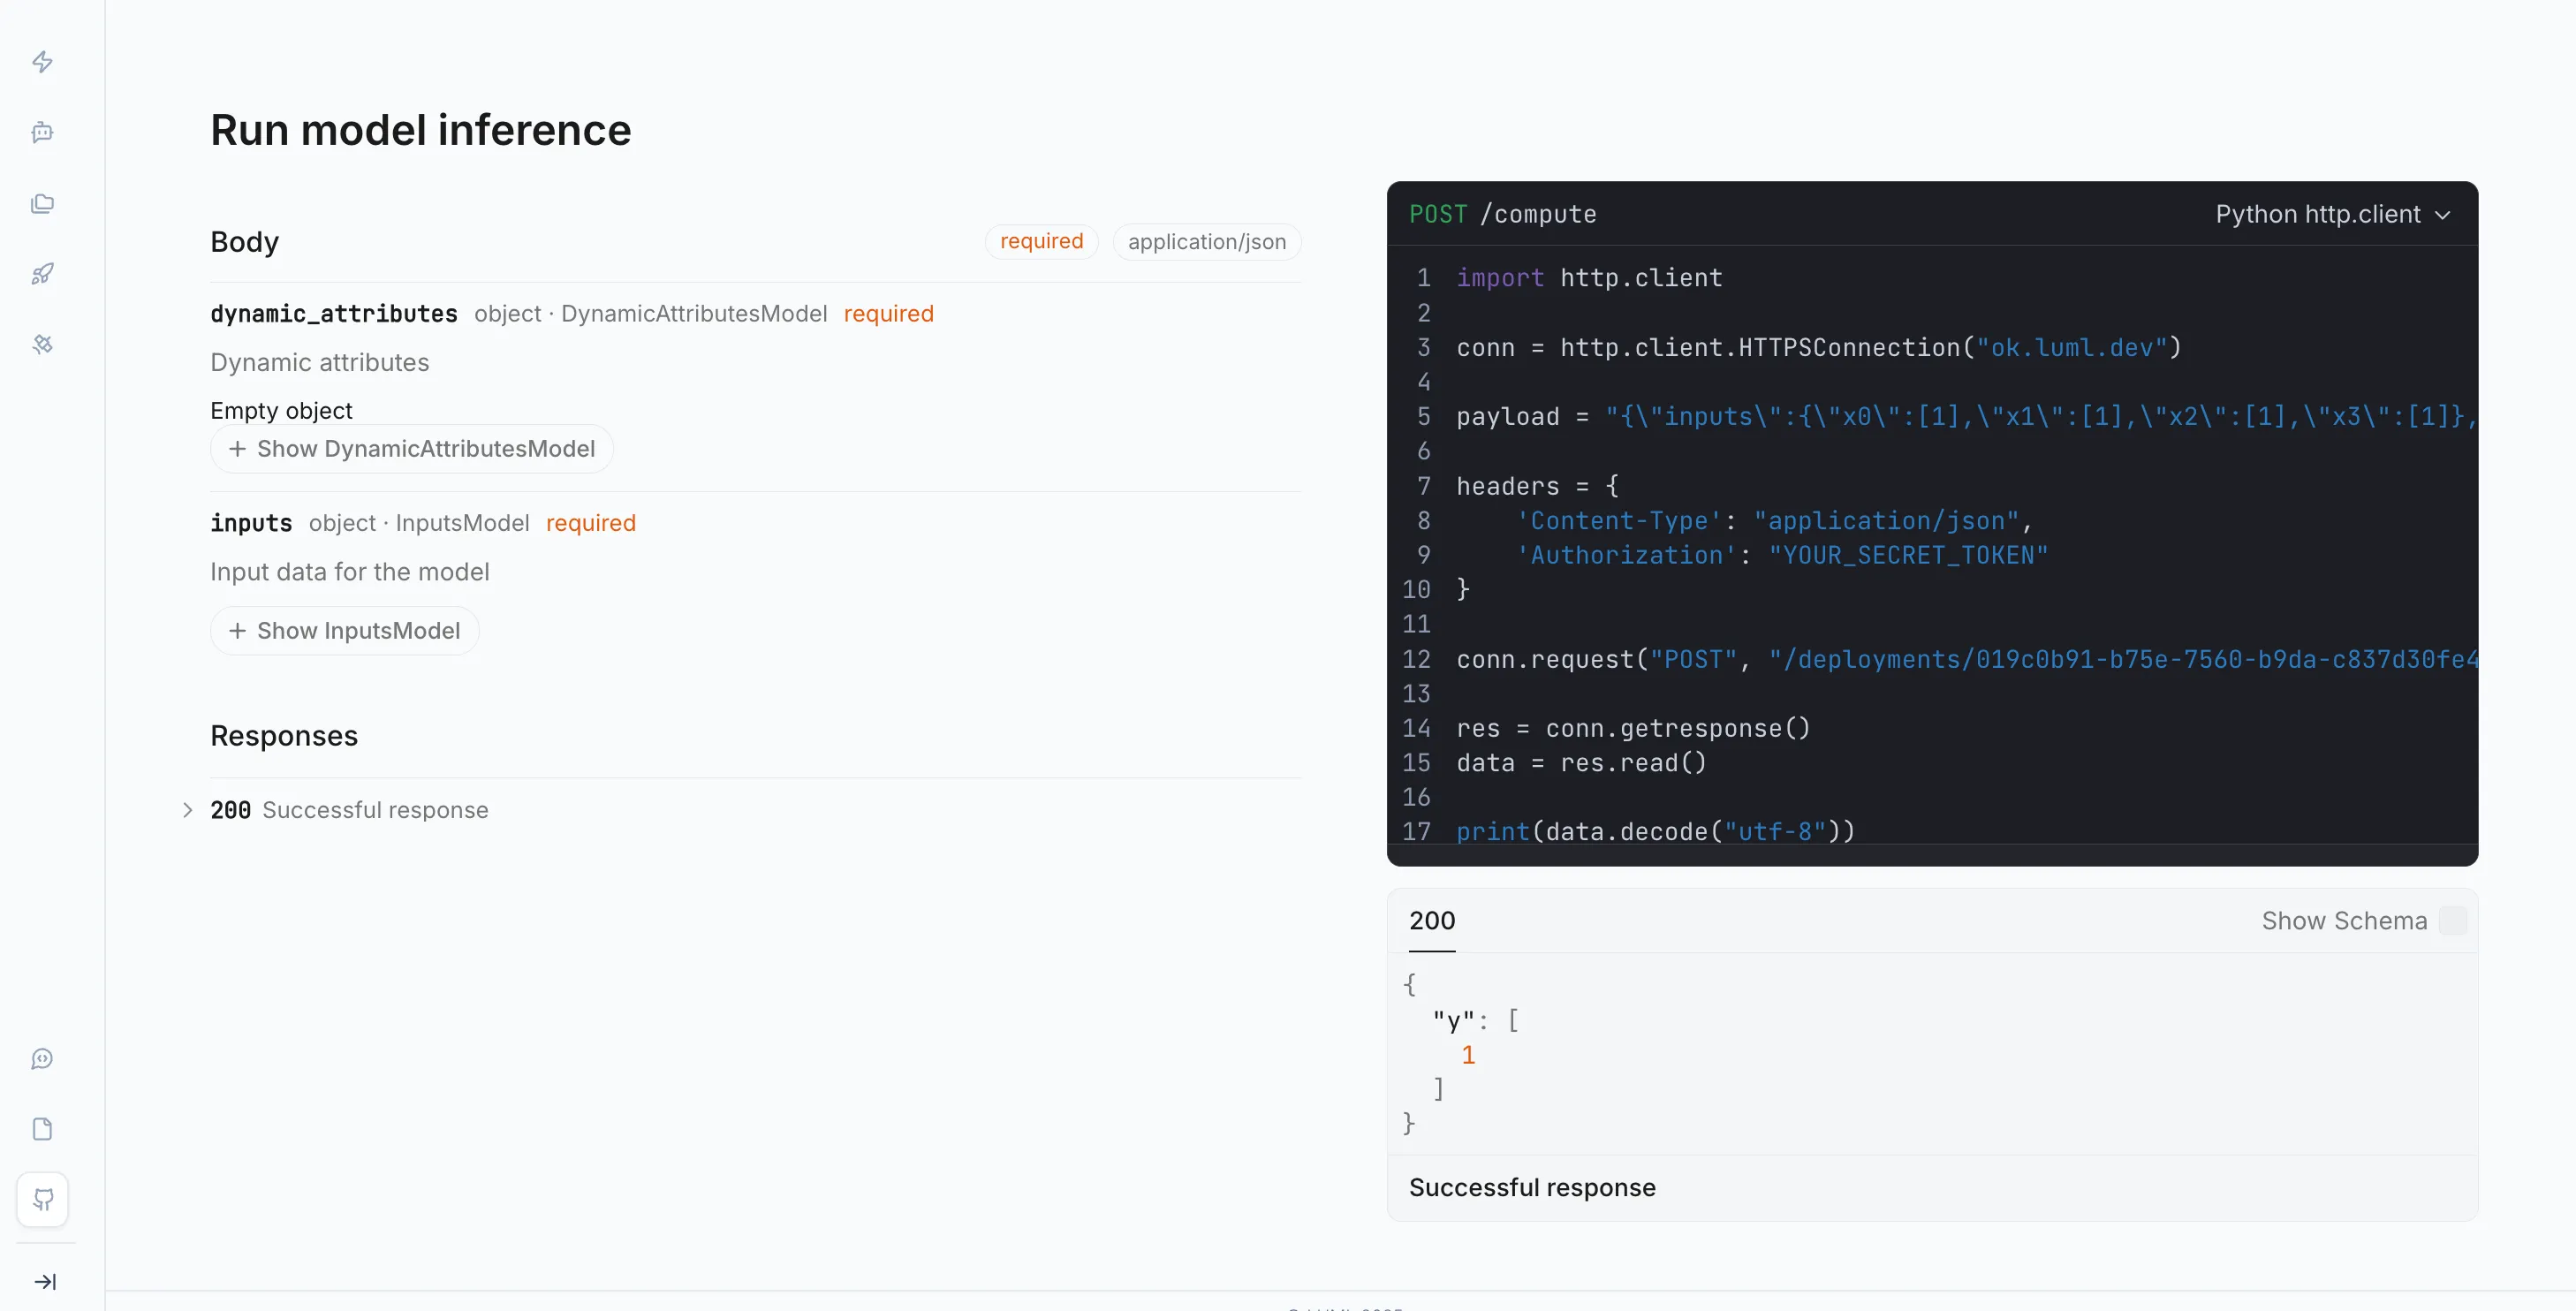
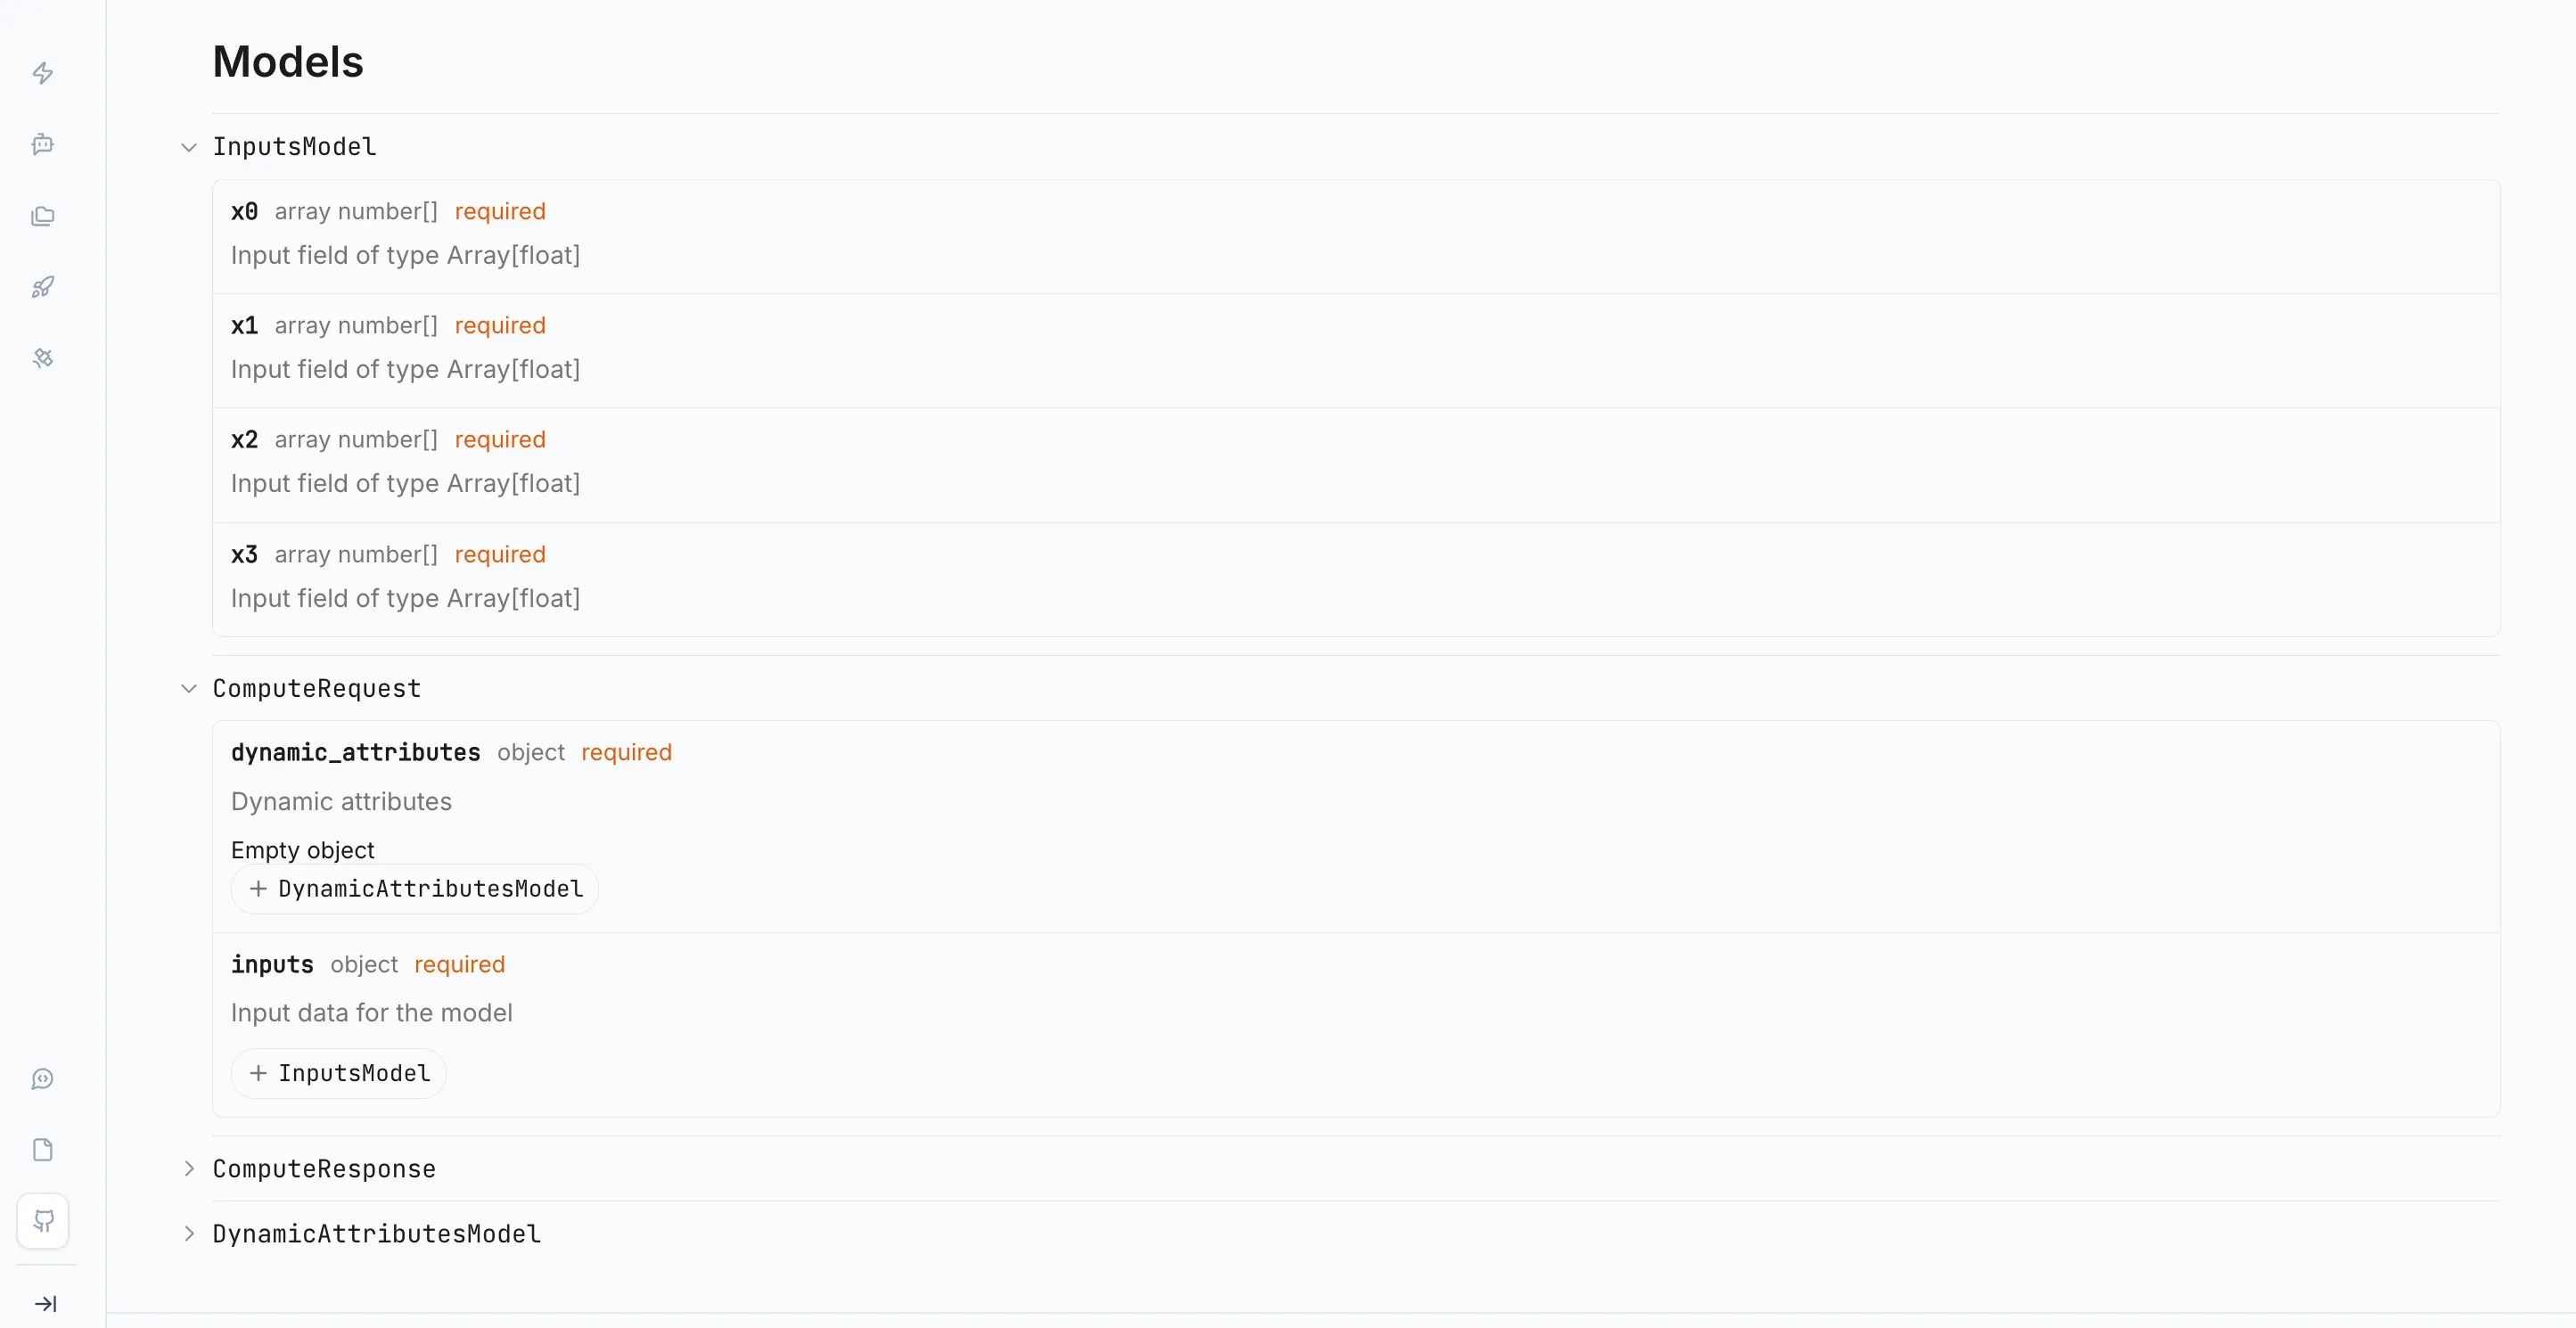
In Postman, create a new POST request. Set the URL to the Satellite's inference endpoint, which is also shown on the deployment detail page. In the Headers tab, add a Content-Type: application/json header and an authorization header with your LUML API key. In the Body tab, select raw and JSON, then paste the copied schema. Fill in the field values with representative inputs for your model.
Send the request. A successful response confirms the Satellite received the request, loaded the model, and returned a prediction. If the request fails, check that the Satellite is reachable from your network, that the API key is correct, and that all required secrets are attached to the deployment.
What's Next
This guide covered the core workflow from account creation to a live deployment. From here, you can explore the Sklearn Tutorial to package and upload models programmatically, use the Registry to manage multiple model versions, or add more Satellites to distribute workloads across environments. The documentation covers each of these areas in depth.