Experiment Tracking, Model Packaging, and Uploading
The LUML SDK provides a Python interface for packaging trained ML models, recording experiment metadata, and uploading artifacts to the LUML platform. This guide walks through the full workflow: tracking an experiment, saving a scikit-learn model as a .luml file, attaching a model card, and uploading the result.
Note: the SDK requires Python 3.12 or later.
Setup
The SDK is distributed as the luml-sdk package on PyPI.
pip install "luml-sdk"
The final step in this guide — uploading a packaged model — requires authentication with the LUML platform. API keys are generated from the LUML web interface under account settings. The key can be passed directly to the LumlClient constructor or set via the LUML_API_KEY environment variable. The earlier steps (experiment tracking, model packaging, model cards) all run locally and do not require an API key.
Experiment Tracking
The ExperimentTracker class records parameters, metrics, and files during model training. It stores data locally in a SQLite database by default.
from luml.experiments.tracker import ExperimentTracker

tracker = ExperimentTracker("sqlite://./my_experiments")
The connection string follows the format backend://path. The sqlite:// backend creates a database file at the specified path.
Call start_experiment to begin recording. It returns an experiment ID for referencing the experiment later.
exp_id = tracker.start_experiment(
    name="random_forest_v1",
    group="churn_prediction",
    tags=["baseline", "random_forest"],
)
Two types of values can be logged. Static values represent fixed configuration that does not change during training (hyperparameters, dataset identifiers, architecture choices). Dynamic values represent time-series metrics that change at each step or epoch.
# Static parameters
tracker.log_static("n_estimators", 100)
tracker.log_static("max_depth", 10)
tracker.log_static("dataset", "churn_v2.csv")

# Dynamic metrics
for epoch in range(20):
    train_loss, val_loss = train_one_epoch(model, train_loader, val_loader)
    tracker.log_dynamic("train_loss", train_loss, step=epoch)
    tracker.log_dynamic("val_loss", val_loss, step=epoch)
Files can be attached to an experiment using log_attachment. This is useful for storing configuration snapshots, plots, or other artifacts alongside the metrics.
import json

config = {"n_estimators": 100, "max_depth": 10}
tracker.log_attachment("config.json", json.dumps(config))
tracker.log_attachment("confusion_matrix.png", image_bytes, binary=True)
When training is complete, end the experiment:
tracker.end_experiment(exp_id)
Note: the experiment_id parameter is optional in most tracker methods. If omitted, the tracker uses the most recently started experiment.
Model Packaging
The SDK uses the .luml file format to package trained models with their dependencies and input/output schemas. Framework-specific save_ functions handle serialization, dependency resolution, and schema inference.
For a scikit-learn model:
from sklearn.ensemble import RandomForestClassifier
from luml.integrations.sklearn import save_sklearn
import numpy as np

model = RandomForestClassifier(n_estimators=100, max_depth=10)
X_train = np.random.rand(1000, 8)
y_train = np.random.randint(0, 2, 1000)
model.fit(X_train, y_train)

model_ref = save_sklearn(
    model,
    X_train,
    path="churn_model.luml",
    manifest_model_name="churn_predictor",
    manifest_model_version="1.0.0",
)
The inputs parameter (here X_train) is used to infer the model's input and output schema. It accepts both NumPy arrays and pandas DataFrames. When a DataFrame is passed, column names are preserved in the schema.
The function returns a ModelReference object pointing to the saved .luml file. This reference is used in subsequent steps to attach experiment data and model cards.
Note: by default, save_sklearn bundles scikit-learn, numpy, scipy, and cloudpickle as dependencies. Set dependencies="all" to auto-detect all installed packages, or provide a custom list.
Linking Experiments to Models
Experiment data can be attached directly to a packaged model. This creates an experiment snapshot inside the .luml file, keeping the model and its training history together.
tracker.link_to_model(model_ref, experiment_id=exp_id)
After this call, the .luml file contains both the serialized model and the full experiment record (parameters, metrics, attachments). When the model is uploaded to the platform, the experiment snapshot becomes visible in the model's detail view.
Attachments
Attachments are arbitrary files stored inside the .luml package — configuration files, evaluation plots, dataset samples, audio recordings, documentation, or anything else relevant to the model. Files are logged during experiment tracking with log_attachment. Text data is stored directly. Binary data (images, audio, PDFs) requires the binary=True flag.
import json

# Text attachment
config = {"n_estimators": 100, "max_depth": 10, "dataset": "churn_v2.csv"}
tracker.log_attachment("config.json", json.dumps(config))

# Binary attachments
with open("roc_curve.png", "rb") as f:
    tracker.log_attachment("roc_curve.png", f.read(), binary=True)

tracker.log_attachment("predictions_sample.csv", csv_string)
When tracker.link_to_model(model_ref) is called, all attachments from that experiment are packaged into the .luml file alongside the model weights and metrics. After upload, attachments appear in the Attachments tab of the model's detail view in the LUML web interface. The platform's built-in File Viewer provides in-browser preview for common formats including images (.jpeg, .png, .svg), audio (.mp3), video (.mp4), tabular data (.csv), and documents (.pdf, .html, .json). Files in other formats remain available for download.
Model Cards
A model card is an HTML document embedded in the .luml file. It provides context about the model: what it does, how it performs, and any relevant visualizations. The ModelCardBuilder class constructs these cards from text, tables, and plots.
from luml.model_card import ModelCardBuilder

card = ModelCardBuilder(title="Churn Predictor")
card.write("# Churn Prediction Model")
card.write("Trained on customer behavior data from Q1-Q3 2025.")
The write() method auto-detects the content type. It accepts strings (rendered as text or markdown), matplotlib figures, plotly figures, pandas DataFrames (rendered as HTML tables), and PIL images.
import matplotlib.pyplot as plt

fig, ax = plt.subplots()
ax.bar(["Precision", "Recall", "F1"], [0.92, 0.88, 0.90])
ax.set_ylabel("Score")
card.write(fig)
plt.close(fig)

import pandas as pd

metrics_df = pd.DataFrame({
    "Metric": ["Accuracy", "Precision", "Recall"],
    "Train": [0.95, 0.93, 0.91],
    "Test": [0.92, 0.90, 0.88],
})
card.write(metrics_df)
Attach the finished card to the model reference:
model_ref.add_model_card(card)
The card is stored inside the .luml file and rendered in the LUML web interface when viewing the model.
Uploading to LUML
The LumlClient handles authentication and communication with the LUML platform. Initialize it with your API key and the target organization, orbit, and collection.
from luml_api import LumlClient

luml = LumlClient(
    api_key="luml_your_api_key",
    organization="My Organization",
    orbit="Default Orbit",
    collection="Production Models",
)
Note: the API key can also be set via the LUML_API_KEY environment variable. The organization, orbit, and collection parameters accept both names and IDs. If only one of each exists on your account, it is selected automatically. Also make sure the collection's type is appropriate for your artifact (for model uploading use collections with "Model" or "Mixed" type. More about collection types in Registry module)
Upload a .luml file:
artifact = luml.artifacts.upload(
    file_path="churn_model.luml",
    name="Churn Predictor",
    description="Random forest model for customer churn prediction",
    tags=["random_forest", "churn", "production"],
)

print(artifact.id)
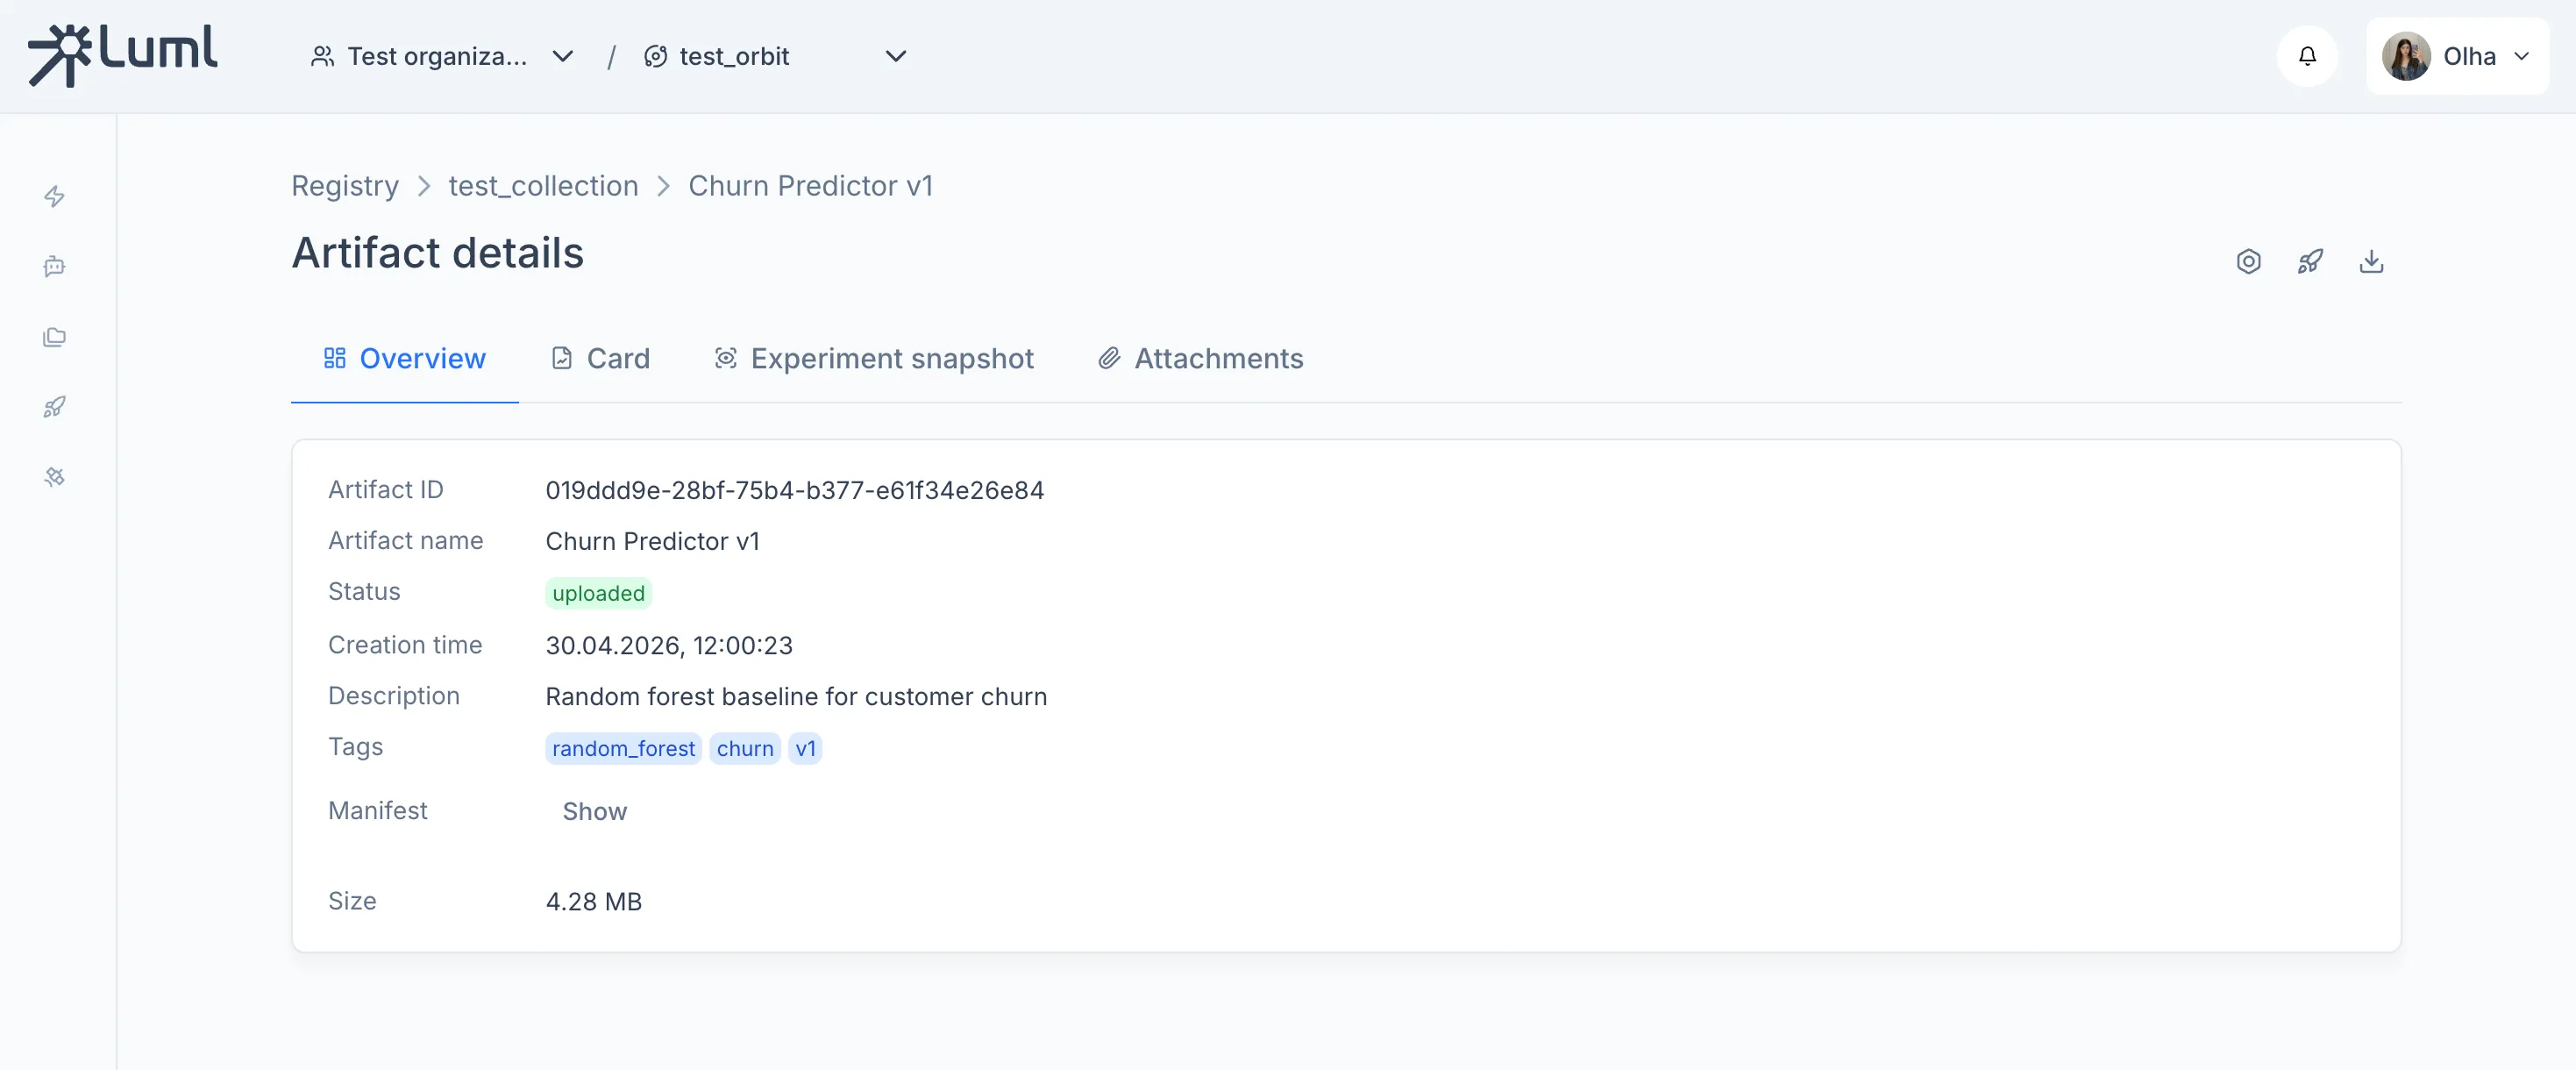
The upload method reads the manifest from the .luml file, creates a record in the model registry, transfers the file to storage, and returns a ModelArtifact object containing the assigned ID and metadata.
Uploaded models can be retrieved, listed, and downloaded through the same client:
# Retrieve by name or ID
model = luml.artifacts.get("Churn Predictor")

# List all models in the collection
models = luml.artifacts.list()

# Download a model
luml.artifacts.download(model.id, "downloaded_model.luml")
Complete Example
The following script trains a model, tracks the experiment, builds a model card, packages everything into a .luml file, and uploads it.
import json
import numpy as np
import pandas as pd
import matplotlib.pyplot as plt
from luml.experiments.tracker import ExperimentTracker
from luml.integrations.sklearn import save_sklearn
from luml.model_card import ModelCardBuilder
from luml_api import LumlClient
from sklearn.model_selection import train_test_split
from sklearn.ensemble import RandomForestClassifier
from sklearn.metrics import accuracy_score, precision_score, recall_score
# Data
X = np.random.rand(1000, 8)
y = np.random.randint(0, 2, 1000)
X_train, X_test, y_train, y_test = train_test_split(X, y, test_size=0.2)
# Experiment tracking
tracker = ExperimentTracker("sqlite://./experiments2")
exp_id = tracker.start_experiment(
name="rf_churn_v2_iterative",
group="churn_prediction",
tags=["random_forest", "baseline", "iterative"],
)
tracker.log_static("max_depth", 12)
tracker.log_static("test_size", 0.2)
# Training with multiple steps
model = RandomForestClassifier(
n_estimators=1,
max_depth=12,
warm_start=True, # allows adding trees incrementally
)
n_steps = 10
trees_per_step = 20
for step in range(n_steps):
model.n_estimators = (step + 1) * trees_per_step
model.fit(X_train, y_train)
y_pred = model.predict(X_test)
accuracy = accuracy_score(y_test, y_pred)
precision = precision_score(y_test, y_pred)
recall = recall_score(y_test, y_pred)
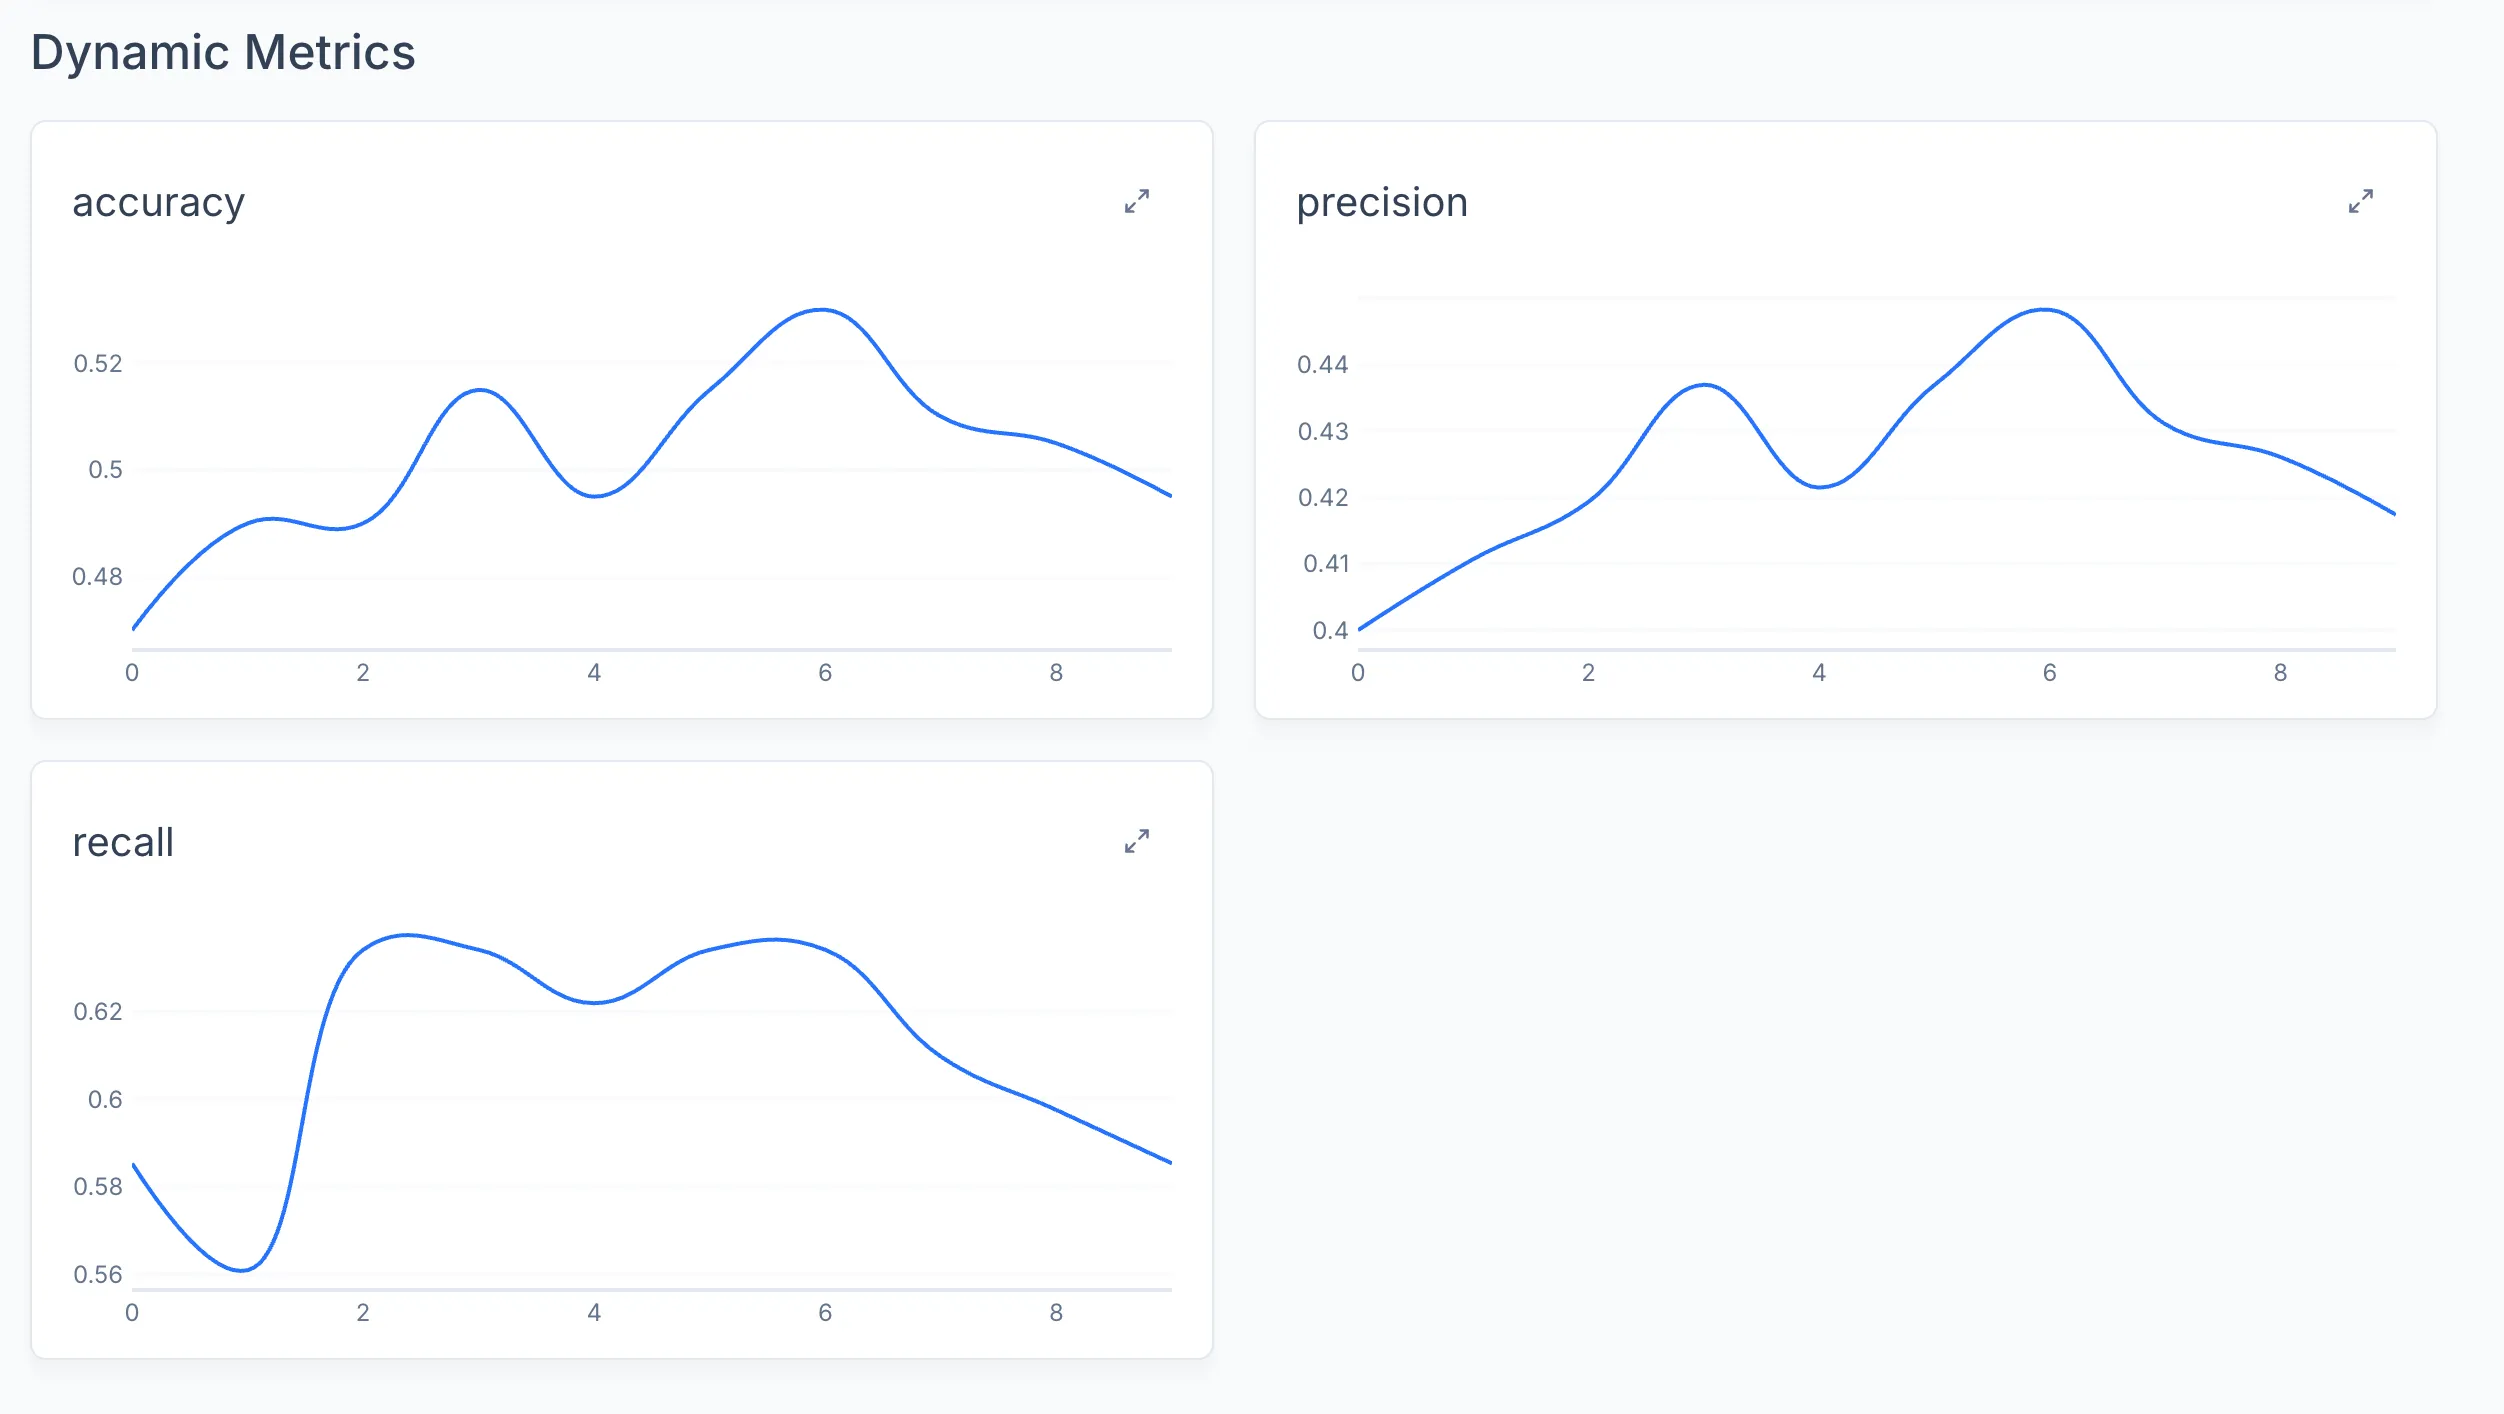
tracker.log_dynamic("accuracy", accuracy, step=step)
tracker.log_dynamic("precision", precision, step=step)
tracker.log_dynamic("recall", recall, step=step)
# Model packaging
model_ref = save_sklearn(
model,
X_train,
path="churn_model.luml",
manifest_model_name="churn_predictor3",
manifest_model_version="1.0.0",
)
# Attachments
tracker.log_attachment("training_config.json", json.dumps({
"n_steps": n_steps,
"trees_per_step": trees_per_step,
"max_depth": 12,
"test_size": 0.2,
}))
# Link experiment to model and end experiment
tracker.link_to_model(model_ref, experiment_id=exp_id)
tracker.end_experiment(exp_id)
# Model card
card = ModelCardBuilder(title="Churn Predictor v3")
card.write("# Churn Prediction Model")
card.write(f"Test accuracy: {accuracy:.3f}")
metrics_df = pd.DataFrame({
"Metric": ["Accuracy", "Precision", "Recall"],
"Score": [accuracy, precision, recall],
})
card.write(metrics_df)
fig, ax = plt.subplots()
ax.bar(metrics_df["Metric"], metrics_df["Score"])
ax.set_ylim(0, 1)
ax.set_ylabel("Score")
card.write(fig)
plt.close(fig)
model_ref.add_model_card(card)
# Upload
luml = LumlClient(
api_key="luml_your_api_key",
organization="My Organization",
orbit="Default Orbit",
collection="Production Models",
)
artifact = luml.artifacts.upload(
file_path="churn_model.luml",
name="Churn Predictor v1",
description="Random forest baseline for customer churn",
tags=["random_forest", "churn", "v1"],
)
print("Your model has been successfully uploaded!")
After running this code - you can go to LUML and see your model:
Model overview
Model card

Logged metrics